


21
Non-MS Internet Explorer – JPEG Stream Mode
Java is the only choice given.
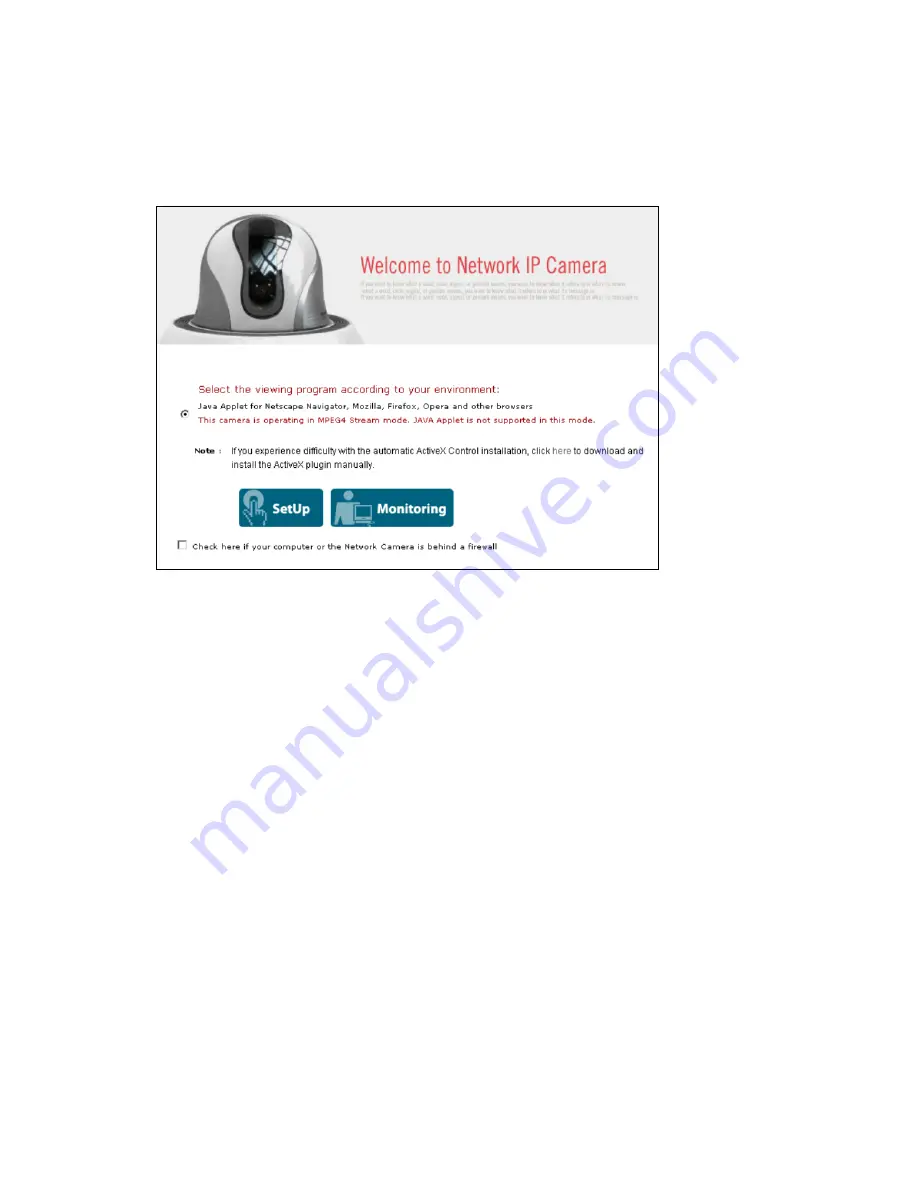
Non-MS Internet Explorer – MPEG4 Stream Mode
Java is the only choice given, but the warning message tells you that even though you are able to login
you won't be able to see the live image as shown in the above. You still can access the administration
menu to make changes to the settings.
SetUp & Monitoring
On the log-in page, there are two modes of starting the IP camera. The one is ‘SetUp’, which starts IP
camera with configuration setting and the other is ‘Monitoring’, which leads you to live view of IP
camera video. Only administrator can start with ‘SetUp’ menu.
Username and Password
Enter a username and password to access the camera. The camera has two default user
accounts.
.
Administrator account: View live image and change the camera settings.
Default Username: admin / Default Password: admin
.
Guest account: View the live image, but no access to any camera settings.
Default Username: guest / Default Password: guest
Behind a Firewall
If your PC is connected to a network with a firewall, you may not view real-time video properly because
the video TCP port is blocked. The camera operates on two important ports. One port is the Web
server port (default = 80).The other port is the image transfer port (default = 40001). The camera sends
the user interface pages (such as the login page) via TCP/IP port 80 and the image stream through the
Image Transfer Port 40001. If for whatever reasons the camera cannot send you data via the Image
Transfer Port (e.g., because the port may be blocked on the client computer) or, in case you access
the camera remotely over the Internet, the port may not be properly opened and forwarded in the