30
5.1.3 MOVE TRACK
To move a track to a different position, pause the track you want to move and enter this sub-menu.
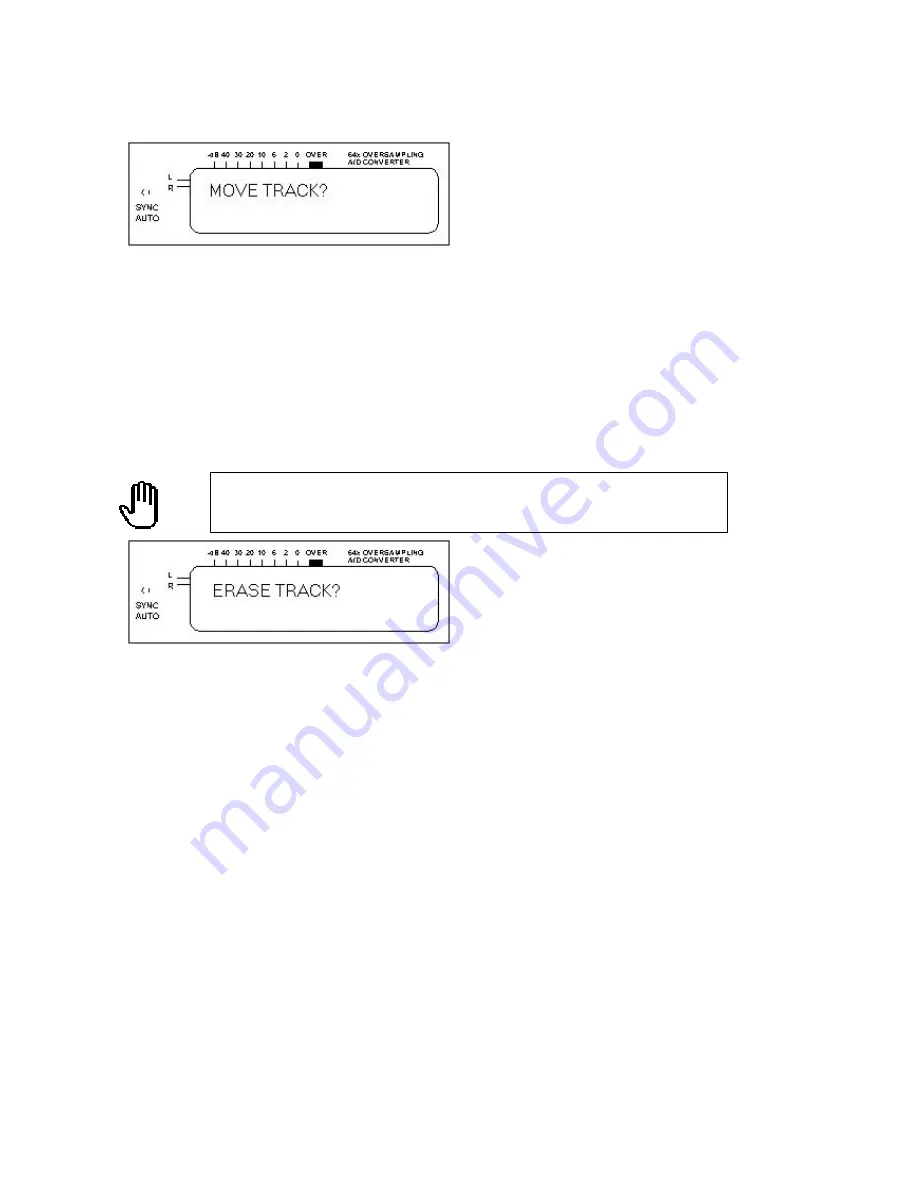
1. At the
MOVE TRACK?
Prompt, press
OK/Enter.
2. The display shows from
Tr XX -> YY?
where XX is the track number you want to move. Press the
Down/Up
buttons to select the new track number, as shown by the number toward the right of the
display.
3. Press
OK/Enter
.
The track shifts to the new position, and other tracks are renumbered to reflect this
change.
5.1.4 ERASE TRACK
You can erase the track that is currently paused.
When recording, pressing
Cancel/Display
after the REM display will end recording, and update the Table
of Contents.
CAUTION: This function erases the track from your hard drive.
Make sure you copy the
track to at least one CD if you need to use this data later.
1. At the
ERASE TRACK?
screen, press
OK/Enter.
2. The display will ask
SURE?
for confirmation. Press
OK/Enter
to erase the track.
Note: Erase Track will remove the track marker from the HD, so that the track will not be recorded.
However, the track’s audio data remains on the hard drive. When you want to remove all the tracks from a
Block, use the Erase All command (section 5.1.5).


