23
4.3 AUDIO MENU JOBS
The Audio menu has two jobs:
§
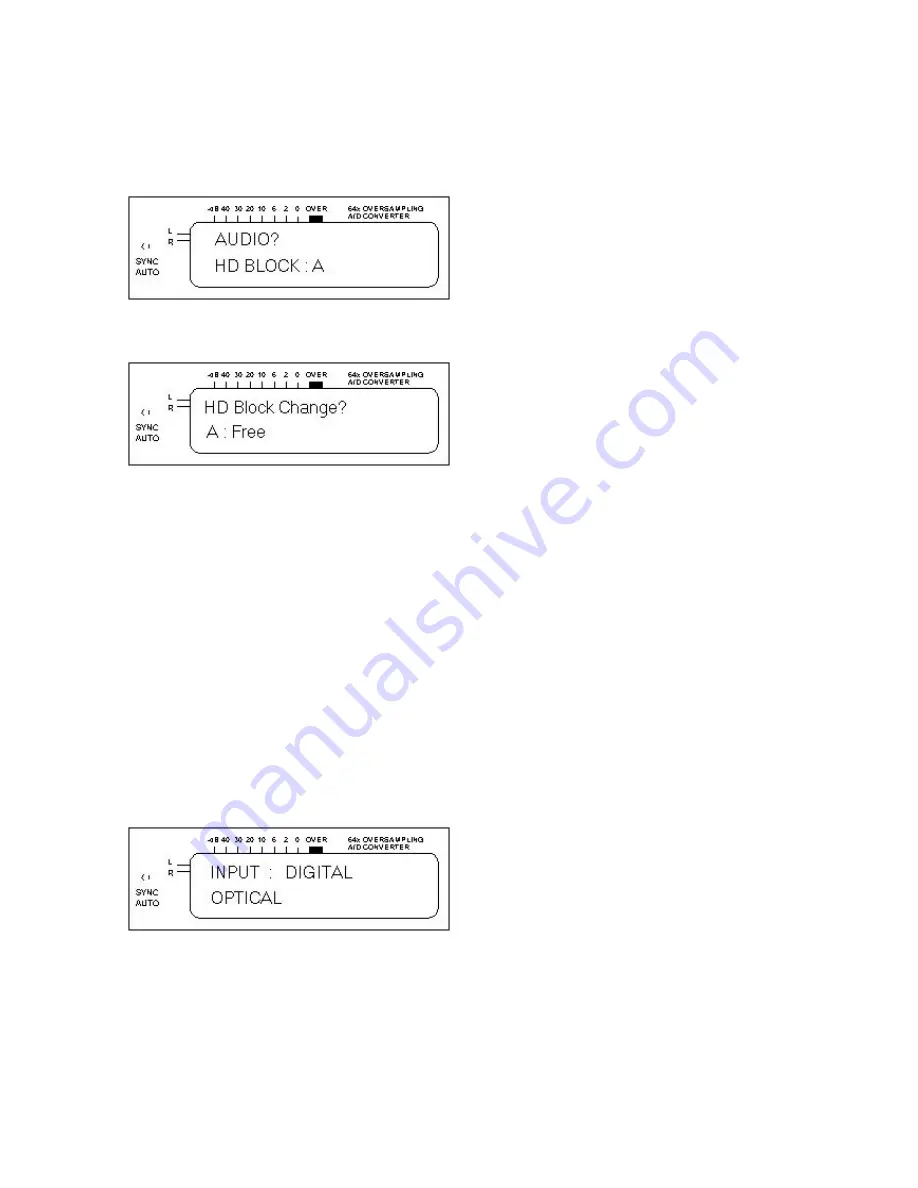
AUDIO?
This accesses menus involved in the recording process. The display also shows the
destination hard disk Block (A, B, or C) into which audio will be recorded.
§
HD BLOCK CHANGE?
This selects the HD Block into which audio will be recorded.
To load the HD Block Change funct ions:
§
At the
HD BLOCK CHANGE?
Prompt, press
OK/Enter.
§
Use the
Down/Up
buttons to select a free Block for recording.
§
If a Block is not free, overwrite the data with the Erase All function (section 4.5.2).
§
When the display shows the desired Block for recording, press
OK/Enter
.
4.4 SELECTING THE INPUT FOR RECORDING
1. Press
OK/Enter
at the
AUDIO?
Prompt to access the main audio screen, which shows the track
number and total recorded time. Initially this will show
T00 000:00.
2. Each press of the
Input
switch cy cles through the available audio inputs:
§
AES/EBU format digital audio (XLR connector)
§
Coaxial SPDIF format digital audio (RCA phono connector)
§
Optical SPDIF format digital audio (TOSLINK)
§
Balanced analog audio (XLR connectors)
§
Unbalanced analog audio (RCA phono connectors)
3. With a digital source selected, the green DIGI LED next to the Rec Level control lights. With an
analog source selected, the red ANA LED next to the Rec Level control lights. Use the rotary volume
control to set analog levels so that the meter’s “over” segment never lights.
4. After selecting the desired input, press
OK/Enter
to return to the main audio screen, or simply wait.
The input selection screen will revert automatically to the main audio screen after a few seconds.


