Check the condition of the thrust bearing, if the
main shaft has been removed. If the bronze
plates of the bearing are worn out so, that the
depth of the oil grooves is less than 3 mm
(1/8"), the bronze plates must be replaced. The
inspection of thrust bearing must be made at
least once a year. See chapter 9.4.
Check the condition of the protection plates of
the lower frame. Repair or replace if
necessary.
Clean the seating surfaces of a new mantle.
Lift the mantle on the head. Secure, that the
lower edge of the mantle tightly against the
head. No clearance is allowed between the
mantle and head (figure 8.4.3).
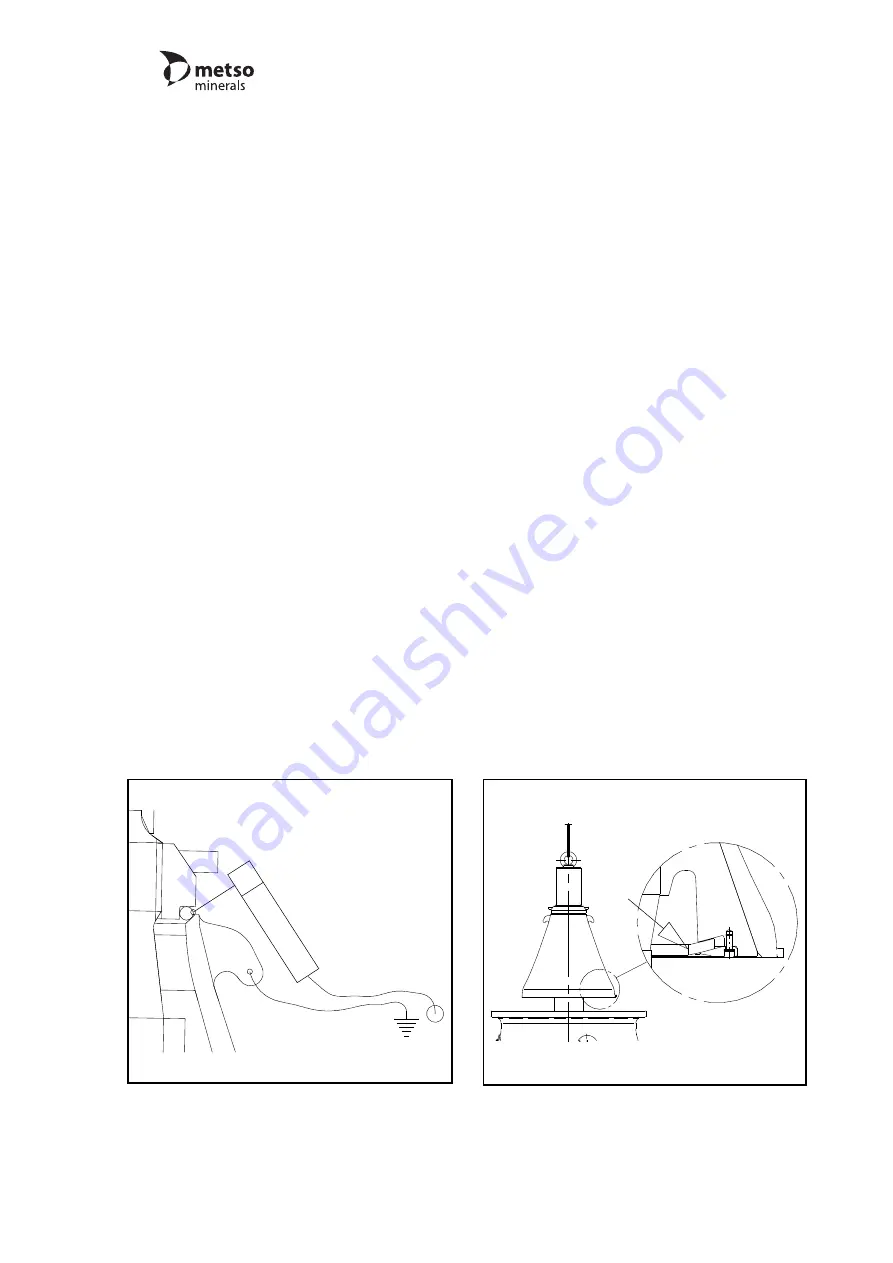
Place the new torch ring and nut on the mantle
(figure 8.4.4). The old nut can be used, if it is
still in good condition. Grind smooth the nut
surface which is against the torch ring.
Lubricate the nut thread and screw the nut
down counterclockwise. Tighten it by
hammering. To help the seating, hammer the
mantle to ensure tight seating. Continue
tightening, until the mantle does not clang
when hammered.
After tightening, weld the nut, the torch ring
and the mantle together with six 50 mm (2")
long welds, equally distributed (figure 8.4.4).
Use stainless steel electrode.
If the main shaft has been removed:
— Check, that the intermediate plate of the
thrust bearing has not moved from it’s
location, when lifting the main shaft.
— Before lowering the main shaft, slide the
intermediate plate (steel) on the bearing
plate (bronze) to the eccentric side, to
allow the thrust bearing to settle as well as
possible.
— Lift the main shaft carefully into the
crusher and rotate the shaft a little so that
the thrust plate centers properly. Note, that
the hole of the eccentric bushing is
inclined, Be careful not to damage the
bushing surfaces. Also, be careful not to
damage the dust seal ring, when it slides
around the slip ring (figure 8.4.5).
Figure 8.4.5 Take care of dust seal when
assembling main shaft
Figure 8.4.4 Weld nut, torch ring and
mantle together
Liner replacement
GP200S
12/99
140548
8-7


