


and
SQA-V
Service Manual Dec_2019
27
Open the SQA-V
Check to see if all the harness connections are secure and
tightly connected.
Check the voltage on the main board at location J9 using a
multimeter. The voltage measured between green and black
wires should be 12V±0.8. If voltage is out of the range, it’s
likely a PSU issue. Please proceed to paragraph #6 (Power
Supply Unit – PSU) for further instructions.
3.
If the voltage is OK but the problem persists – replace the
CCD camera (part #5226, see instructions in this manual).
4.
If after replacing the camera there still no image seen neither
on SQA-V video monitor nor in V-Sperm, please contact MES
Customers service.
2.
The quality of
the
image
is
different
on
the
SQA-V
screen
compared to the V-
Sperm
computer
screen
Scenario #1: SQA-V image better than V-Sperm image (or
no image on the V-Sperm):
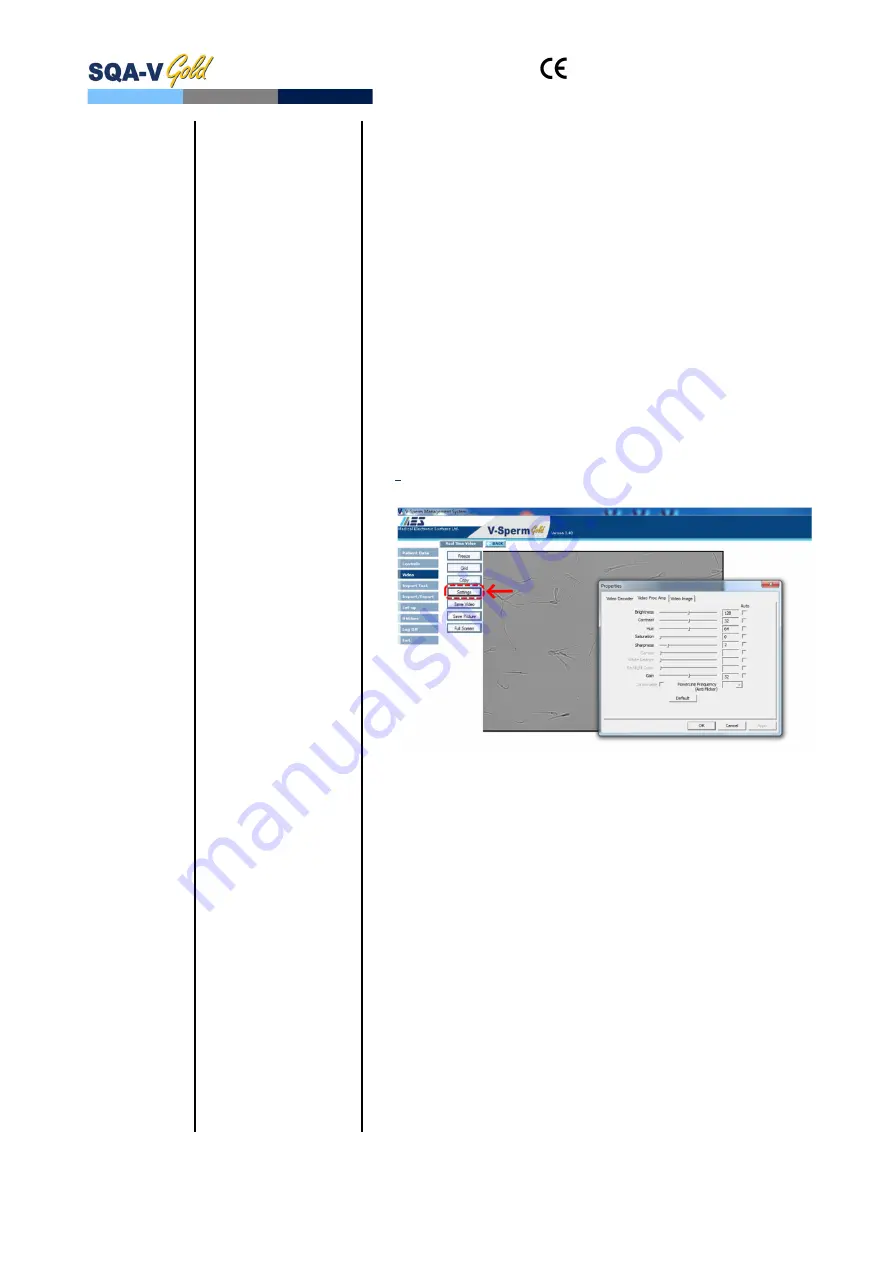
Adjust the video settings in V-Sperm: Go to VIDEO>Real
Time Video>Settings
Check to make sure the
Brightness
and
Contrast
setting
are adjusted to achieve optimal image.
Check the external cables connecting the SQA-V to the
V-Sperm frame grabber (if problematic, replace the cables).
If there is no problem with the cables, open the SQA-V and
check the cable connecting the video board\ video adaptor\
video splitter to the video out port:
Verify that it is attached securely on both sides and
that the cable does not appear damaged in any way
If the cable is damaged- replace it with a new one
(part # KHD-908-000852, instructions can be found in
the appendix section of this manual)
If the problem persists after replacing the cable- contact
MES support
Scenario #2: V-Sperm Image is better than the SQA-V:
Adjust the
Brightness
and
Contrast
of the SQA-V video
screen. These setting can be adjusted using blue round
control buttons below the Video Screen.
Adjust the
Illumination
of the SQA-V to a higher level.
If no improvement, replace the LCD video display.


