Page 14
IP CAMERA USER MUANUAL
2. User can adjust Brightness, Contrast, Hue and saturation of the picture.
3. Select white balance mode.
4. Sharpen, denoise , white balance, frequency, CVBS format and Day-Night mode are
adjustable.
5. User also can enable the image mirror and image overturn function.
6. Press the "Save" button to save the settings.
5.2.2
Video Stream
1.
Enter into "Video configuration"
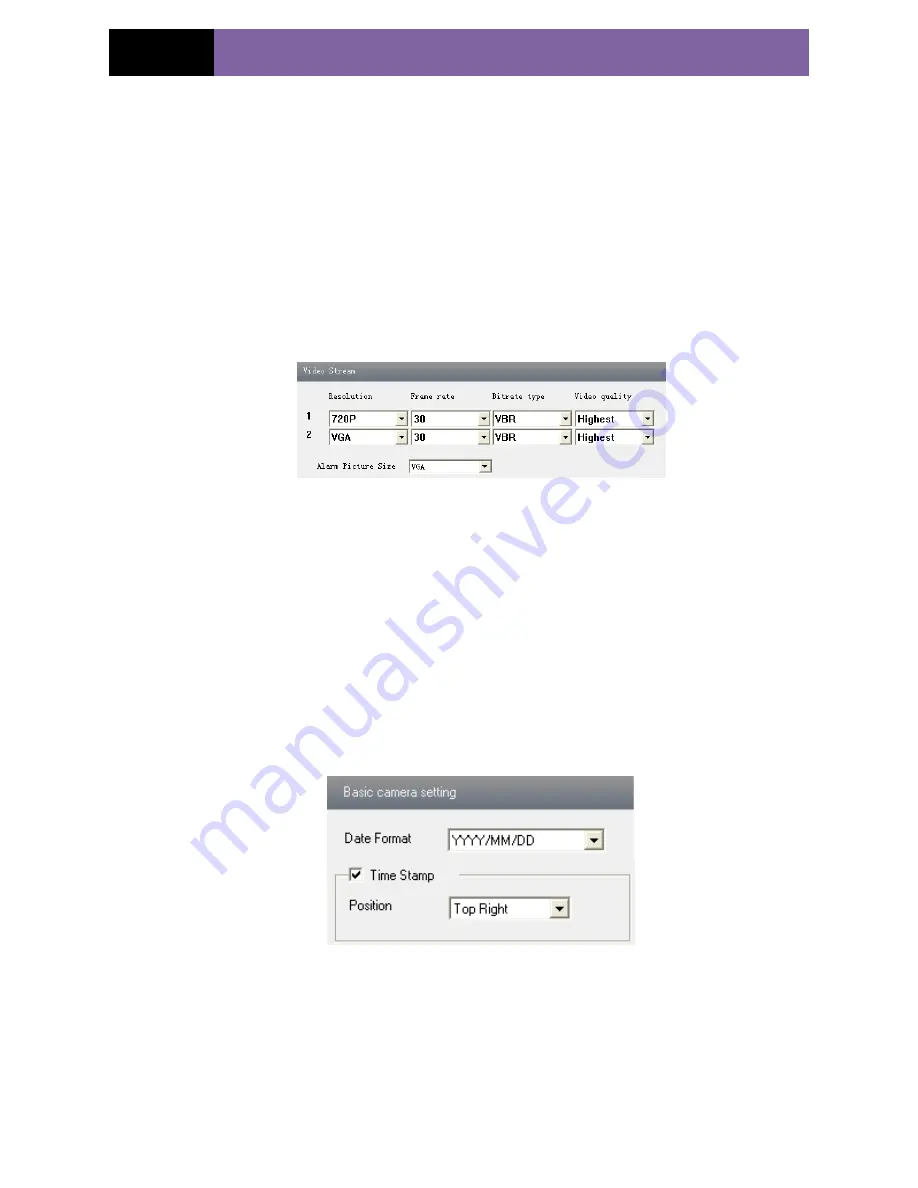
"Video Stream" to see a interface as shown in
Fig 5-4:
Fig 5-4 Video Stream
2.
Select the resolution of the single frame image at the "Resolution" pull down list.
3.
Select the quantity of video per second at the "Frame rate" pull down list.
4.
Select the data stream type at the "Bit rate type" pull down list.
5.
Set the video quality at the "Video quality" pull down list.
6.
Select alarm picture size.
7.
Press the "Save" button to save the settings.
5.2.3
Time Stamp
Enter into "Video configuration"
"Time Stamp" to display the interface as shown in
Fig 5-5:
Fig 5-5 Time Stamp
1.
Select Date Format to show in the live image.
2.
Set time stamp. If time stamp is enabled, the live pictures with the time stamp will
display. There are four positions of time stamp can be set. Top left, top right, bottom
left and bottom right.
3.
Press the "Save" button to save the settings.
www.merivasecurity.com


