STITCHY CONNECTION MANUAL | 7
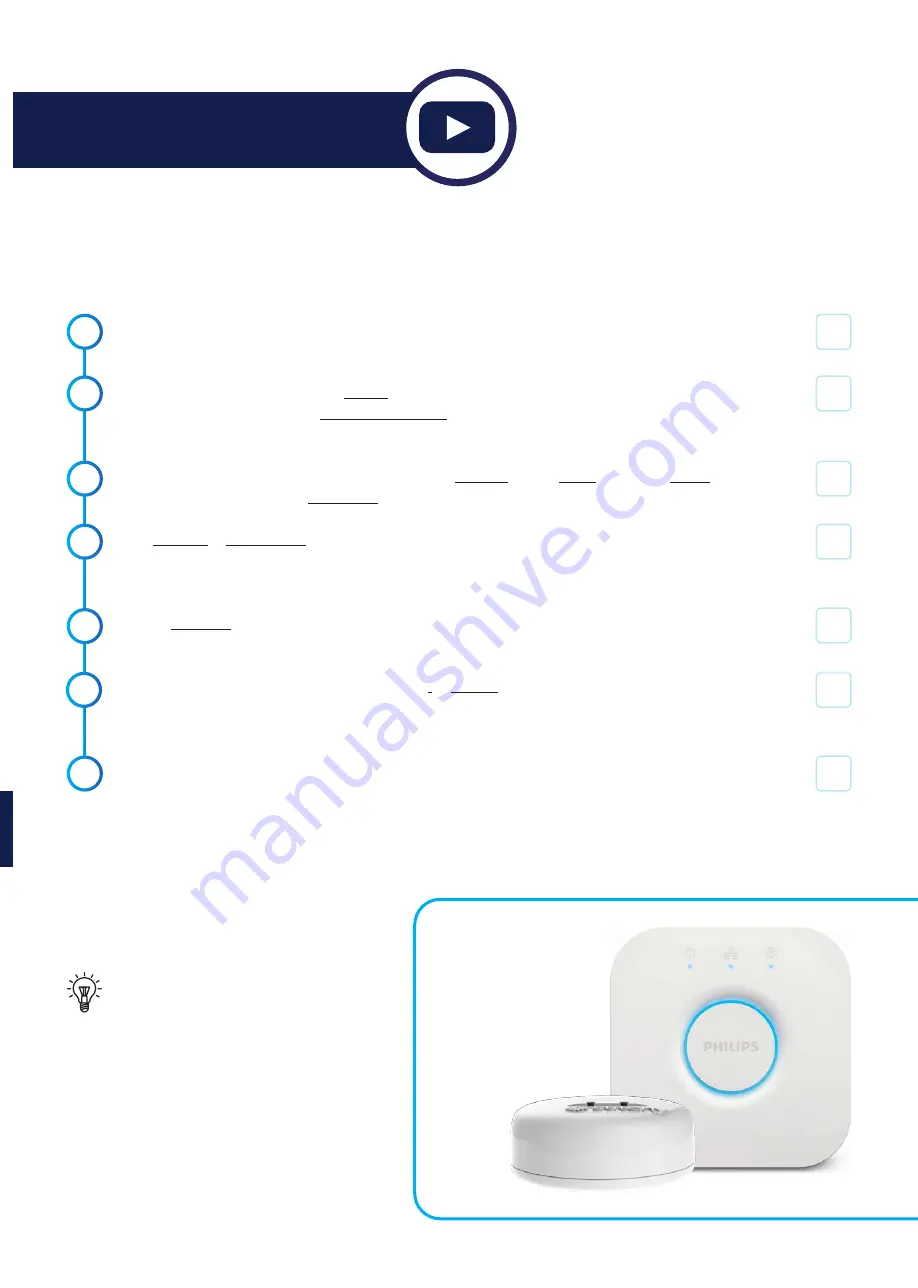
STEP 2 - Connecting Stitchy to the Philips Hue Bridge
This is the fun bit, we will make things happen.
1.
2.
3.
The below process assumes that all your lighting and Stitchy units have been electrically connected
and the power is on
Ensure all units or at least 1 unit is in ‘Search’ mode by either turning the light switch in the opposite
direction 5 times or pushing the ‘Reset/Programming’ button on the front of the unit 5 times if Stitchy
is accessible behind the light switch.
This step is only if the hue app is not open.
Open the Hue App > Click Home > Click the 3 dots in the
top right-hand corner > Click Light setup
Click Add light > Click Search > Once the search has been conducted a full list of all the lights
available should now be shown. If you do not have all the lights, you can search again or go back to step 1
and repeat at a later point
Click on each light to identify which room or area they are in. When you click on the light you will notice
that the actual light in the room will flash for easy identification.
Once you know which room they are in click on the i to rename it to a something more suitable.
Remember:
This will be the identification when you use voice control so keep names simple.
Eg: “Josh’s light” is much better than “Default back corner bedroom light.”
Click “Next” Test control by clicking “Home” and turning lights on/off
4.
5.
7.
Charlie
Check
Keep all names simple and try to avoid
plurals as you have to remember
it may be someone else using the
system, and you will want it to be so
easy they are envious of your smart
home system.
Quick watch:
bit.ly/stitchystep2
6.


