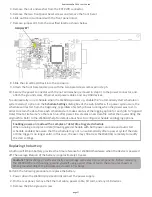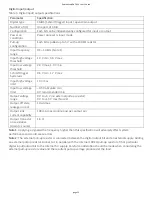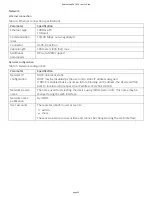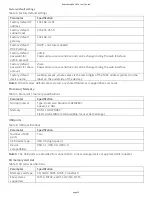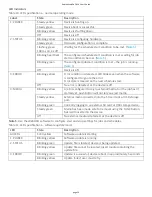
4. Remove the nut and washer from the EXT PWR connector.
5. Remove the two front panel bezel screws and remove the front bezel.
6. Slide out the circuit board with the front panel intact.
7. Remove the ba ery by sliding it forward toward the slot, and replace with a 3 V bu on cell ba ery – type
BR1225, CR1225 or similar.
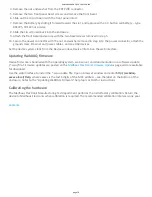
8. Slide the circuit board back into the enclosure.
9. A ach the front bezel and secure with the two bezel screws removed in step 5.
10. Secure the power connector with the nut and washer removed in step 4, to the power connector, a ach the
ground screw, Ethernet and power cables, and any USB devices.
Set the device system clock from the Device window, Device Info tab on the web interface.
Upda ng WebDAQ firmware
Device firmware is bundled with the opera ng system, web server, and documenta on in a so ware update
(*.swu) file. Firmware updates are posted on the
Meilhaus Electronic Firmware Updates
page and are available
for download.
Use the web interface to install the *.swu update file. Open a browser window and enter h p://webdaq-
xxxxxx.local/Help, where xxxxxx is the last 6 digits of the MAC address – see the label on the bo om of the
enclosure. Refer to the "Upda ng WebDAQ Firmware" help topic or FAQ for instruc ons.
Calibra ng the hardware
The Meilhaus Electronic Manufacturing Test department performs the ini al factory calibra on. Return the
device to Meilhaus Electronic when calibra on is required. The recommended calibra on interval is one year.
RedLab WebDAQ 316 User's Guide
page 18


