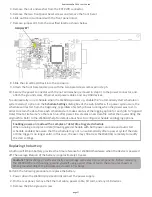
Configuring the WebDAQ for wireless communica on
Once communica on is established on a wired network, you can connect a WiFi adapter to the USB port and
use the web interface to configure the WebDAQ for communica on over a wireless network. With the WebDAQ
connected through the wired connec on, perform the following procedure.
1. Connect an approved WiFi adapter to the USB port on the WebDAQ rear panel.
2. Open the WebDAQ web interface in a browser window and go to the Device window, Network tab.
3. Select WiFi. Once the list of available networks updates, select the wireless network that you want to
connect to, and enter the password, if any.
If the connec on is successful, the selected wireless network will show above this list with a checkmark
next to it.
You can click on the selected network to open a WiFi Network Se ngs dialog box where you can forget the
current network or configure the IP address type (DHCP/Link-Local or Sta c).
4. Disconnect the Ethernet cable from the LAN connec on.
Wait a few seconds, and refresh the browser window.
Changing to a wireless network may require a reboot
If a connec on can't be established a er changing the network, you may need to reboot the opera ng
system and restart the WebDAQ using the Power bu on.
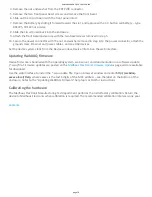
Configuring the network router for communica on across networks
To communicate with the WebDAQ over the internet from a computer connected to a different network, you
must change the network configura on of the network router.
Cau on! This procedure should only be performed by a network administrator or computer
professional. Incorrect se ngs can significantly disrupt a network.
In the following procedure, the WebDAQ is installed on the host LAN, the computer is installed on the client
LAN, and it is assumed that you have successfully connected the device to a local network.
1. Determine the IP address of the WebDAQ – open the Device window from the web interface, and note the
IP Address value on the Network Se ngs tab.
2. Configure your router so that the address determined above is a sta c address. The procedure for
accomplishing this varies between routers; refer to your router documenta on for instruc ons.
3. Configure the firewall/router to forward an unused port to port 80 on the WebDAQ at the IP address
configured for the device.
Note the sta c IP address assigned to the router – this is referred to as the WAN address.
4. To access your WebDAQ from a remote loca on, enter the WAN address followed by the port selected
above preceded by a colon in the web browser.
The format of the address entered in the browser is: 00.000.00.00:00000 (WAN address of router:port
selected for the WebDAQ).
RedLab WebDAQ 316 User's Guide
page 7


