26
10. Display
10.1. Touch Screen
Your device is supplied with a touch-sensitive screen. Please follow the instructions
below in order to optimise its use:
10.1.1. Operation
• Do not touch the screen with sharp or pointed objects as
these may damage the screen.
• Only touch the screen with a blunt implement or with your
finger.
10.2. Connecting an External Monitor
The device features a USB 3.0 / HDMI (type C) connection that can be used to
connect an external monitor via a HDMI / type C adapter.
`
Shut down your device correctly.
`
Connect the signal cable on the external monitor (not supplied in the delivery)
via a HDMI / type C adapter to the USB 3.0 / HDMI (type C) connection.
`
Connect the external monitor to the wall outlet and switch it on.
`
Now switch your device on.
11. Data Input
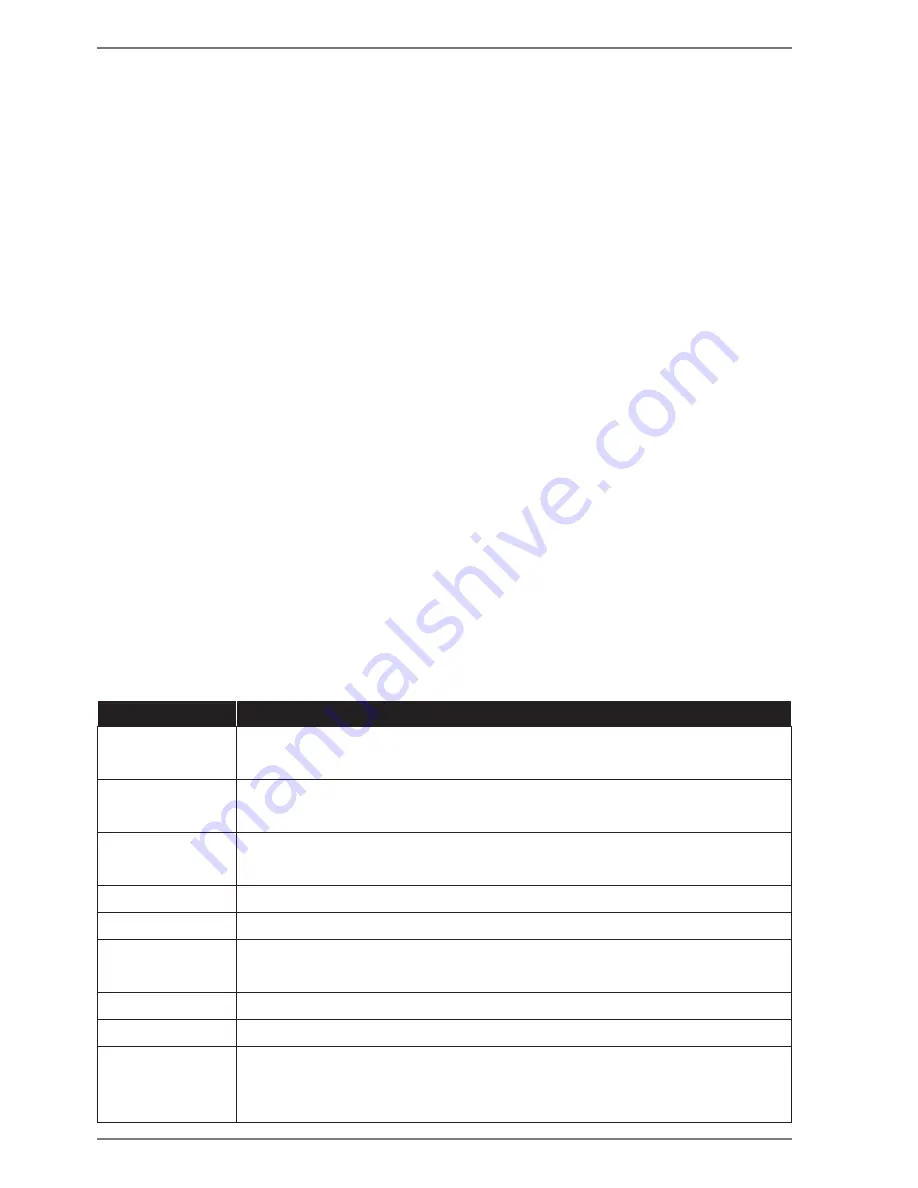
11.1. Specific Keys
Description
F1
Mute
Switches the sound on or off.
F2
Volume down
Decreases the playback volume.
F3
Volume up
Increases the playback volume.
F4
Closes the current window
F5
Updates the desktop or active window
F6
Touchpad
Switches the touchpad on and off
.
F7
Shows all open windows
F8
Opens the default Internet browser
F9
Display
Switches the screen display between LCD, external display and
duplicate display.