background image

Crossfire LCD - Installation and Programming Manual


9


Version 1.5  | Revision B | May 2012


3 sec.


Startup


The start of the CROSSFIRE LCD is extremely simple and intuitive, given that all functions are


accessiblefrom the tree of menus LCD display.


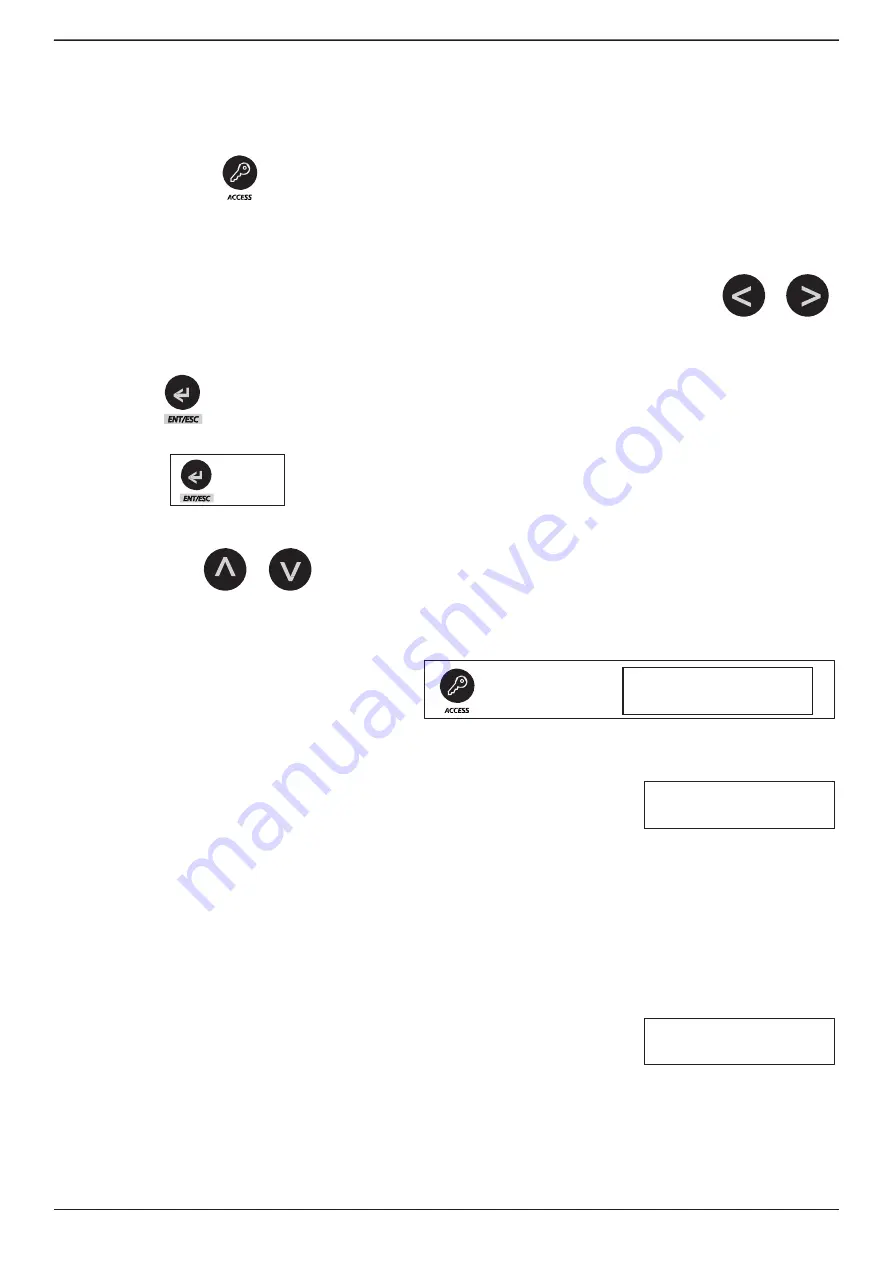
To access the menus, you must first enable the keyboard by holding down the button for 

3 seconds  “ACCESS”.


This operation gives ACCESS LEVEL 2 to the system.


Then you can use the cursor keys of the Menu, and the other dedicated keys. 

To navigate the menus, you just have to use the Left and Right cursor keys.


To enter a submenu or confirm a selection, you must press momentarily the 

“ENT/ESC” .


To exit a menu or sub-

menu, or not save a change made, you must press the “ENT


/ ESC”


for 3 seconds.


To change parameters, change options and / or values, you should use the cursor keys 

“Up” and “Down”.


Actions


keyboard Active (ACCESS LEVEL 2)


T

o activate press and hold “access” to hear the BI

P.


Note that the LED 

“Keyboard”

 is illuminated and


in the display appears the message “Active Keyboard”.


In this mode you can access all the features of level 2.


The keyboard is active for 30 seconds, if not more pressing any buttons. 
After this period of inactivit, the keyboard reverts to the locked state 
(Acces Level 1).


Inside the access Level 2, you can revert to Level 1, access button again for 3 seconds.


The keyboard LED will shutdown and the display will show the message 

“Keyboard


Inactive”.


By acessing the level 2, are open four menus, plus a fifth menu to access the programming level 3 
(password protected)


MENU 1 View State


The Menu 

“View


State” allows you to make a quickly functional diagnosis of


the panel checking


individually the status of zones, batteries, 230V AC, earth, acoustic outputs


(1 and 2), and 24V auxiliary output. To 

enter in this menu, only press the “Ent/Esc” and then use the


cursor keys “Left” and “Right” refer to the respective states.


The informat

ion in the display will correspond to “Ok” or “failure” depending on how the device is.


Menu 1 View 
State


->


Keyboard Active


sec.


j


Access level 2 Press 
button


Summary of Contents for CROSSFIRE LCD

Page 1: ...CROSSFIRE LCD INSTALLATION AND PROGRAMMING MANUAL Version 1 5 Revision B May de 2012...

Page 2: ...15 Reset 16 Specifications 16 Installation Record 17 Warranty Policy Certificate 18 Wiring Diagram 19 Crossfire control panels are manufactured accordingly to the European directives These control pa...

Page 3: ...bill conditions of the package and contact name 3 If you return the panel please return it in the original package In your control panel package you must check for the following items Notes for Insta...

Page 4: ...el and drill a hole in the wall in point A Place the panel in point A and mark the remaining B marks Remove the panel and drill in the B points Finally place the panel and screw it to the wall 3 Do th...

Page 5: ...rogramming for further information Both Outputs are limited to 24V DC 1A Repeater output A repeater panel can be connected to this panel It indicates alarm common fault and common disable Crossfi re p...

Page 6: ...lations Detectors wiring Detectors are connected directly to the zone terminals It is also required to include a EOL resistor in the last device If is not fi tted a fault will be indicated in the zone...

Page 7: ...nal blocks of the panel Due to high current consumption the panel inverts the ter minals polarity in standby So it is required to plug a diode in the positive terminal of the terminal block of the sir...

Page 8: ...ng fault led also lights up Test If this led is lit means that one or more zones are in test mode The fault led of specif c zone also lits Omit The system has one or more zones ommited The siren outpu...

Page 9: ...te that the LED Keyboard is illuminated and in the display appears the message Active Keyboard In this mode you can access all the features of level 2 The keyboard is active for 30 seconds if not more...

Page 10: ...u press the Ent Esc key and use the cursor keys Left and Right to check the status of the alarm circuits In normal mode the LCD will display the message No Active Fault MENU 4 Disable Zones he Menu Di...

Page 11: ...trol Panel or when navigating the menus If you want to temporarily disable the buzzer f ex during a consultation event or a programming you must press the button for 3 seconds the message Buzzer Silen...

Page 12: ...mming Mode 3 Insert the password according to the scheme using the cursor keys After introduction of 4 digits you should hear a double BIP in case of entry the correct code In this case the LED Keyboa...

Page 13: ...event This option is especially suitable for use in zones of false alarms high risk or for integration with auto matic fire extinguishing The pairs of zones are set as described in Table 1 below Tabl...

Page 14: ...2 3 Sounder 2 O The Menu Sounder 1 lets you set the timer of ringing sirens connected to the Sounder 2 output signal To enter the menu you should press Ent Esc This time is configurable from 0 second...

Page 15: ...rows of information normally intended to a Name and Phone Number MENU 6 2 Info Enable The Menu Enable Info lets you define if the Control Panel shows the programmed information on the menu 6 1 MENU 7...

Page 16: ...on 300 mA Resettable Fuse Aux Output protection 300 mA Resettable Fuse Max current draw per zone 57 mA number of detectors per zone varies according to their power consumption Baterie time AC Power mi...

Page 17: ...d this info to your client or peel off this page and keep it on a safe place INSTALLER DETAILS TECHNICIAN INSTALATION DATE ZONE NAMES CABLING IDENTIFICATION ZONE 1 ZONE 2 ZONE 3 ZONE 4 ZONE 5 ZONE 6 Z...

Page 18: ...r implied of merchantability or fitness of the products for a par ticular purpose or otherwise which extend beyond the description on the face hereof This limited Warranty Certificate is the Purchaser...

Page 19: ...19 Version 1 5 Revision B May 2012 Crossfire LCD Installation and Programming Manual Wiring Diagram CROSSFIRE LCD...

Page 20: ...Crossfire LCD Installation and Programming Manual NOTES 20 Version 1 5 I Revision B I May 2012...

Page 21: ......

Reviews:

Related manuals for CROSSFIRE LCD