


Installation (Continued)
forth to verify end play exists. If
detectable end play completely
disappears before capscrews are
completely tight (torqued to 10 ft.
lbs.), disassemble and remove
sufficient shims until, with
capscrews fully tightened, shaft
end play is barely detectable
(0.001 to 0.004).
2. When sliding a shaft seal over a
shaft extension, all sharp edges
(keyways, etc.) must be protected
with tape to prevent lips of oil seal
from being damaged.
3. When replacing seals, they must be
pressed squarely into the bore, to
prevent distortion and damage.
a.Press on metal retainer only. Lips
should be towards the inside of
unit.
b.The oil seal in the bearing cap
assembly (Ref. Figure 5 No. 9) is
preassembled in the cap. Use
bearing grease to coat seal surface
on shaft for initial run and pack
same grease between lips on seal
and on side of seal towards inside
of unit.
4. If unit has been disassembled, new
gaskets may be required to prevent
lubricant leakage. Both bearing cap
and housing cover are assembled
with a gasket. Gaskets should have
shellac on one side only, due to
possible repeated disassemblies to
achieve the proper output shaft end
play.
5. If unit has been disassembled and no
parts including the gasket (Ref.
Figure 5 No. 18) have been replaced,
no change in the shim stack (Ref.
Figure 5 No. 17) should be required
unless due to wear on parts. (Check
end play before disassembly).
6. When replacing bearings, care
should be exercised that new
bearings are pressed on straight and
properly seated against the shaft
shoulder or bore recess. For bearings
on shafts, press on inner race only.
Cleaning
Properly selected and installed electric
motors are capable of operating for
long periods with minimal
maintenance. Periodically clean dirt
accumulations from open-type motors,
especially in and around
vent openings, preferably by
vacuuming (avoids imbedding dirt in
windings). At the same time, check that
electrical connections are tight.
Lubrication
The Speed Reducer has been filled with
oil at the factory. After the initial 100
hours of operation, original oil should
be drained and unit refilled with new
lubricant. Thereafter, drain and refill
every 6 to 8 months or 2000 hours of
operation, whichever occurs sooner.
Lubricant should be changed more
frequently for severe operating
conditions. Refer to chart for proper
classification of lubricant to be used at
any given air temperature. Fill to level
shown in Figure 3, depending on
orientation.
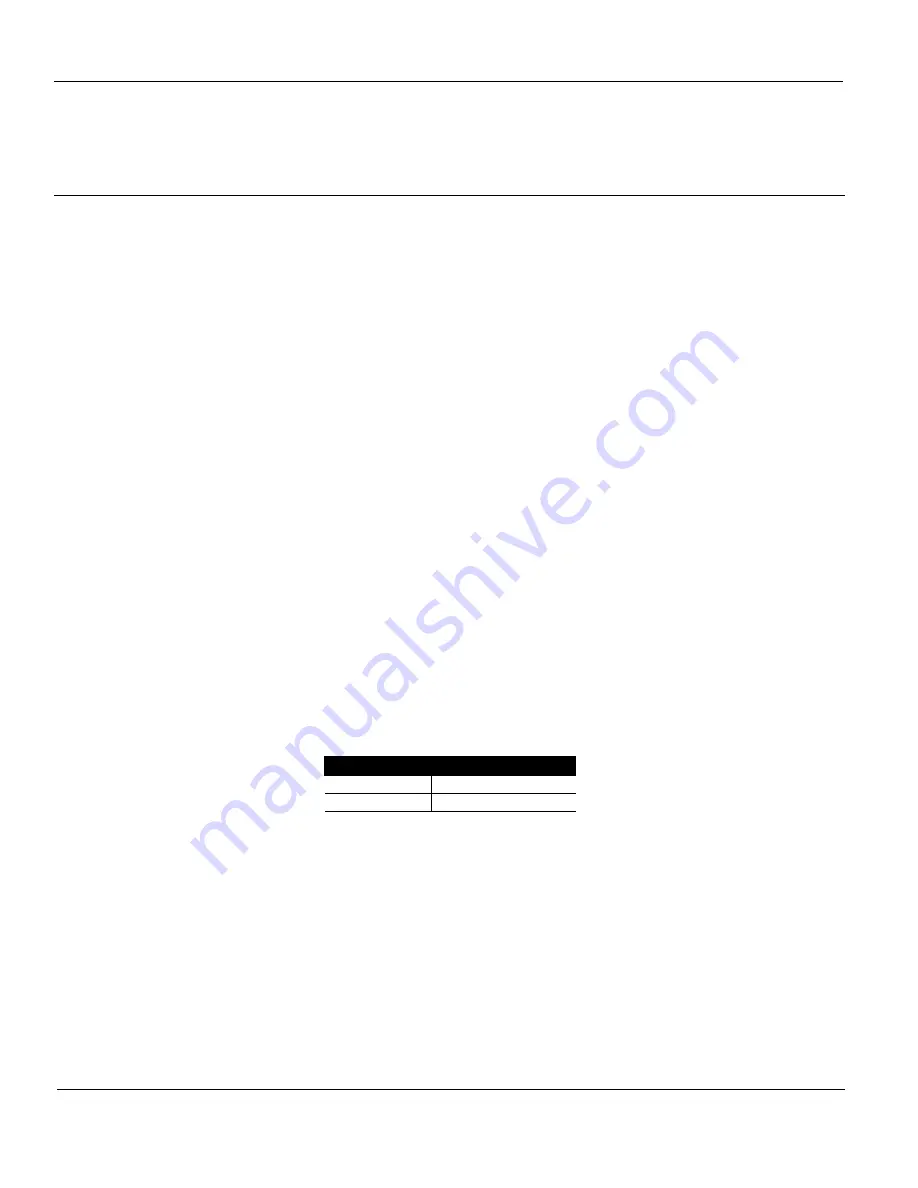
Recommended Worm Gear
Oil AGMA† Classification
Air Temp. ºF
AGMA Lubricant No
15-50
7EP
50-125
8EP
(†) American Gear Manufacturer’s
Assoc.
4
Dayton Operating Instructions and Parts Manual
Dayton
®
Speed Reducers
2Z306F thru 2Z310F
21
Summary of Contents for Magic Finger Bagger
Page 14: ...14...
Page 15: ...15...
Page 16: ...16...
Page 17: ...17...
Page 36: ...Integral Horsepower DC Motor Installation Operating Manual 5 05 MN605 36...
Page 48: ...Section 1 General Information 2 6 Installation Operation MN605 48...
Page 66: ...66...
Page 67: ...67...
Page 68: ...68...
Page 69: ...69...
Page 70: ...70...
Page 71: ...71...
Page 72: ...72...
Page 73: ...73...
Page 74: ...74...
Page 75: ...75...
Page 76: ...76...
Page 81: ...81...
Page 84: ...DECAL REORDER SHEET DECAL NUMBER DECAL IDENTIFICATION D001 D002 D003 D004 D005 84...
Page 85: ...DECAL REORDER SHEET DECAL NUMBER DECAL IDENTIFICATION D006 D007 D008 D009 85...


