5 – Set-up VMS for Soft On-Screen PTZ Control
Page 13 of 28
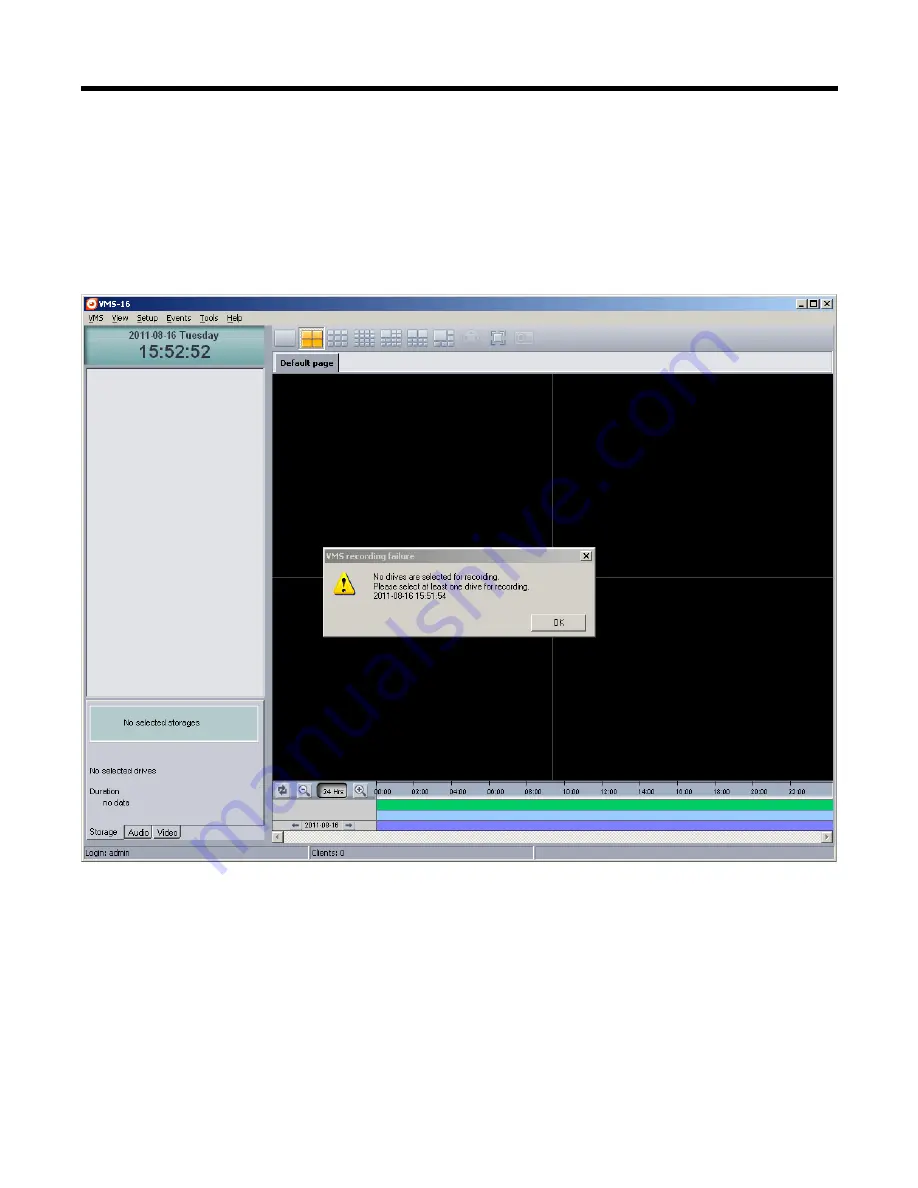
5-10 The VMS Home Page appears with a superimposed notice over it “VMS recording
failure”. The VMS Application as well as monitoring “Live Streams” from up to 16
sources with audio (VMS-16 Version) can also record them in a Muxed File (also
known as Multiplexing) and can play them back in a multi-viewer presentation. The
notice means that no hard drive has been allocated to record the streams. We don’t
need this feature to set-up and test our PTZ Controller so we will simple click “OK”
and close the notice. If interested in using the Record Feature, set up details can be
found in the VMS Manual.
5-11 Click ”Setup” on the menu at the top left of the screen and click “Camera”.
5-12 On the Setup Screen, just below the table of cameras which is currently
unpopulated, click on the button marked “Discovery”.
5-13 Another
window
will open with camera(s) IP, Mac Address, Base Port, HTTP Port
and IP Address. New cameras will default to the factory IP address of
“
192.168.10.100
”. Because of this common IP address, all new cameras should be
connected one at a time to change IP address to a unique address.


