


18
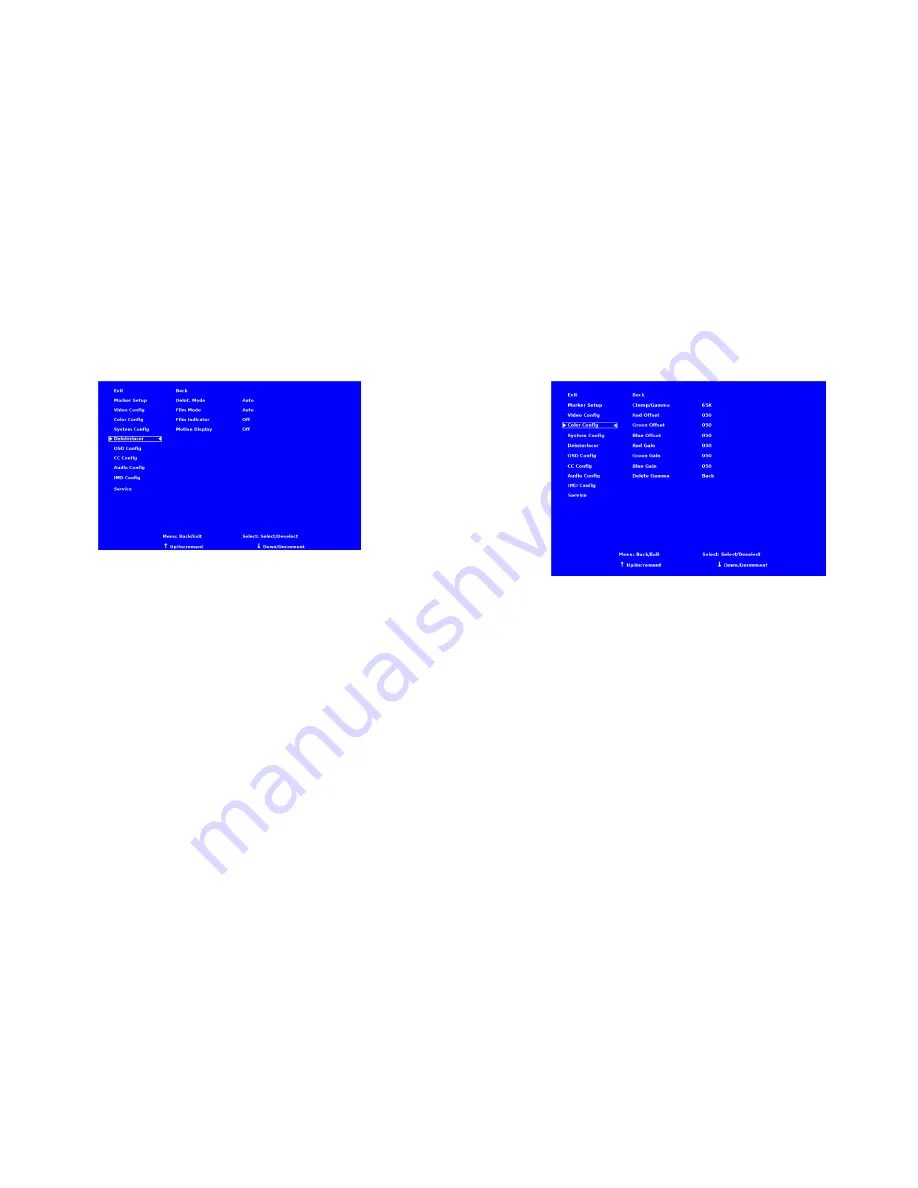
DEINTERLACER SUBMENU
Use the Deinterlacer submenu to control the type of deinterlacing performed on interlaced input signals.
■
Deinterlacer Mode
Use the Deinterlacer Mode option to set the type of deinterlacing algorithm used:
•
In Auto mode, the deinterlacer defaults to Motion Adaptive mode (see below), but uses Film Mode (see below)
whenever a film cadence is detected. This is the optimum deinterlacing mode for best picture quality and should be used
whenever possible.
•
In Motion Adaptive mode, the image processor uses a motion adaptive de-interlacing algorithm. Film cadence detection
is disabled. Motion adaptive interlacing uses a variety of real-time algorithms to perform the best possible deinterlacing based on
the content.
•
In Field to Frame, each incoming field is scaled to a full progressive frame by the scaler. It is normal for the image to
appear vertically “bouncy” or as shaking.
•
In Interpolate (Bob) mode, each field is scaled to a full progressive frame by interpolating the missing lines from the
adjacent lines. It is normal for the image to appear vertically “bouncy” or as shaking.
•
In Static Mesh (Weave) mode, the Deinterlacer combines or “weaves” each pair of fields into a progressive frame. It is
normal to see jagged artifacts on fast-moving edges.
■
Film Mode
Film mode uses specialized algorithms to correctly deinterlace content that originated in either 24fps or 25fps. Film Mode is
automatically entered whenever a film-to-video cadence is detected in the content. Film cadence detection is active whenever
the Deinterlacer Mode is set to Auto.
System Configuration Submenu
15
COLOR CONFIGURATION SUBMENU
Use the Color Configuration submenu to adjust the color temperature of the display.
■
Ctemp/Gamma
Use this setting to choose one of three color temperature / gamma presets:
•
D55 (5500K)
•
D65 (6500K)
•
D93 (9300K)
•
Linear (No gamma applied)
■
Red, Green, and Blue Offset
Use the offset controls for red, green, and blue to adjust the color temperature of the display. Each setting adjusts the offset, or
brightness, of each individual color component. These settings will affect whichever color temperature preset is selected.
•
Red (0-100)
•
Green (0-100)
•
Blue (0-100)
■
Red, Green, and Blue Gain
Use the gain controls for red, green, and blue to adjust the color temperature of the display. Each setting adjusts the gain, or
contrast, of each individual color component. These settings will affect whichever color temperature preset is selected.
•
Red (0-100)
•
Green (0-100)
•
Blue (0-100)
Color Configuration Submenu


