


10
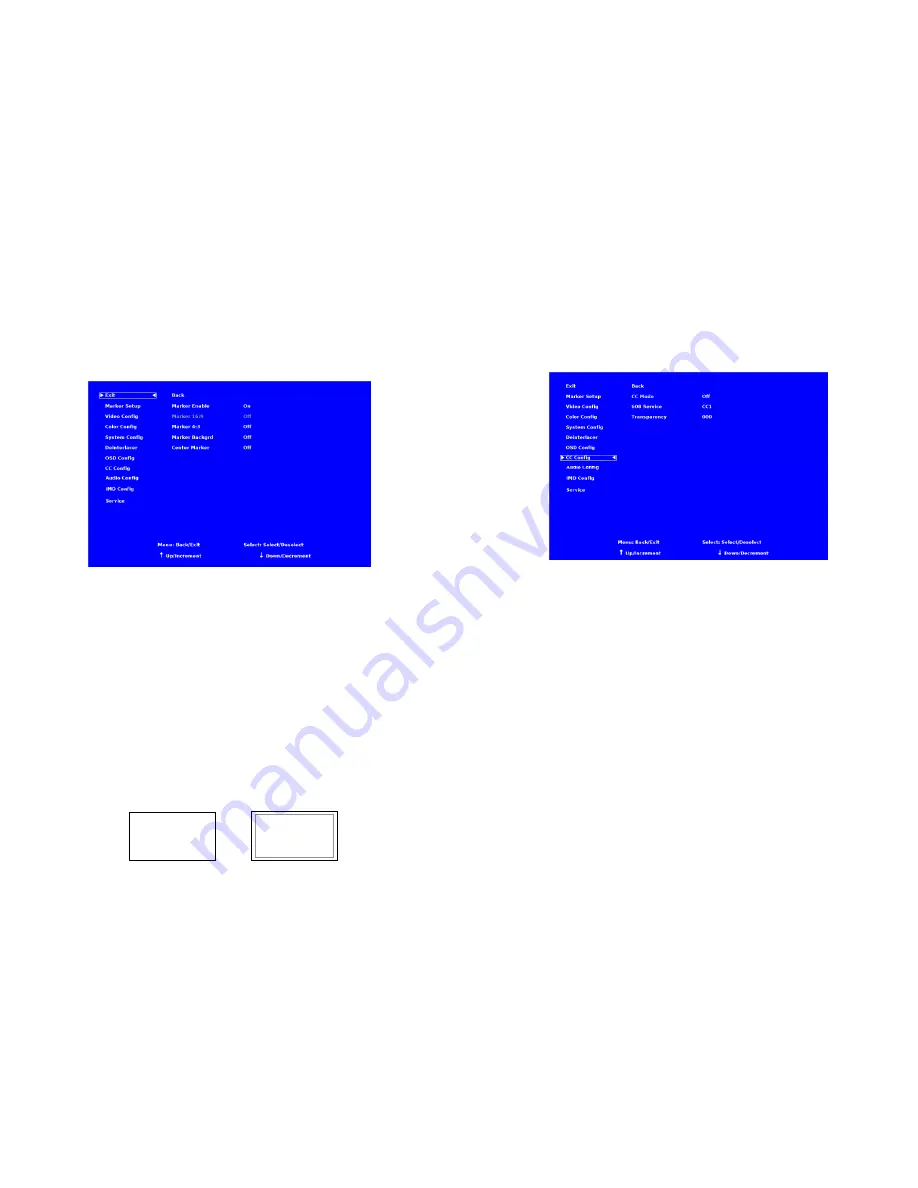
MARKER SETUP SUBMENU
Use the Marker Setup submenu to select various types of markers and settings in 4:3, 16:9, or Full Screen mode.
■
Marker Enable
The Marker Enable setting turns 16:9 or 4:3 screen markers On or Off. By default, this setting is On. If you turn the setting OFF,
the markers are automatically turned ON the next time you initiate a Screen Marker through a Function Button or through the
Marker submenu.
■
16:9 Markers
Use this setting to superimpose one of 10 markers on the screen when in 16:9 or Full Screen mode. This setting is disabled when
the aspect ratio is set to 4:3, or when Pixel-to-Pixel mode is enabled. Note that in Full Screen mode, markers are vertically
stretched along with the picture to fit the 16:10 screen.
•
Off (No Marker)
•
95% Safe Area
•
93% Safe Area
•
90% Safe Area
•
88% Safe Area
•
80% Safe Area
•
1.85:1 Aspect Ratio
•
2.35:1 Aspect Ratio
•
4:3 Aspect Ratio
•
14:9 Aspect Ratio
•
13:9 Aspect Ratio
16:9 Marker Examples:
Marker Setup Submenu
OFF (No Marker)
90% Safe Area
23
CC CONFIGURATION SUBMENU
Use the CC Configuration submenu to select the type of captioning stream you would like to decode.
■
CC Mode
The IMD-3G monitor series provides support for two types of Closed Captioning Modes: 608 and 708 (608 Comp.). Use this
section to choose which type of stream you would like to decode.
■
608 Service
The EIA-608 caption protocol defines four channels of caption information and four channels of text information. The
monitor can only display one of these channels at a time. With the 608 Service selections, you can select which of the four
streams to render on the screen.
■
Transparency
The transparency function affects the T1-T4 Closed Caption services. The transparency can be adjusted from 000-100, with
100 allowing full transparency.
IMD Configuration Submenu


