


14
Note: The aspect ratio setting is ignored when Pixel-to-Pixel mode is enabled.
■
Pixel-to-Pixel
Use this setting to enable Pixel-to-Pixel mode.
This Pixel-to-Pixel mode bypasses the monitor’s internal scaling function and displays incoming images in their native
resolution and aspect ratio, with a one-to-one mapping:
•
For incoming formats smaller than the native resolution of the LCD panel, the image will be displayed in the center of
the screen using only the necessary LCD pixels. For example, NTSC images will occupy exactly 720 x 480 pixels. The
surrounding pixels will be black.
Note: Pixel-to-Pixel mode disables aspect ratio control and H/V Delay.
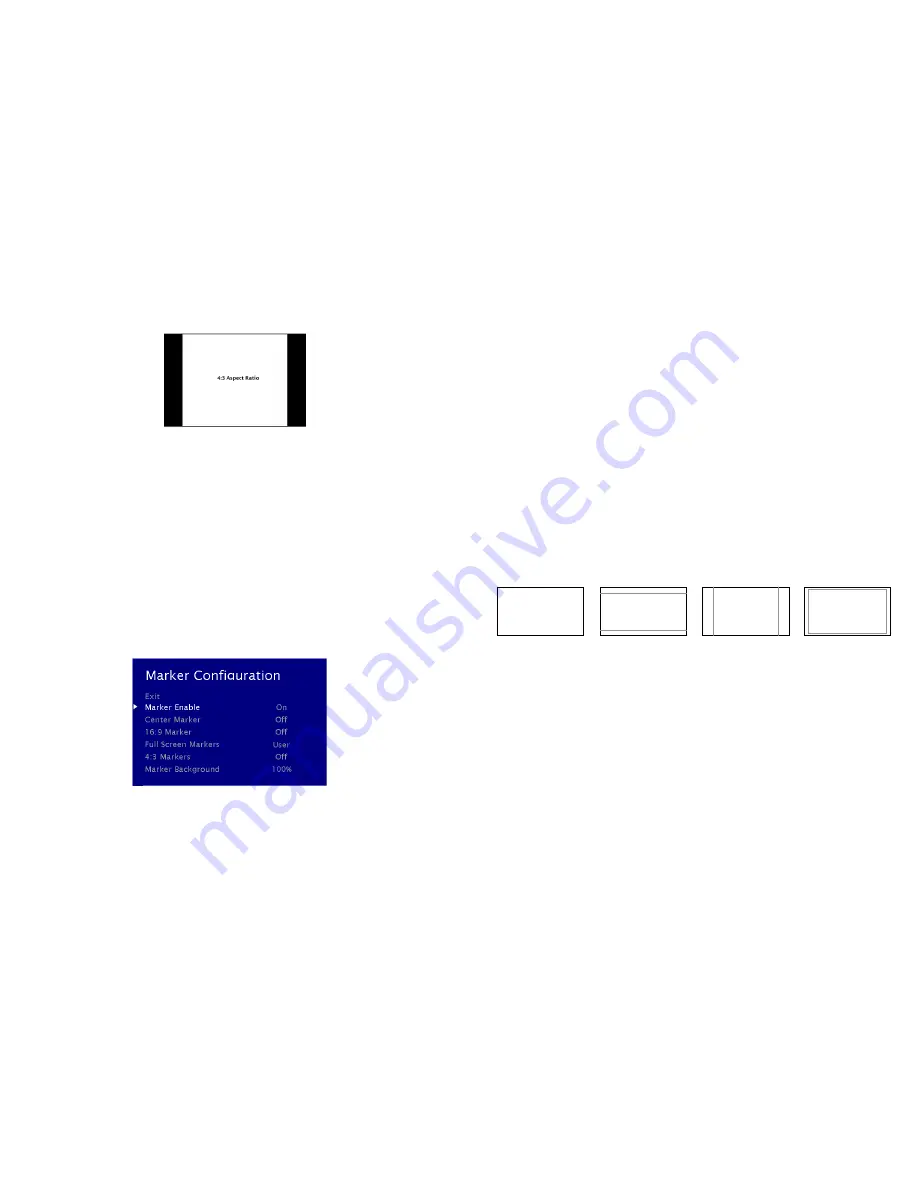
MARKER CONFIGURATION SUBMENU
Use the Video Configuration submenu to select various video settings such as monochrome mode or blue-only mode.
■
Marker Enable
Marker Configuration Submenu
15
Use this setting to enable or disable all on-screen markers. This setting affects the center marker, full screen markers, 16:9
markers and 4:3 markers.
■
Center Marker
Use this setting to display a center marker on the screen.
■
16:9 Markers
Use these settings to superimpose one of 12 markers on the screen when in 16:9 mode.
4:3
13:9
14:9
1.85:1
2.35:1
95% Safe
93% Safe
90%Safe
88% Safe
85% Safe
80% Safe
16:9 Marker Examples:
■
Full Screen Markers
Use these settings to superimpose one of 6 markers on the screen when in Full Screen mode.
95% Safe
93% Safe
90%Safe
88% Safe
85% Safe
80% Safe
■
4:3 Markers
Use this setting to superimpose one of 5 markers on the screen when in 4:3 mode.
• 95% Safe Area
• 93% Safe Area
• 90% Safe Area
• 88% Safe Area
90% Safe Area
OFF (No Marker)
4:3 Aspect Ratio Marker
2.35:1 Aspect Ratio


