User Guide
44
Recording A Macro Step By Step
To record a macro, there must be at least one macro group in the
Macro menu. To create these groups, see page 35-40. Read the
instructions for Adding Device Groups (see page 35-36), then note
the differences when Adding Macro Groups (see page 39).
1 Navigate to the Macro side by tapping the Macro icon.
2 Open the macro menu and select a macro group.
3 Switch to Edit mode via the Mode button
.
Empty macro buttons appear in the macro control panel.
4 Tap the button you want to use for your macro.
5 Enter the sequence of commands you want to record.
You can navigate to whatever control panel you want, just as
you do in Use mode.
6 Tap the Macro menu button.
The contents of the macro appear. You can now play, edit or
close the macro.
7 Press the Left button to close the macro.
A confirmation screen appears where you can save or cancel
the macro.
8 Tap Save and assign a label to the macro.
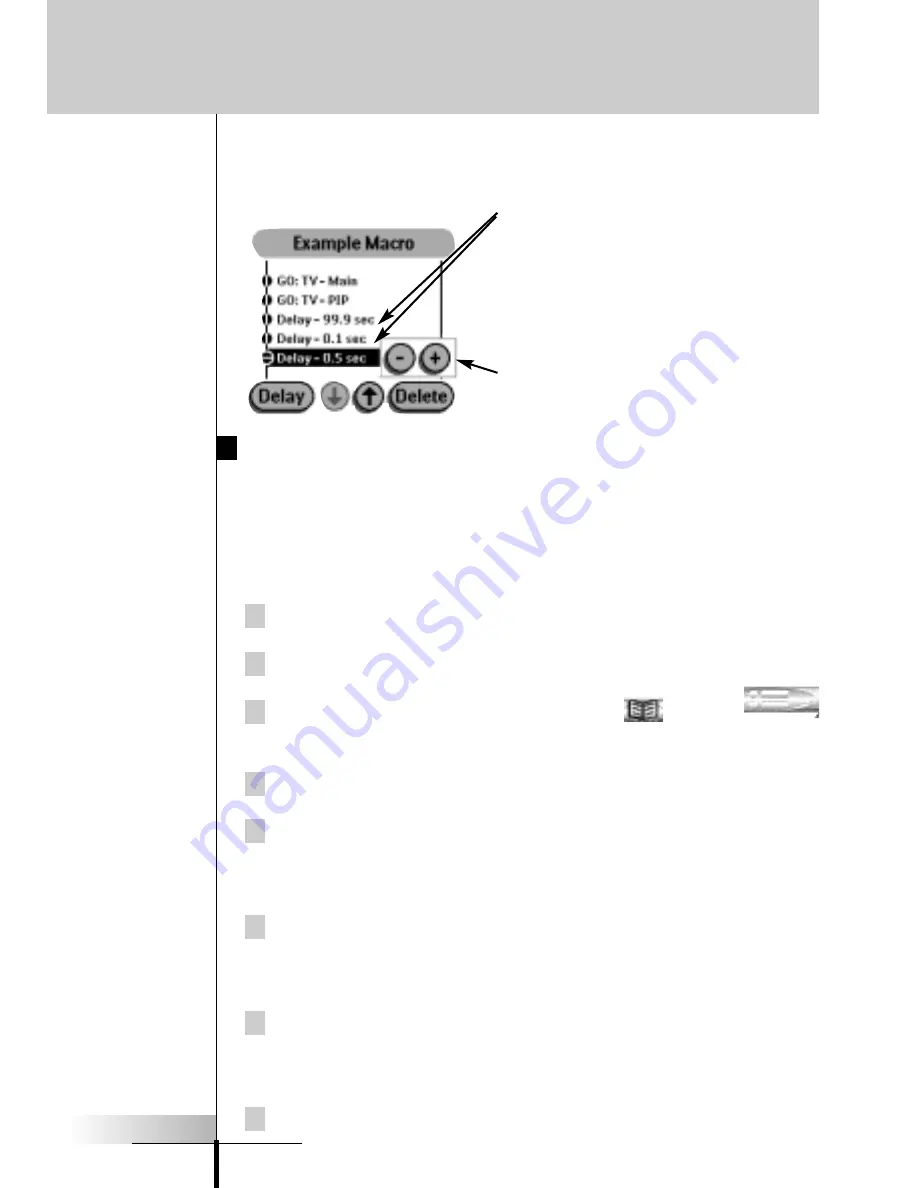
Delay
- A delay counts as one of the
255 macro steps. Delays can be
adjusted in 1/10th of a second inter-
vals to be any value between .1
second and 99.9 seconds.
Adjusting Delays
- When a delay is
“
Selected,
”
you can adjust the delay
with the plus and minus buttons.
Reference


