10 ENGLISH
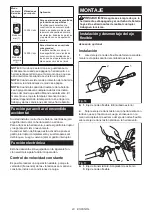
NOTE:
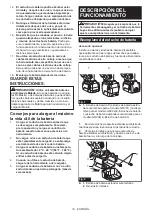
The mode you select will be saved automat-
ically when the tool is powered off. The tool restarts
in the same mode as it previously used when turned
on again.
NOTE:
When the battery protection system works,
the mode indicators turn off.
NOTE:
When the remaining battery capacity
becomes low, either of the two indicators for the mode
you are currently using will blink. The timing, at which
the lamp starts blinking depends on the temperature
at work place and the battery cartridge conditions.
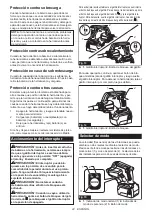
Accidental restart preventive function
If you install the battery cartridge while pulling the
switch trigger, the tool does not start.
To start the tool, release the switch trigger, and then pull
the switch trigger again.
When the lock button is engaged, pull the switch trigger
fully and release it to exit the lock. Then pull the switch
trigger again.
Electronic function
The tool is equipped with the following electronic func-
tion for easy operation.
Constant speed control
Possible to perform a stable operation, because the
speed (frequency) of vibrations is kept constant even
under the loaded condition.
ASSEMBLY
CAUTION:
Always be sure that the tool is
switched off and the battery cartridge is removed
before carrying out any work on the tool.
Installing and removing flexible shaft
Optional accessory
Installation
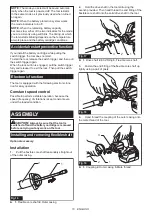
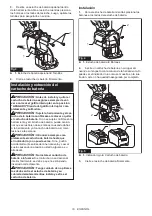
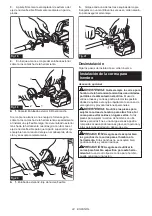
1.
Pull the flexible core shaft reasonably straight out
of the outer casing.
1
2
Fig.16
►
1.
Flexible core shaft
2.
Outer casing
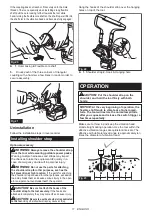
2.
Hold the drive shaft in the tool still using the
wrench provided. Then hand thread the end fitting of the
flexible core shaft onto the solid drive shaft in the tool.
1
2
3
Fig.17
►
1.
Drive shaft
2.
End fitting
3.
Flexible core shaft
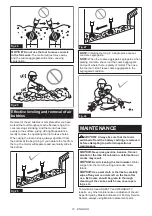
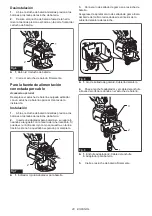
3.
Fasten the end fitting of the flexible core shaft up
tightly using a pair of pliers.
Fig.18
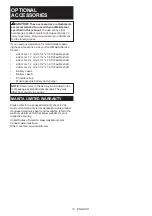
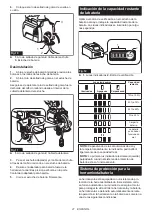
4.
Hand thread the coupling of the outer casing onto
the male thread of the tool.
1
3
2
Fig.19
►
1.
Coupling
2.
Outer casing
3.
Male thread
Summary of Contents for XGT GRV01
Page 27: ...27 ...

