REFERENCE
REFERENCE
18
19
SENDING THE FILE TO THE MAKERBOT REPLICATOR MINI
If Connected via Wi-Fi
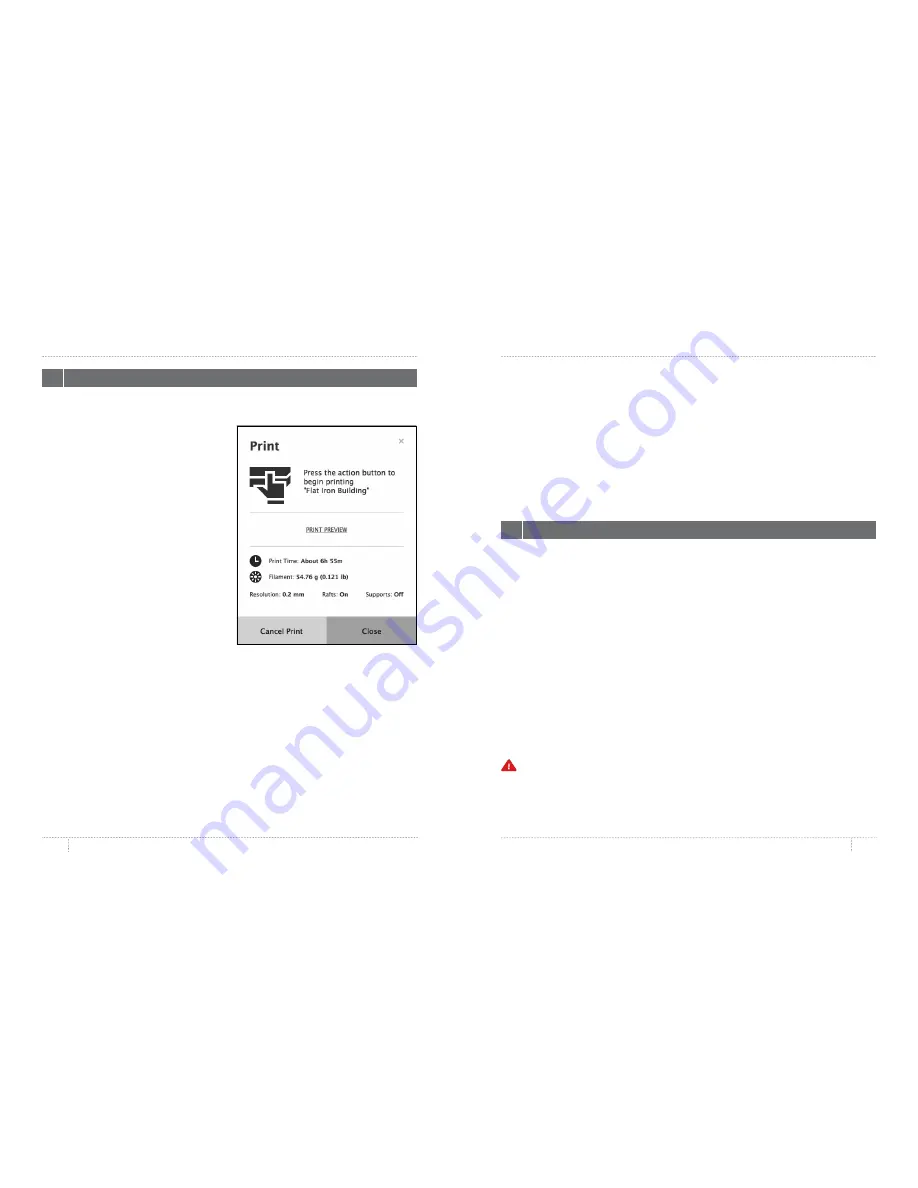
1 . Click the Print button to slice your model
and send it to your MakerBot Replicator Mini .
2 . When the print file is sent to the MakerBot
Replicator Mini, the Action Button will blink
blue . Press the Action Button to confirm
the print . The Action Button will then glow
red, indicating it is heating the MakerBot
Replicator Smart Extruder . When the Smart
Extruder is fully heated, the MakerBot
Replicator Mini will start to print your model .
3 . Click
OK
to exit the print dialog, or, to
cancel the print, click
Cancel Print
.
If Connected via USB Cable
1 . Click the Print button to slice your model . To
send the file to your MakerBot Replicator Mini
and exit the Print dialog, click
Start Print
.
If you decide not to send the file to the MakerBot Replicator Mini, click
Cancel Print
.
2 . When the print file is sent to the MakerBot Replicator Mini, the Action Button will blink
blue . Press the Action Button to confirm the print . The Action Button will then glow red,
indicating it is heating the MakerBot Replicator Smart Extruder . When the Smart Extruder is
fully heated, the MakerBotReplicator Mini will start to print your model .
In the Print dialog, click
Print Preview
to see:
•
• estimated print time
•
• estimated amount of filament your print will use
• a rendering of what your print will look like
•
PRINTING WITH MAKERBOT DESKTOP
PRINTING WITH MAKERBOT DESKTOP
3
PRINTING YOUR MODEL
HOW TO PAUSE OR CANCEL A PRINT
To Pause:
While the MakerBot Replicator Mini is printing, press the Action Button once to
pause . The Action Button color will turn from red to blue . Press the Action Button again to
resume printing, or press and hold the Action Button to cancel the print . You can also pause
by opening the print monitor panel in MakerBot Desktop and then clicking
Pause
.
To Cancel:
While the MakerBot Replicator Mini is heating or printing, press and hold the
Action Button to cancel the print . You can also cancel by opening the print monitor panel in
MakerBot Desktop and then clicking
Cancel
.
If you are printing a file from Thingiverse, you will be prompted to share a photo once your
print is finished . Photos shared to Thingiverse will appear on the Thing page in the
I Made
One!
section . Sharing a photo is a nice thing to do – other Thingiverse users will love to see
how your prints of their designs come out .
To share a photo, click
Share to Thingiverse
. If you do not wish to share a photo of your
print to Thingiverse, click
Back to Menu
.
When your print finishes, wait for the Smart Extruder to cool, then remove the build plate
from the MakerBot Replicator Mini . Remove the print from the build plate, and peel off the
raft from the bottom of the print . Every object printed on your MakerBot Replicator Mini will
be built on a raft . The raft acts as a base for your object and any support structures, and
ensures that everything adheres well to the build plate . The raft will be easily removable
once you remove your finished object from the build plate .
Caution:
Never turn off the MakerBot Replicator Mini during or immediately after printing,
or when the Action Button is red . Wait a few minutes before powering down .
4
POST PRINT STEPS
Summary of Contents for Replicator
Page 1: ...REFERENCE GUIDE...


