


32
C
STARTUP PROCESS: LEVELING, LOADING, TESTING
After you have successfully leveled the build platform and loaded the MakerBot PLA Filament
into the extruder, the LCD panel will ask you: “How’d it go? Ready to make something?”
Select “Yes” and the LCD panel will display: “Awesome! We’ll go to the SD card menu and
you can select a model!”
2a. Use the arrow keys to navigate through the list of models on the SD card.
2b. To select a model, press M.
2c. The MakerBot Replicator 2 Desktop 3D Printer will begin to make your object. You can
use the LCD panel to monitor the temperature of the extruder and the status and progress
of your object.
mAKiNg A TEST OBjECT FrOm ThE SD CArD
2
Selecting a Project from the SD Card
The Replicator 2 package includes an SD
card that is already loaded with files for
making test objects.
1a. Locate the card among the contents in
the accessory sleeve.
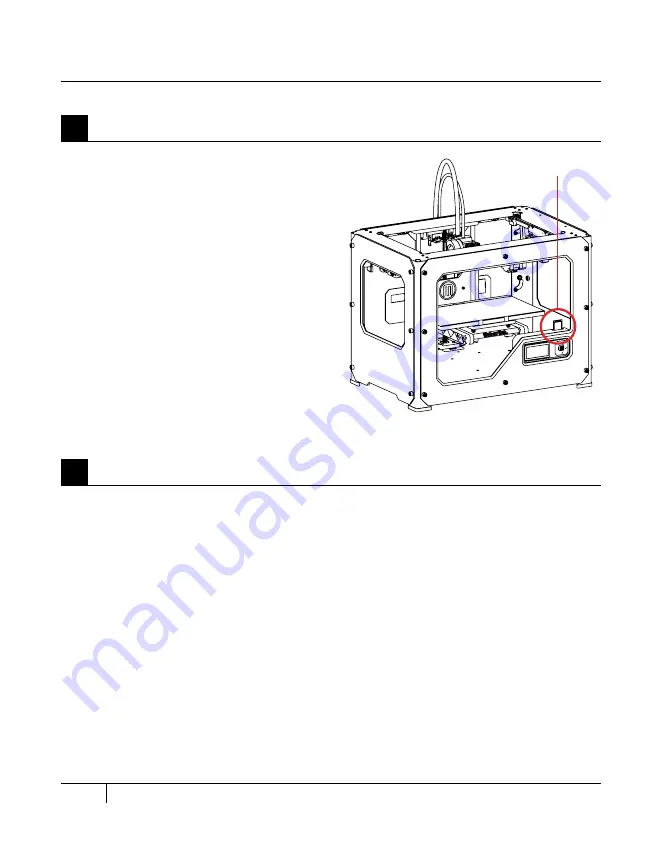
1b. Insert the card into the SD port directly
behind the LCD panel.
1
Inserting the SD Card
SD Card
Summary of Contents for Replicator 2
Page 1: ...USER MANUAL SINGLE EXTRUSION ...
Page 2: ......
Page 4: ...Welcome Let s get started A ...
Page 10: ...Setting Up Your MakerBot Replicator 2 Desktop 3D Printer B ...
Page 20: ...Startup Process Leveling Loading Testing C ...
Page 34: ...Making an Object with MakerBot MakerWare D ...
Page 43: ...NOTES ...
Page 44: ...E Troubleshooting Diagnostics and Maintenance ...
Page 60: ...MakerBot 87 3rd Avenue Brooklyn NY USA support makerbot com makerbot com ...


