DX810 – 25
Click the
On
button to activate the Gate for the
selected input. The
Reset
button returns all the
knobs to their default settings.
The Gate has four knobs:
Hold, Release,
Threshold
, and
Range
. Click and drag on the
individual knobs to adjust each parameter. An
analog-style meter indicates the input signal level
for the selected channel.
Click the right mouse button over the processor
display to bring up a menu that allows you to cut, copy,
or paste the processor settings to another channel.
About Gating:
A gate is used to duck or mute a channel when
the signal level drops below a certain point. This can
reduce the overall noise level in your mix by muting
unused or noisy channels.
Note:
When we say the gate opens, it means
the gate is not acting on the signal and the signal is
allowed to pass. When the gate closes, the gate
acts on the signal by attenuating it.
•
Threshold:
This determines the level below which the gate
closes (and above which it opens). It is calibrated in decibels,
ranging from –60 dBFS to –1 dBFS.
•
Hold:
This determines how long the gate remains open after the
input signal has fallen below, and remains below, the threshold
before closing. It is calibrated in milliseconds, ranging from 0 ms
to 2550 ms (2.55 sec).
•
Release:
This determines how fast the gate closes after the hold
time has expired. It is calibrated in milliseconds, ranging from
10 ms to 2500 ms (2.5 sec) per 20 dB of gain change.
•
Range:
This determines the amount of attenuation of the input
signal when the gate is closed. It is calibrated in decibels,
ranging from –100 dB to –1 dB.
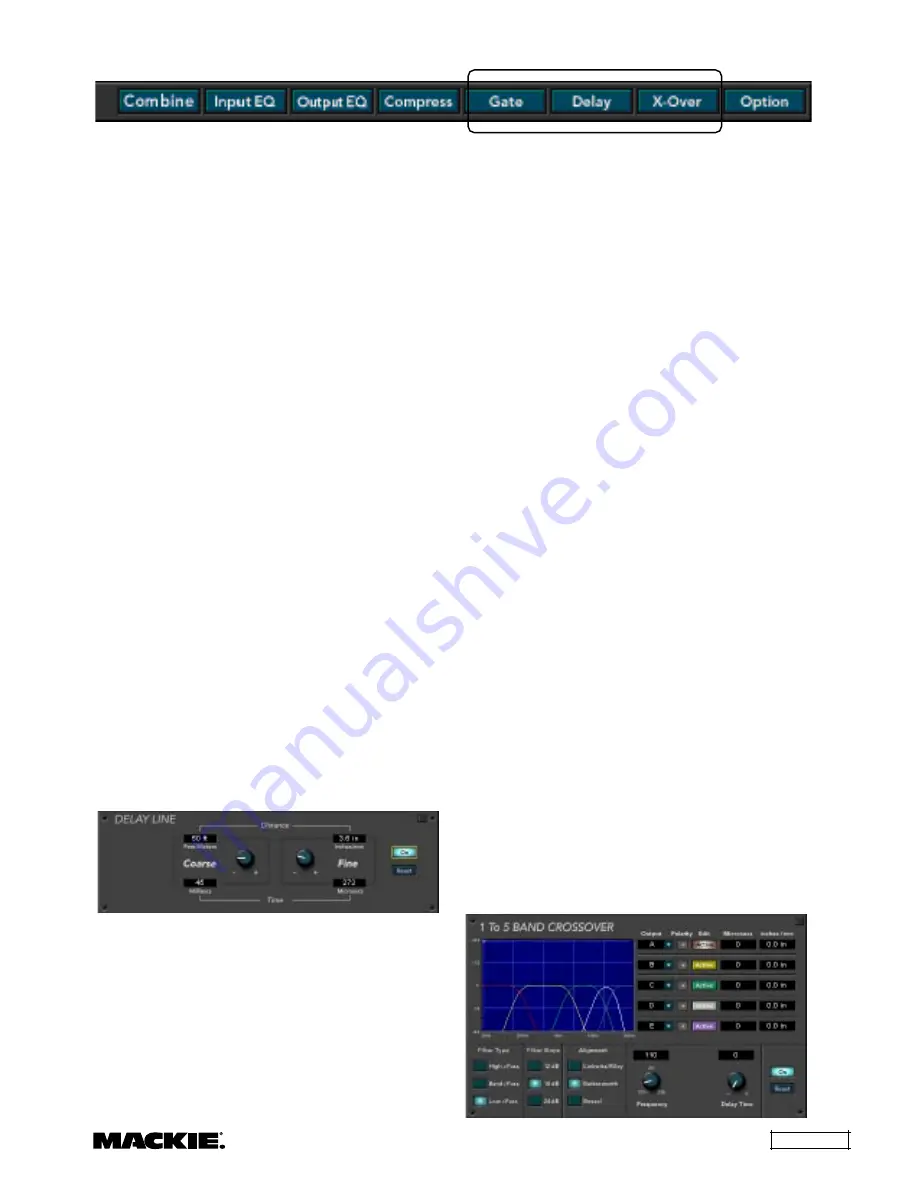
Delay
Click this button to view the Delay settings for a
selected output. Click the output letter buttons (
A-J
)
to select an output.
Click the
On
button to activate the Delay Line.
The Delay Line has two knobs:
Coarse
, and
Fine
. Click and drag on the individual knobs to
adjust each parameter.
Coarse:
This control adjusts the delay in 1
millisecond increments, with a range from 0 ms to
200 ms. The equivalent distance the sound travels
in the selected amount of time is displayed. Use
this control when setting up a delay between two
speakers, as in a delay tower.
Fine:
This control adjusts the delay in small
increments (22.7
µ
s), with a range from 0
µ
s to 997
µ
s.
The equivalent distance the sound travels in the
selected amount of time is displayed. Use this
control to adjust for offsets between drivers in a
stack. For example, use this control to time-align a
horn’s compression driver and a woofer’s voice coil.
In addition, it is necessary to enter the ambient
air temperature in the
Delay/Distance Parameters
window (click
Advanced
in the top menu bar and
select
Set Temperature
). The speed of sound
varies with air temperature, and this value is
needed to accurately calculate the time delay
required as a function of distance traveled (see "Set
Temperature" on page 16). You can also choose
between US units (Fahrenheit/Feet/Inches) and
Metric units (Celsius/Meters/Millimeters) in the
Delay/Distance Parameters
window.
Click the right mouse button over the processor
display. This brings up a menu allowing you to cut,
copy, or paste the processor settings to another
channel.
X-Over
Click this button to view the 1 to 5-Band
Crossover. The crossover window has a graphic
display to indicate the number of bands and
crossover points selected. Up to five outputs can be
selected, which become linked to a single row of
inputs. In other words, each of the eight inputs has
just one mix level to the combined outputs in the
crossover. This is reflected in the Crosspoint Matrix
Section by “blanking out” all but the top row of
crosspoints for the linked crossover outputs. Note
that only contiguous outputs may be linked to
create a crossover.
Linking outputs together for the crossover
automatically links those outputs in Output EQ
processors. The Output EQ defaults to the setting
for the first output in the crossover (i.e., Output A).
The equalizers are located prior to the crossover in
the signal chain, so all the outputs assigned to the
crossover are affected by the EQ settings.


