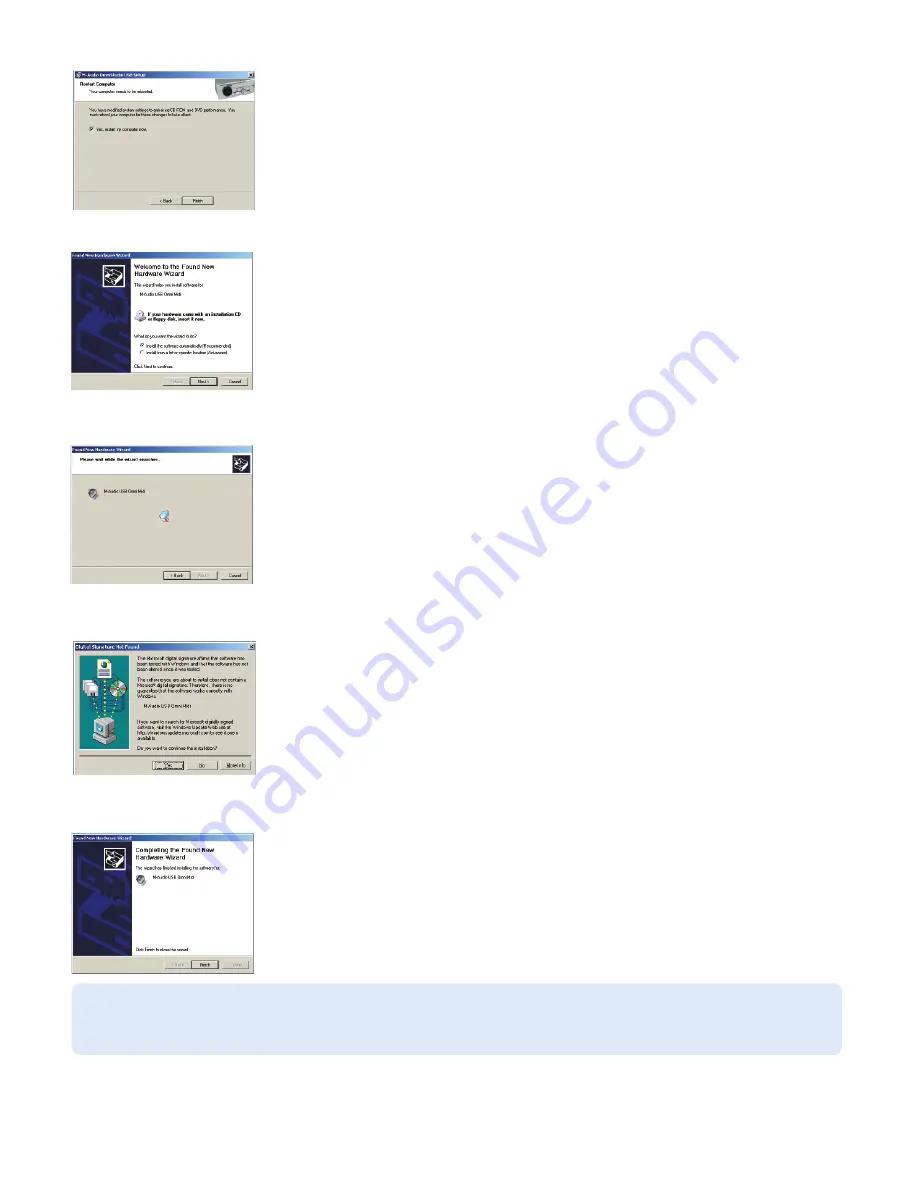
Once the installer has finished copying the files, you will be prompted to reboot your computer.
After the computer has rebooted, connect the OmniStudio USB to your computer’s USB port and power
it on. The New Hardware Wizard will open.
Once again, select the default selection, “Install the software automatically” and click Next. Windows will
install the driver files.
You will again be prompted by the Windows Digital Signature notice – once again, click Continue
Anyway and proceed with the full installation.
When you see the Completing New Hardware Wizard screen, click Finish to complete the installation.
Your OmniStudio USB is now ready to use. You will see the M-Audio OmniStudio USB control panel icon in your system tray (lower right corner
of your desktop). Click on the icon to open the control panel.
NOTE:
OmniStudio USB requires that you have Microsoft DirectX version 8.1 or later installed. The OmniStudio USB installer will
automatically check for the correct version of DirectX and install the latest Direct X update. This update will be skipped if you
already have DirectX version 8.1 (or higher) in your system.
17


