


LSI LASTEM M-Log – User’s manual
48
4.
Turn converter on and await for inscription “Login” on program. After login has been
executed, the symbol # will be displayed; so type in
“root”
and then password
“root”
(press
Enter
key to continue the procedure an
Esc
key to come back).
5.
Type in
EDITCONF
and press Enter key.
6.
In order to change TCP/IP address, from main screen, select 1(Network configuration) and
then again 1(IP configuration). Now modify values 2(IP address) and 3(Subnet mask) with
values supplied by user.
7.
Default port is 6000. In order to modify it (
Port
), from main screen, select 2(Serial port
configuration), 1, 3(Host mode configuration) and finally 2(Port number) and here modify
the value. Recommended port is 7001.
8.
Change
Inter character time-out
from 0 to 10 ms. From main screen, select 2(Serial port
configuration), 1, 4(Serial port parameters) and finally 7(Inter character time-out).
9.
Type in sequence (always followed by Enter),
Save, Apply, Esc.
10.
Turn converter off and put red switch in position
data
.
11.
Finally turn converter on again and connect it to M-Log.
5.6.2.2
XPORT configuration (internal Ethernet port)
For right operation, each M-Log must be configured according to special setups (for TCP/IP
protocol) through DeviceInstaller of Lantronics software, available in DVD LSI LASTEM products
(MW6501) in “Install\Support\Lantronix” folder or downloadable from Lantronics website
http://www.lantronix.com/support/downloads.html
To configure Ethernet port, follow the instruction below:
1.
Connect LAN cable in proper port on top panel of M-Log and check the flashing LED on
the port, indicating the presence of the network.
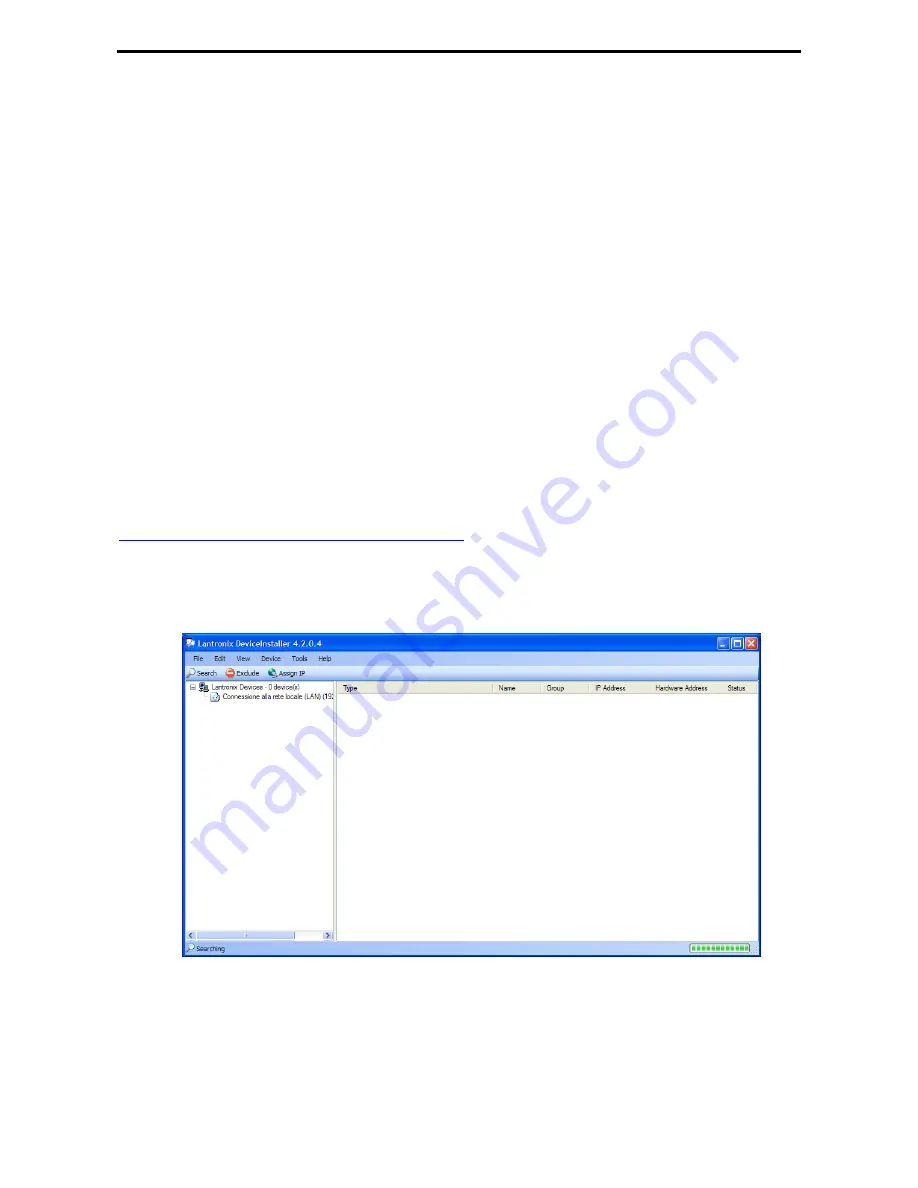
2.
Open DeviceInstaller software of Lantronics and following window will be displayed:
3.
Press
Search
and identify the computer device connected to LAN. After some seconds, if
LAN connection is operating properly, the instrument is recognized and listed among the
available ones. In case of several instruments, it’s possible to determine each model
according to hexadecimal numeric code written on label placed on bottom side of box.


