


43
Using the Main Menu
Second available for recording on
16-channel models.
NOTE:
If you change this setting, the DVR
will restart when you save changes.
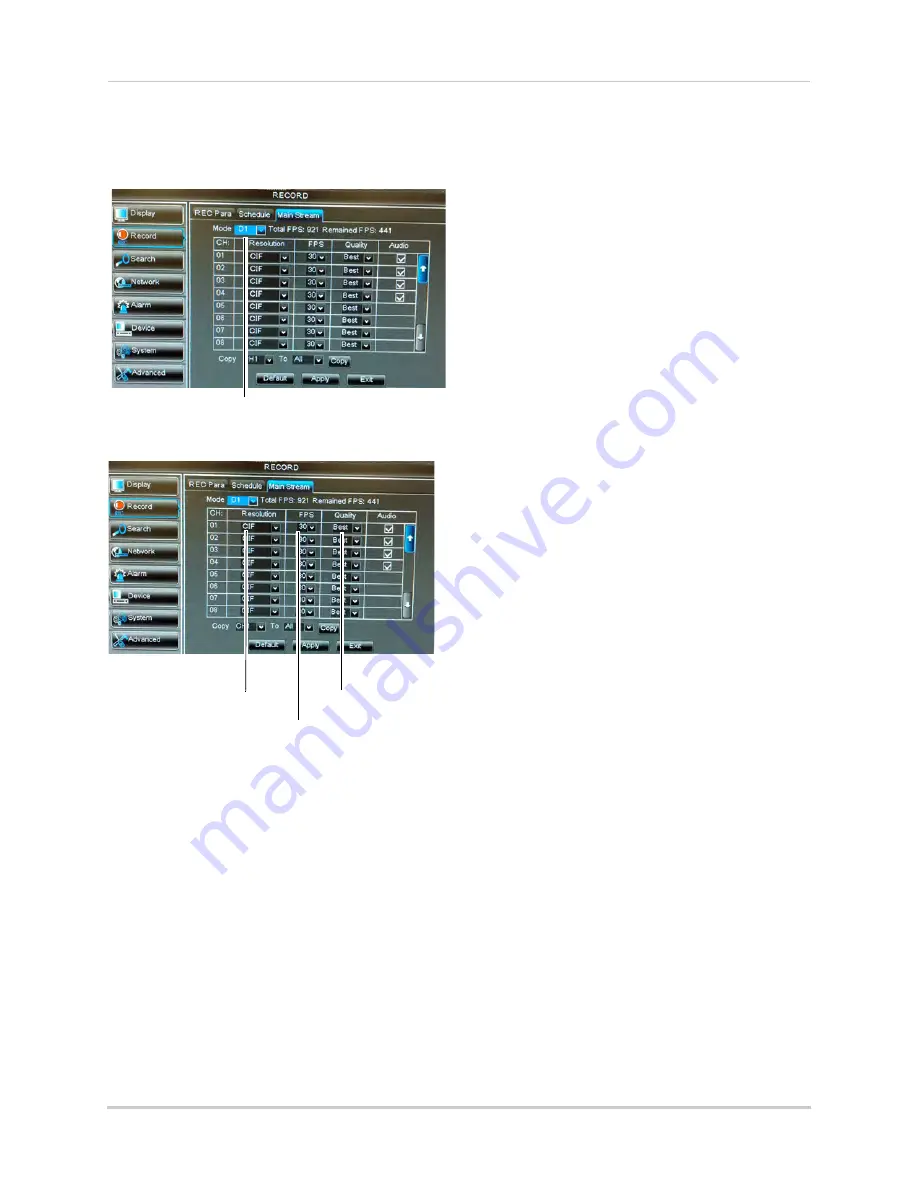
3
Under the
Quality
drop-down menu, select
from
Good, Better
, or
Best
to adjust the
quality of recordings on each channel.
4
Under the Resolution drop-down menu,
select the Recording Resolution for each
channel:
• If D1 is selected, available options are
CIF
(320x240),
HD1
(720x240), or
D1
(720x480).
• If 960H mode is selected, available options
are
480x240
,
960x240
, or
960x480
.
5
Under the
FPS
drop-down menu, select
the number of frames per second you want
the DVR to record on each channel.
6
(Optional) Use the
Copy
and
Copy To
drop-down menus to copy recording
settings to one or all channels. Click
Copy
to copy recording settings.
7
Click
Apply
to save your settings.
NOTE:
On the 16-channel model, increasing
the resolution or quality settings will
decrease the amount of Frames per
Second (FPS) the DVR can record. If
you receive an error message when
saving your changes, reduce the
Resolution, Quality, or FPS and try
again.
Under Mode, select D1 or 960H
Frames per Second
Recording
Resolution
Recording quality
Summary of Contents for LH150
Page 16: ...xiv...