


10
Bioscience Solutions
– 4D-Nucleofector™ Manual
2.7 General Use Instructions
This section gives an overview of the 4D-Nucleofector™ System operating
software. Details of the Nucleofection process can be found in the cell-
type specific Optimized Protocols (
www.lonza.com/optimized-protocols
NOTE:
All screenshots shown in this section refer to software version
4.0.
2.7.1
Turning on the 4D-Nucleofector™ System
Turn on the system using the main power switch at the rear of the
Core Unit. The system will boot up — this process may take a few
moments — and the blue LED at the front of the Core Unit will be lit.
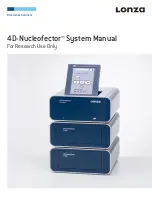
Once the start-up procedure is complete, the 4D-Nucleofector™ graphical
user interface (touch screen) will display the software main screen.
The main screen (figure 2.6) displays the current configuration of the
4D-Nucleofector™ System (Core Unit and functional units).
Figure 2.6:
Main screen
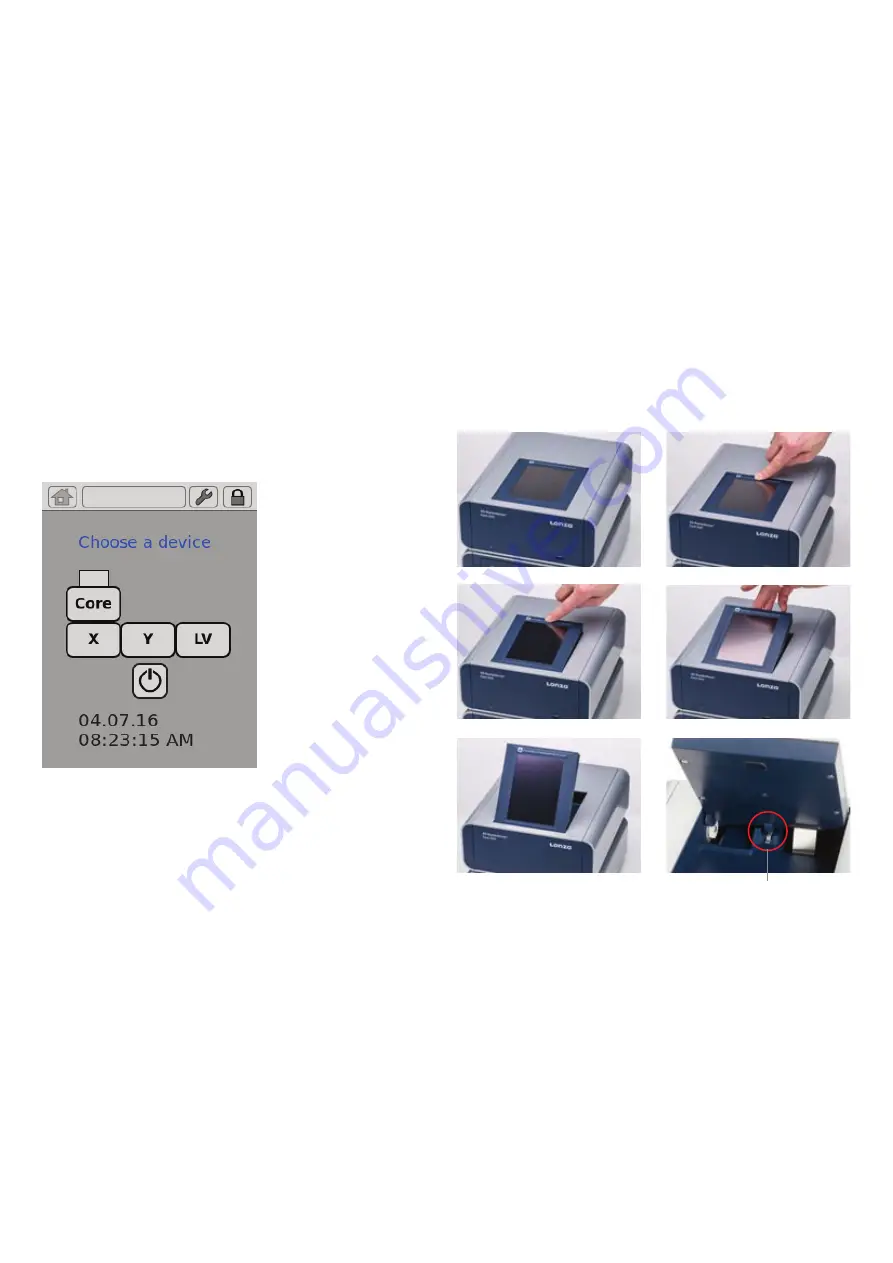
2.7.2
Adjusting the Position of the Touch Screen
The touch screen of the 4D-Nucleofector™ System can be set at four
angles (0°, 30°, 45°, and 60°), providing convenient access for the user.
Press the label on top of the display frame to unlock the display from its
home position. From this starting position, the user can adjust it to the
most convenient angle by simply pulling it into a more upright position. The
screen can be returned to its home position by moving it to the 60° position
and then pulling it gently forward towards the front of the Core Unit. A
switch will be activated, and the screen will drop automatically back into
the starting position. Press down the screen to lock it in its home position.
NOTE:
Do not try to close the display when the system is switched
off. If there is a need to close it during OFF status or in case the
display gets stuck, use the release knob shown in figure 2.7
(red circle).
Figure 2.7:
Releasing the touch screen
3
4
5
6
1
2
Emergency release


