


Chapter
2
Product
Description
3
11
Microphone
Receives
voice
inputs
12
Star
Key
Enter
symbols
in
text
mode
Press
and
hold
to
mute
13
Call
Key
Dial
manually
entered
or
Phonebook
numbers
Show
call
history
14
Left
Soft
Key
Select
a
menu
or
submenu
Confirm
menu
option
15
Speaker
Volume
Use
to
increase
or
decrease
volume
during
a
call
16
Belt
Clip
Gap
Use
to
hold
the
belt
clip
17
Speaker
Transmits
voice
output
(hand
free
mode)
or
plays
plays
ring
tone
18
Battery
Compartment
Contains
the
Li
‐
ion
battery.
I
I
n
n
s
s
e
e
r
r
t
t
i
i
n
n
g
g
t
t
h
h
e
e
B
B
a
a
t
t
t
t
e
e
r
r
y
y
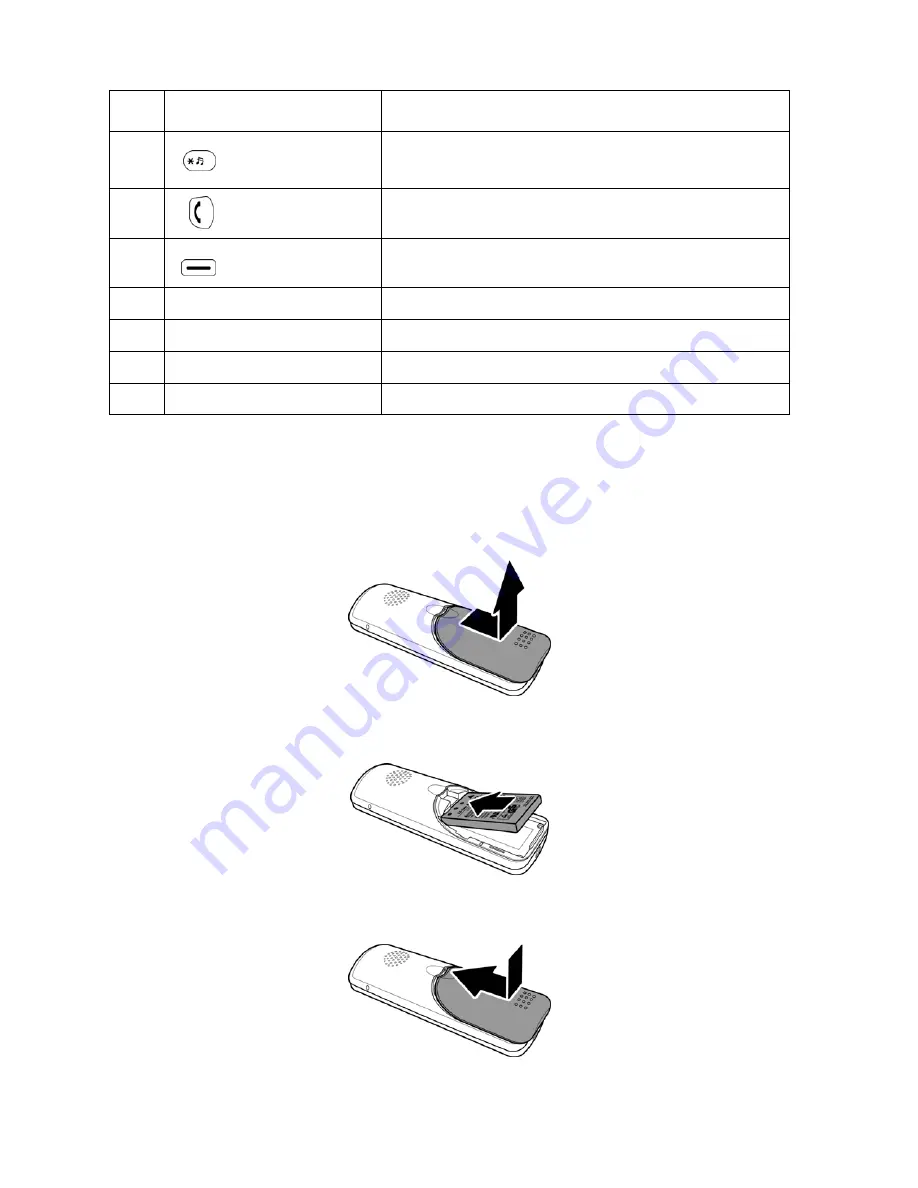
To
insert
the
battery
into
your
WiFi
phone,
perform
the
following
steps:
4.
Slide
off
the
battery
compartment
cover.
5.
Insert
the
battery
as
shown,
making
sure
the
gold
connectors
are
correctly
aligned.
6.
Replace
the
battery
compartment
cover
until
it
clicks
into
place.


