


Chapter
4
MMI
Menu
11
M
M
o
o
d
d
i
i
f
f
y
y
i
i
n
n
g
g
a
a
C
C
o
o
n
n
t
t
a
a
c
c
t
t
To
modify
a
contact,
perform
the
following
steps:
1.
Select
the
contact
to
modify.
2.
Press
the
Options
soft
key
to
display
menu.
3.
Select
Edit
.
4.
Edit
the
necessary
information.
5.
Press
the
Save
soft
key
to
save
settings.
Deleting Contacts
To
delete
a
contact,
perform
the
following
steps:
1.
Select
the
contact
to
delete.
2.
Press
the
Options
soft
key
to
display
menu.
3.
Select
whether
to:
Delete
: Delete selected contact.
Delete All
: Delete all contacts in the Phonebook.
4.
confirmation
message
appears,
press
the
Yes
soft
key
to
confirm
delete
or
the
No
soft
key
to
cancel.
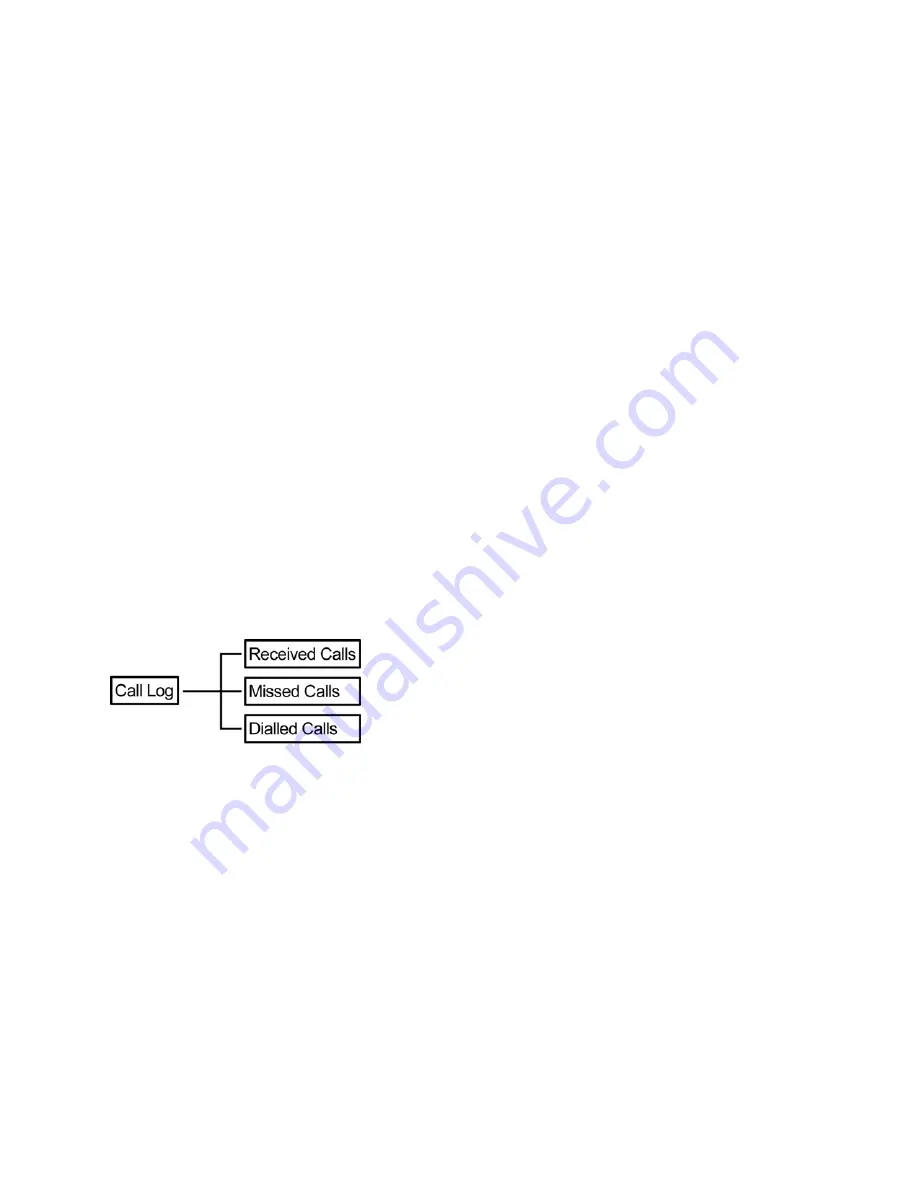
C
C
a
a
l
l
l
l
L
L
o
o
g
g
Your
WiFi
phone
stores
information
about
all
calls
received,
missed
or
dialed.
The
lists
are
stored
and
displayed
from
the
newest
to
the
oldest
entries.
The
oldest
entries
are
deleted
as
new
entries
are
added.
Received Calls
The
Received
Calls
list
consists
of
all
answered
calls.
Missed Calls
The
Missed
Calls
list
consists
of
the
calls
that
are
not
answered.
Dialed Calls
The
Dialed
Calls
list
consists
of
the
most
recent
numbers
dialed.
To
go
to
desired
call
entry,
use
the
navigation
pad
then
press
the
Select
soft
key.
Options
are
displayed
on
the
menu:
Details
:
Display
the
type,
time,
and
date
of
the
selected
entry.
Save
:
Save
the
selected
entry
to
the
Phonebook.
Delete
:
Delete
the
selected
entry
from
the
current
Call
Log
.
Delete
All
:
Delete
all
entries
from
the
current
Call
Log
.
Dial
:
Dial
the
selected
entry.


