Rev: 01.20.22
Page 5
CCD-0004551
Some boat frames/railings may be pre-wired. Drilling through a pre-wired frame/railing may nick
or cut electrical wires, resulting in a damaged and/or unusable electrical harness. Carefully drill
through one surface and inspect for wiring.
3.
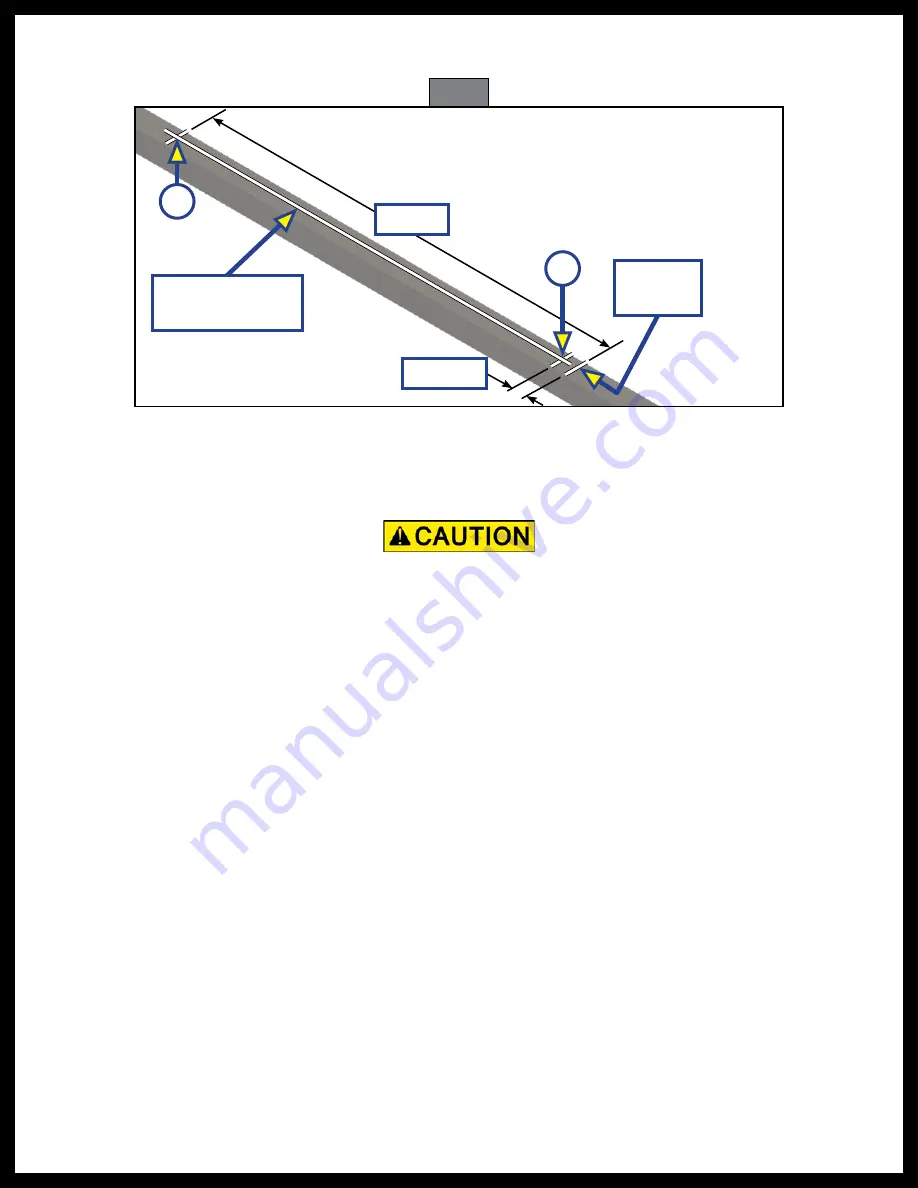
After properly positioning each strut/actuator assembly, use a pencil to mark the center locations of
each actuator's mounting studs (Fig. 2A).
1/2" Ref.
16 1/2"
Front of
Actuator
Center of Frame/
Railing Width
A
A
Fig. 2
4.
Remove the QC power bimini system from the boat and set aside.
5.
Make sure the center marking for each mounting stud is centered across the width of the frame/railing
and measures 16" apart (Fig. 1) on center.
6.
Make sure each set of markings are aligned to one another, left-to-right.
7.
At each pencil mark, drill a through-hole using a 3/8" drill bit. These holes need to go all of the way
through the railing tube.
Note:
Use care when drilling through a pre-wired boat frame/railing. If necessary, drill through one wall of
the tube, then inspect for wires to make sure they are out of the way.
8.
Place the previously removed (step 4) QC power bimini system on top of the frame/railing so that the
actuators' mounting studs align with the drilled holes in the frame/railing.
9.
Connect the actuator's wire harness to the boat's power source:
Note:
Use care to make sure wires are not pinched underneath the actuators.
A. Use wire harness channels on the underside of the actuators to avoid pinching wires.
B. If necessary, drill an access hole into the RH frame/railing for the two-wire power harness
connectors to pass through.
10. Make sure each stand-off leg rests as near the center-width of the boat's frame/railing as possible.


