Rev: 01.20.22
Page 4
CCD-0004551
Installation
With Touch Controller
1.
Place the quick-connect (QC) power bimini system onto the boat's frame/railing.
Note:
Proper rear strut assembly positioning is generally determined by locating the assembly so that
when the top is down, the struts are just behind the rear seats. Too far forward and the top will
interfere with rear seating; while too far rearward will provide less shade to the front of the boat.
2.
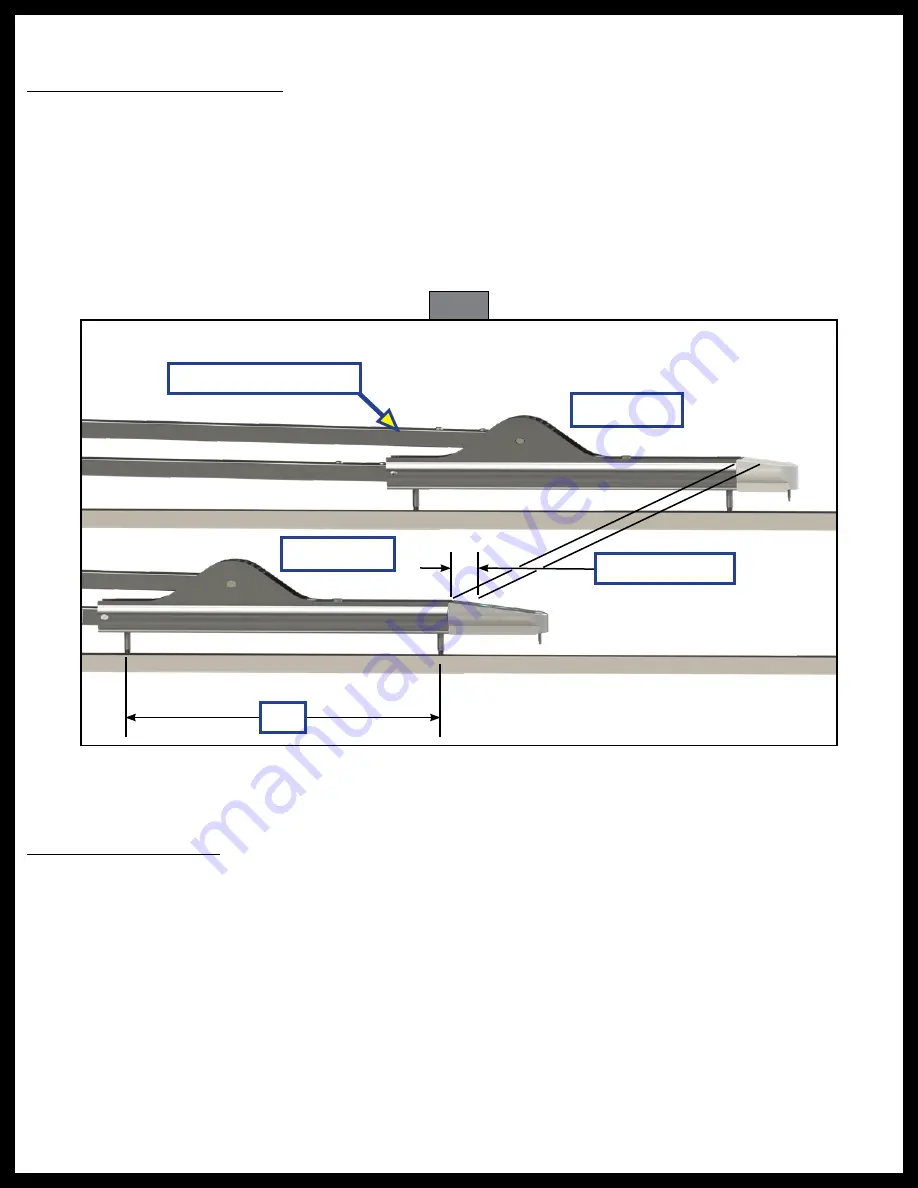
Move the LH and RH actuator assemblies (Fig. 1) forward and backward until the actuators are in-line
with each other.
A. Make sure the actuators are mounted square, level and plumb to one another.
B. Make sure no actuator is mounted more than 1/4" ahead of the other (Fig. 1).
Preparation
Actuator Mounting Locations
When installing the complete power bimini system onto the boat's railing, make sure:
• The actuators are mounted square, level and plumb to one another (Fig. 1).
• No actuator is mounted more than 1/4" ahead of the other (Fig. 1).
• Wires are run in a manner that will prevent them from being pinched under the actuators.
• Actuator minimum voltage is 11V DC when under load.
While facing the front (bow) of the boat, there is a right-handed (RH)—starboard—and a left-handed (LH)—
port—actuator. The RH actuator has a two-wire harness exiting beneath the controller for connecting to the
boat's electrical power. Both actuators are pre-wired through the rear frame assembly.
Fig. 1
16"
1/4" Max Offset
Align Actuators Even
RH Actuator
LH Actuator


