EtherFast
®
10/100 CardBus PC Cards
14. Optional: Click on the Access Control tab. Make sure that Shared-level
access control is selected. If the setting is on User-Level access control and
you can’t change it, skip to Troubleshooting problem 5 on page 35.
15. Click on the OK button. Your system may or may not ask you for your
Windows 98 CD-ROM or the location of the 98 installation files. Direct
Windows to the appropriate location, (e.g., “D:\win98”, “C:\windows\options\cabs”).
16. Once Windows is done copying the necessary files, the System Settings
Change window appears. Remove all disks from your computer and click on
Yes to restart your PC. If you don't see this window, simply restart your com-
puter. The installation is complete. Remember to remove the Driver Disk
from the floppy drive.
Look at the EtherFast Card's LEDs. If your cabling is properly attached and
the network is detected, the green Link light will be on, and the Activity
(ACT) light will be flickering or solid.
17. Once the computer has restarted and Windows is up, a Logon window
will appear requiring you to enter a username and password. Make up a user-
name and password, enter them, and click OK. Do not click the Cancel or
Esc button, or you won't be able to log onto the network. If the a logon does
not appear or if it does not allow you to log on, refer to Troubleshooting prob-
lem 3 on page 34.
18. Once you are at the Windows 98 desktop, double-click on the Network
Neighborhood icon. You should see an icon for Entire Network, and the
names of the other PCs on the network. In order to see other computers in
Network Neighborhood, you need to enable File and Printer Sharing (refer to
the instructions on page 37).
If you don't see anything at all, press the F5 key on your keyboard a few
times to refresh the screen.
If you only see your computer in Network Neighborhood, skip to
Troubleshooting problem 6 on page 35.
If you see all computers on the network except yours, and the other PCs can't
see your computer, see Troubleshooting problem 7 on page 35.
If you only see computers that are running the same operating system as you
and you don’t see any others, go to Troubleshooting problem 10 on page 36.
15
Linksys Instant EtherFast
®
Series
There may be other components listed in addition to the ones shown above.
This is fine. However, if any components listed above are missing, you'll need
to install them manually. Refer to page 46 in this User Guide.
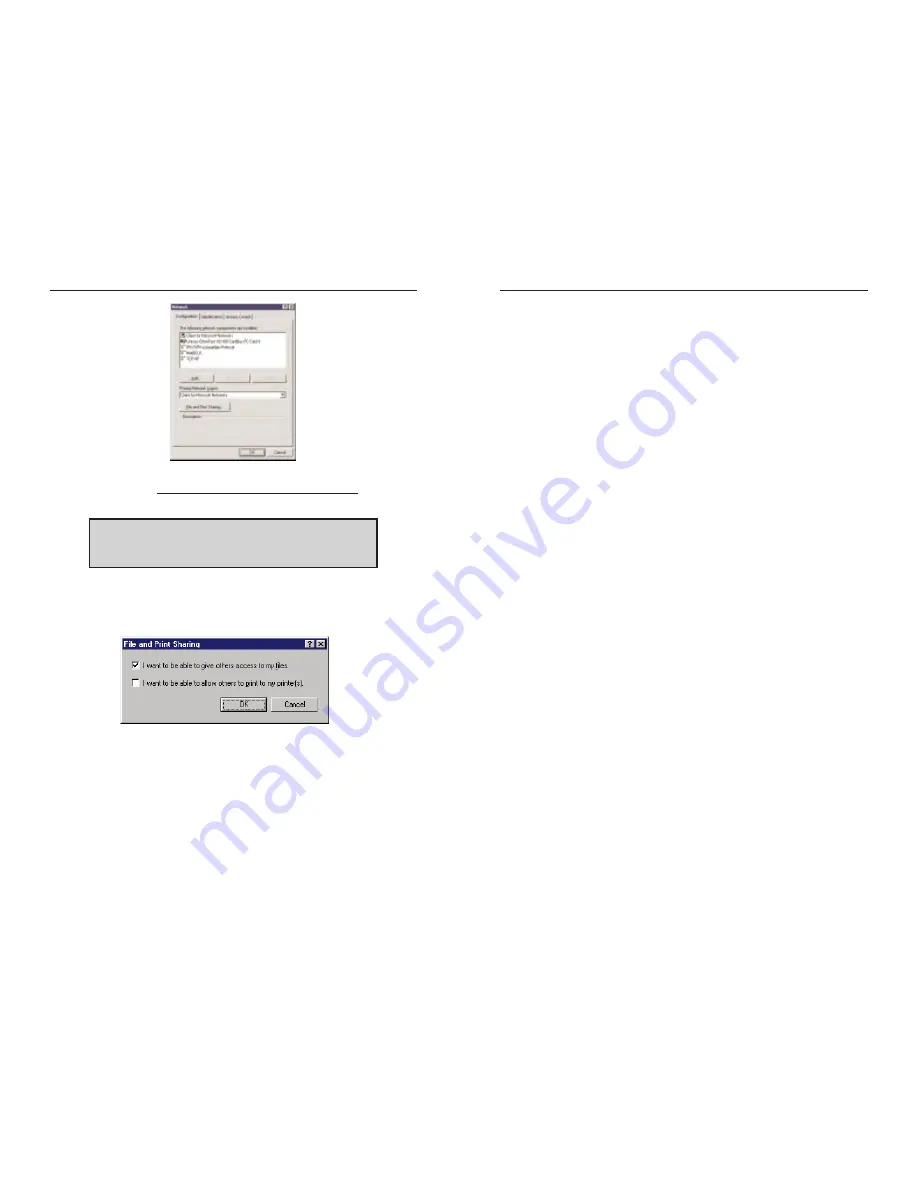
9. In the Primary Network Logon box, select Client for Microsoft Networks.
10. To enable File and Printer Sharing, put a check mark next to both boxes
in the File and Print Sharing window. Click OK.
11. Click on the Identification tab. Type the name of your computer in the
Computer name box. Make up a name that is unique from all the other com-
puters' names on the network (e.g., Dino, Titus, etc.).
12. Type the name of your workgroup in the Workgroup box. The name you
type should be the same workgroup name in use by all of the other PCs on
the network. The Workgroup box may be case sensitive depending on your
network’s configuration. Use the same case that is in use on your other com-
puters.
13. Enter a description of your computer in the Computer Description box.
This box is optional.
14
N
No
otte
e: If you need to install the TCP/IP Protocol, contact your system
administrator or refer to the Windows 98 documentation. Linksys
does not provide technical support for the configuration or trou-
bleshooting of the TCP/IP protocol.


