12
LINCE ITALIA S.p.A.
3. INSTALLATION
To proceed to a correct installation of the control panel, follow the instructions below:
•
unscrew the four cover closing screws;
•
fix the control panel to the wall using the holes present and using appropriate plugs and place it in a vertical position using the
tubolar vial on the bottom;
•
remove the adhesive tape and screw the antenna on the top of the control panel;
•
connect the mains power supply to the power supply terminal board, respecting the direction indicated on the terminal board
itself.
NOTE:
Avoid excessive tightening of the plugs if the wall where the unit is being fixed does not appear to be perfectly smooth (the bottom
could be deformed with consequent difficulty in closing).
3.1 SOFTWARE INSTALLATION
After connecting the cable to the computer and to the control panel, carry out the
following steps:
•
install the GoldSOFT cable drivers on your computer by downloading them from
the site https://www.silabs.com/products/development-tools/software/usb-to-uart-
bridge-vcp-drivers always paying attention to the operating system used on the
computer
•
Download the latest version of the GoldSOFT program from the LINCE website
3.2 SOFTWARE UPDATE
Fig. 9
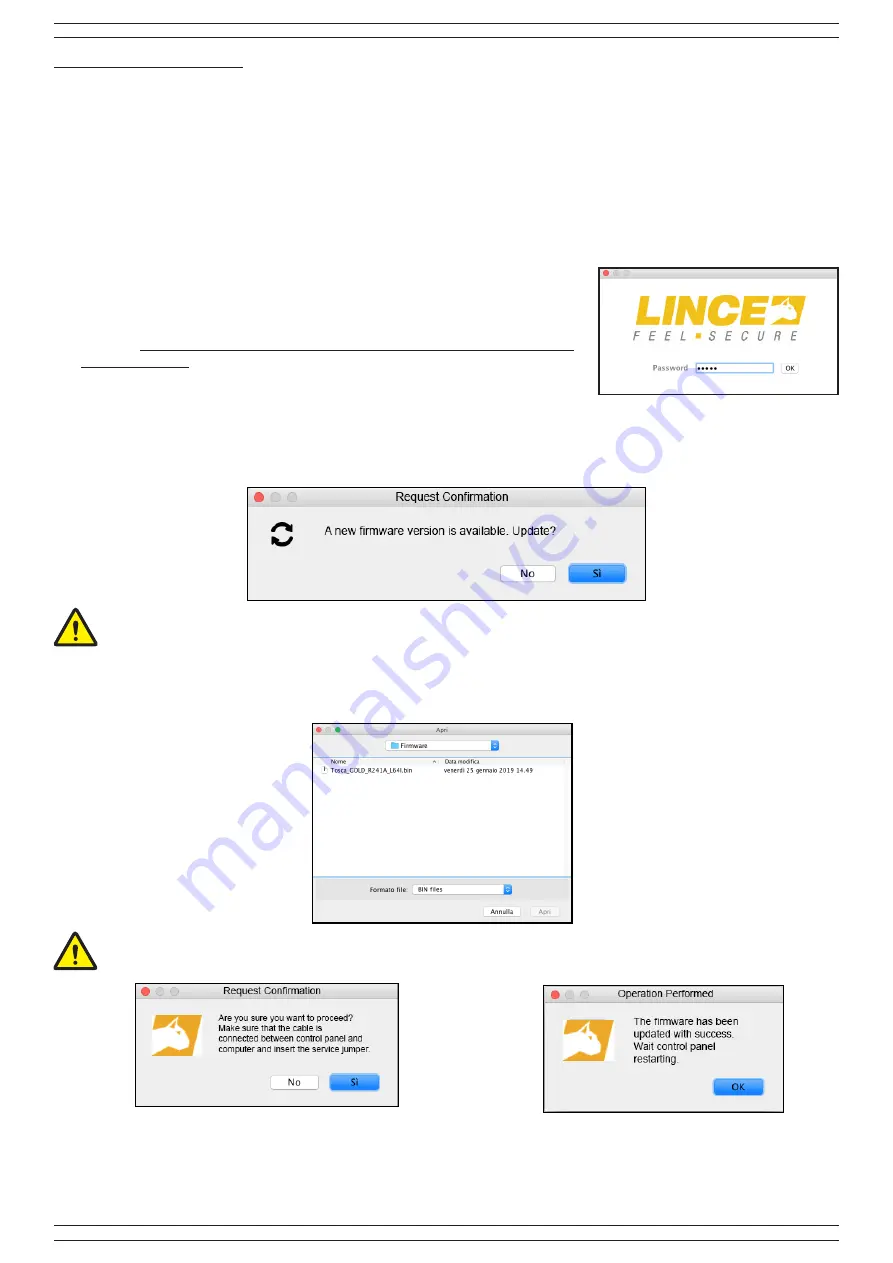
With the PC connected to the Internet, the software automatically checks the availability of updates on the LINCE site for the Wi-Fi
card, the GoldSOFT and the firmware of the control panel itself. If new software is available, the following message will be displayed:
Then follow the information on the computer screen to complete the update.
Otherwise, if you do not have an internet connection, you can check for new software in the section on the LINCE website www.LINCE.
net. Download the relevant file and select “System” -> “Updating FW control panel” (fig. 10), then select the * .bin file downloaded (Fig.
9) concerning the last update available for the control unit in your possession.
Fig. 10
Be careful to select the * .bin file related to your control panel version (64, 48 or 36 zones)
Fig. 11
Fig. 12
In both cases, at the first alert message confirm that you want to proceed with the update and then click OK to end the update process.
At the end of the procedure,
remove the service jumper
.
Fig. 13
Insert the service jumper before start the updating process


