Page 18 / 43
4.
Software Control – Using Lightware Matrix Controller
4.1. Establishing the connection
The unit can be controlled using Lightware Matrix Controller software from a PC or
Laptop via USB port.
1.
Turn DIP Switch 1 in
ON
position to enable USB control function.
Info
USB Connection to the DA2DVI-Pro can be done even if it’s in front panel control
mode, but only the status of the settings can be checked, and no software changes
can be applied.
2.
Connect a USB Type A/B cable between the PC and the DA2DVI-Pro. The
unit installs its driver automatically. If the installation process fails, see
chapter 1.8.2.
3.
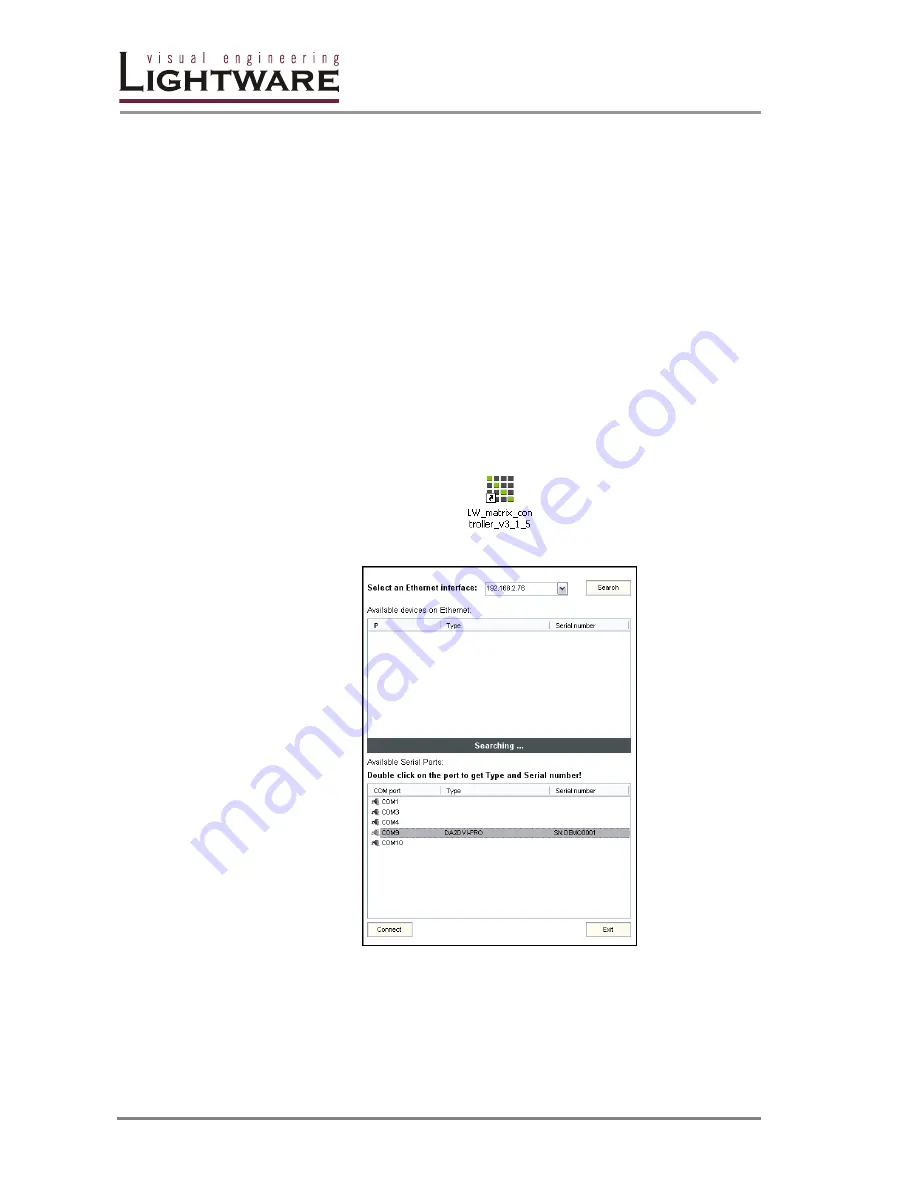
To run the CONTROL SOFTWARE, double click on the icon of the software
on the desktop or select the proper shortcut from Start Menu/ Programs/
Lightware folder.
4.
Select the appropriate virtual COM port and click on
Connect
.
Info
The device Type and Serial number are not listed automatically for COM ports. To
query the Type and Serial number, double click on the desired COM port.
Info
After connecting the DA2DVI-Pro to the controlling PC or laptop, the driver of the
DA2DVI-Pro starts installing itself. The driver creates a virtual COM port in the
operating system. When running the Lightware Matrix Controller software, this
COM port will be seen in the Available Serial Ports list.
Summary of Contents for DA2DVI-Pro
Page 1: ...DA2DVI Pro User s Manual ...
Page 2: ...Page 2 43 ...
Page 38: ...Page 38 43 7 Mechanical Drawings 7 1 Front view 42 mm 110 mm 7 2 Rear view 42 mm 110 mm ...
Page 39: ...DA2DVI Pro User s Manual Rev 1 3 Page 39 43 7 3 Top view 180 mm 110 mm ...
Page 43: ...DA2DVI Pro User s Manual Rev 1 3 Page 43 43 NOTES ...


