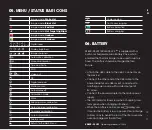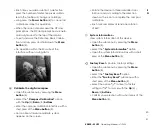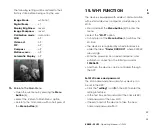
05. MENU / STATUS BAR ICONS
06. BATTERY
10
–
11
E
N
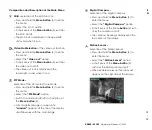
Image mode:
White Hot
Image mode:
Black Hot
Image mode:
Red Hot
Image mode:
Hot Target Highlight
Image mode:
Ironbow
Image mode:
Rainbow
×1 / ×1.5 / ×2 /
×2.5 / ×3 / ×3.5 / ×4 Digital zoom
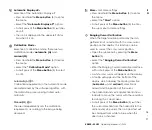
Display brightness
Image sharpness
Automatic calibration
Manual calibration
Time and Date
Wi-Fi
Video out
PIP
Digital compass
Motion sensor
Auto display off
Calibration mode
More
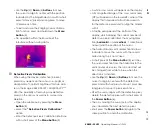
Ranging cursor calibration
Defective pixel calibration
Compass calibration
System information
Factory reset
Return to the Main Menu
Single ranging
Continuous ranging
Battery indication
Battery charging
KEILER – 25 LRF
· Operating Manual 07 / 2020
KEILER-25 LRF / KEILER-25 LRF
PRO
is supplied with a
built-in rechargeable Li-ion Battery Pack, which
enabled the thermal imager to be used for up to 6
hours. The battery should be charged before
first use.
> Attach the USB cable to the USB-C connector on
the device;
> Connect the other end of the USB cable to the
power adapter or a USB socket connected to
another power source with a rated output of
5V or less.
> Connect the power adapter to the mains power
supply.
> The LED indicator shows red when changing and
turns green when charging is finished.
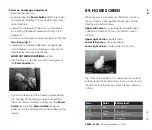
> When the battery icon becomes
during use,
it means the battery is low in power. Please charge
in time, so as to avoid the loss of the life caused by
over-discharged of the battery.


