17
206-4256
EZ-Manager Wizard (Cont.)
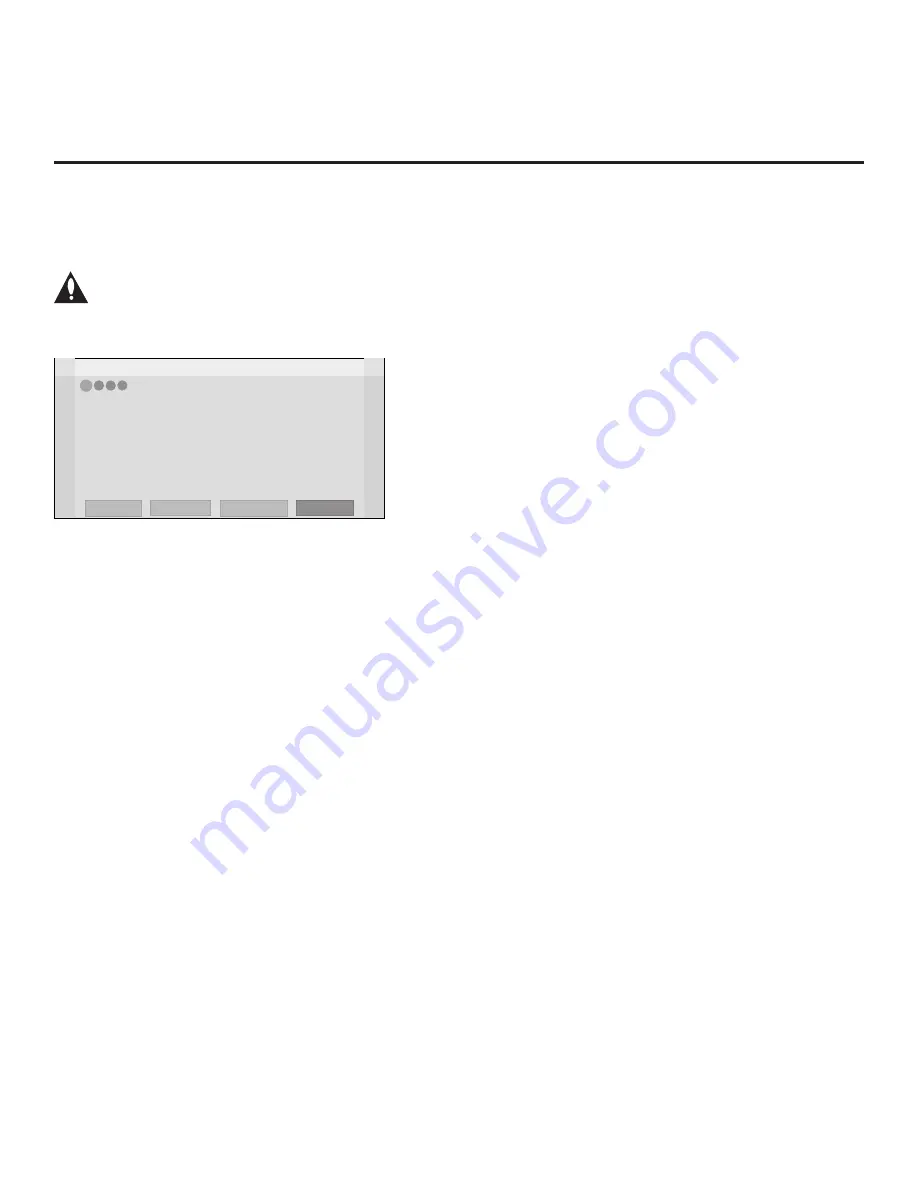
TV Configuration Options
From the TV Configuration Options screen, you can choose how to proceed with the configuration of
this STB/display (assuming you do not opt to exit the wizard, which you may also do at any time).
Note: If you intend to use the Zoning feature(s) on the STB for location-specific
configuration purposes, select the “Zones & Room Number” option from this screen
and assign the appropriate TV Zone # and/or the Wi-Fi Zone # in the STB BEFORE
you continue with additional configuration.
Z
EZ-Manager Wizard
Exit
Next
4
3
2
1
TV Configuration Options
• To configure the TV for Pro:Centric operation, select ‘Next’.
• To set the optional Zoning features, select ‘Zones & Room Number’.
• To access the TV’s USB Download Menu, select ‘USB Configuration’.
USB Configuration
Zones & Room Number
This setup wizard will continue automatically in 60 seconds.
Note:
If there is no user action in this screen within one minute, the wizard will automatically
continue to the next configuration step.
Use the Left/Right arrow keys on the Installer Remote to navigate between options on this screen.
Each time you select/highlight one of the following options, the screen text and fields will change
in accordance with your selection.
• To continue with Pro:Centric configuration, select
Next
(default) and press
OK
on the Installer
Remote. Refer to “Configure Pro:Centric Settings” on pages 19 to 21 for additional information.
• To set the Zoning feature(s) on the STB, select
Zones & Room Number
. See “Zones and Room
Number Assignments” below for further information.
• Select
USB Configuration
to access the STB’s USB Download Menu. See “USB Configuration”
on pages 21 to 22 for further information.
Note:
If you have already inserted a USB memory device with the intent to use the LG Smart
Install utility and the Integrated USB Downloading screen is on display, you may still set the Zoning
features on this STB by selecting
Previous
to return to the EZ-Manager’s TV Configuration Options
screen. Set the Zoning features as required, and then select
USB Configuration
and press
OK
on
the Installer Remote to return to the Integrated USB Downloading screen.
Note:
If you choose to exit the EZ-Manager Wizard from this point on, you will have the option to
save any settings made by selecting
Save and Exit
in the exit confirmation pop-up window. Or,
you can exit the wizard without saving any settings by simply selecting
OK
in the confirmation
pop-up window.
Zones and Room Number Assignments
You may complete one or more of the fields in the Zones, Label, and Room Number screen or
leave them at their default settings (TV Zone and Wi-Fi Zone) or blank (Label and Room Number),
as desired. However, if you intend to use either of the Zoning features—TV Zoning and/or Wi-Fi
Zoning—on this STB, you MUST specify the appropriate values in the TV Zone and/or Wi-Fi Zone
fields as described on the following page. See also Reference section, “Using the STB’s Zoning
Features,” for further information.


