!
WARNING !
IMPOR
The information in this service maual is intended for use by individuals possessing adequate backgrounds
of electrical, electronic, and mechanical experience. Any attempt to repair a major appliance may result in
personal injury and property damage. The manufacturer or seller cannot be responsible for the
interpretation of this information, nor can it assume any liability in connection with its use.
To reduce the risk of injury to persons, follow all industry recommended safety procedures including the
use of long sleeved gloves and safety glasses.
could result in property damage, injury to persons or death.
RECONNECT ALL GROUNDING DEVICES
If grounding wires, screws, straps, clips, nuts, or washers used to complete a path to ground are
removed for service, they must be returned to their original position and properly fastened.
Electrostatic Discharge (ESD)
Sensitive Electronics
ESD problems are present everywhere. ESD may damage or weaken the electronic
control assembly. The new control assembly may appear to work well after repair is
finished, but failure may occur at a later date due to ESD stress.
એ
Use an anti-static wrist strap. Connect wrist strap to green ground connection point or unpainted
metal in the appliance.
- OR -
Touch your finger repeatedly to a green ground connection point or unpainted metal
in the appliance.
એ
Before removing the part from its package, touch the anti-static bag to a green ground connection
point or unpainted metal in the appliance.
એ
Avoid touching electronic parts or terminal contacts; handle electronic control assembly by edges only.
એ
When repackaging failed electronic control assembly in anti-static bag, observe above instructions.
TANT SAFETY NOTICE
To avoid personal injury, , disconnect power before servicing this product. If electrical power is required
for diagnosis or test purposes, disconnect the power immediately after performing the necessary checks.
IMPORTANT
Failure to follow all of the safety warnings in this manual
2
Summary of Contents for RC7055*P*Z
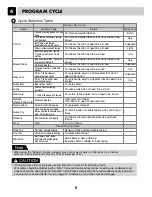
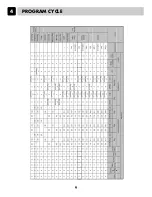
Page 9: ...PROGRAM CYCLE 4 9 ...
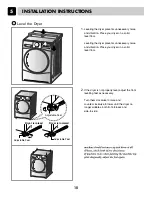
Page 12: ...INSTALLATION INSTRUCTIONS 5 12 ...
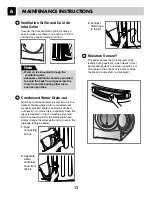
Page 14: ...MAINTENANCE INSTRUCTIONS 6 1 2 4 5 6 7 CAUTION 3 8 14 ...
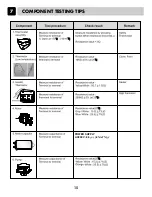
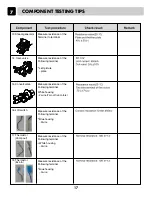
Page 15: ...COMPONENT TESTING TIPS 7 15 ...
Page 18: ...WIRING DIAGRAM 8 18 ...
Page 20: ...TROUBLESHOOTING 9 20 ...
Page 21: ...Error Mode TROUBLESHOOTING 9 21 ...
Page 55: ...AUGUST 2011 PRINTED IN KOREA P No 3828EL9001Y ...

