34
206-4270
Reference: Using an SSD Storage Device with the
PCS200S (Cont.)
(Continued from previous page)
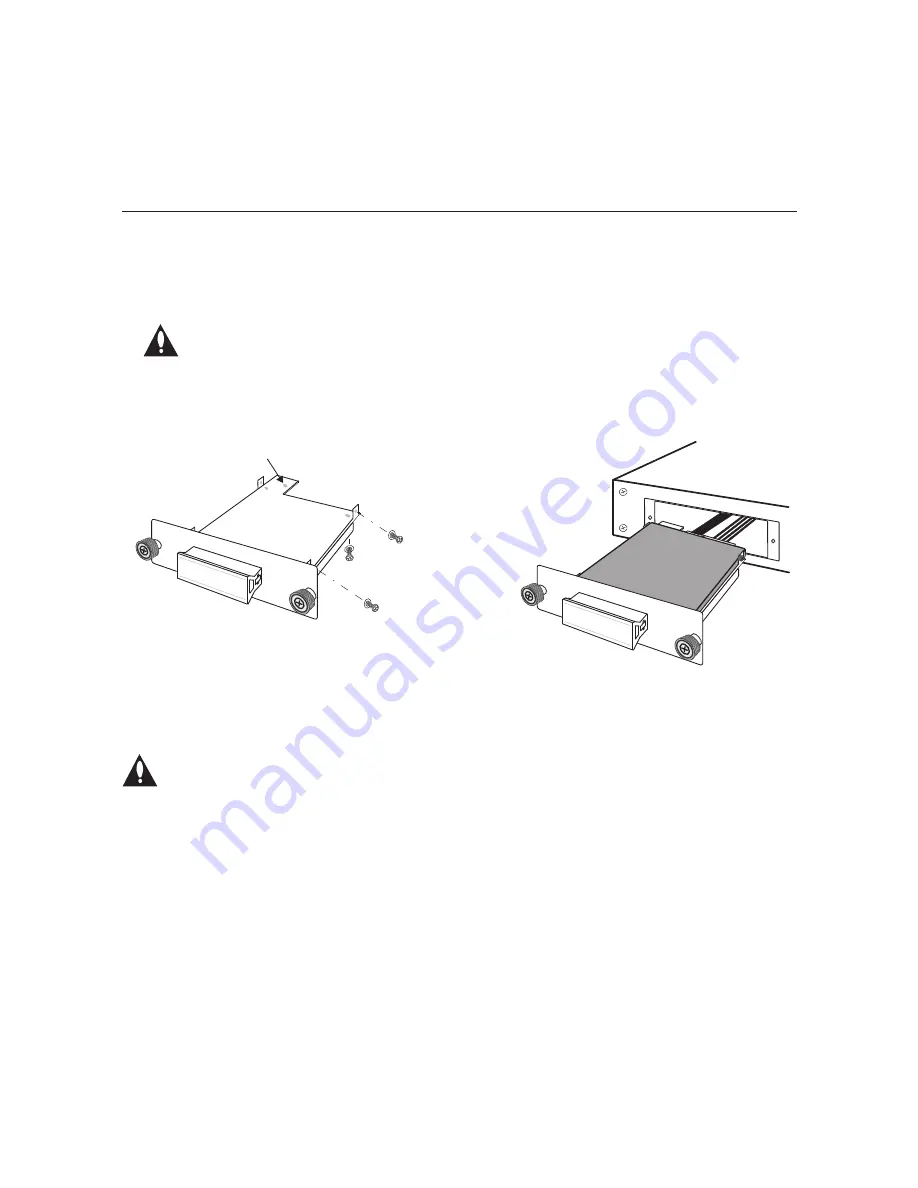
8. Slide the drive tray assembly back into the PCS200S. Then, engage and tighten the
thumbscrew on each side of the slot cover securely.
Note: It is recommended that you use a Phillips screwdriver to secure the
thumbscrews on the SSD slot cover.
9. Plug the PCS200S AC power cord back into its powered AC line receptacle to restore
power. After it is powered back on, the PCS200S resumes normal operation.
Cabling/SATA
connector initially
will be tied here.
Attach the four M3 x 5 mm
screws and washers either
at the sides
or
the bottom
of the drive tray assembly.
(a)
Cabling/SATA
connector initially
will be tied here.
Attach the four M3 x 5 mm
screws and washers either
at the sides
or
the bottom
of the drive tray assembly.
(b)
Format the Solid State Drive
Caution: In order to use the solid state drive for video playout, you MUST format
the file system. Note that during formatting, any files that are currently loaded on
the solid state drive will be deleted.
Log in to the PCS200S command line interface and use the “format” command to format
the drive’s file system. See “Format the Solid State Drive File System” on page 30 for further
information. All additional video playout configuration is performed in the Pro:Centric server
Admin Client (refer to the
Pro:Centric Server Admin Client User Guide
).
Note:
If the drive was previously formatted for use with another PCS200S server, you do not
need to reformat the file system.


