Entertainment
Camera
To open the Camera application, touch the
Applications Key
>
Camera
.
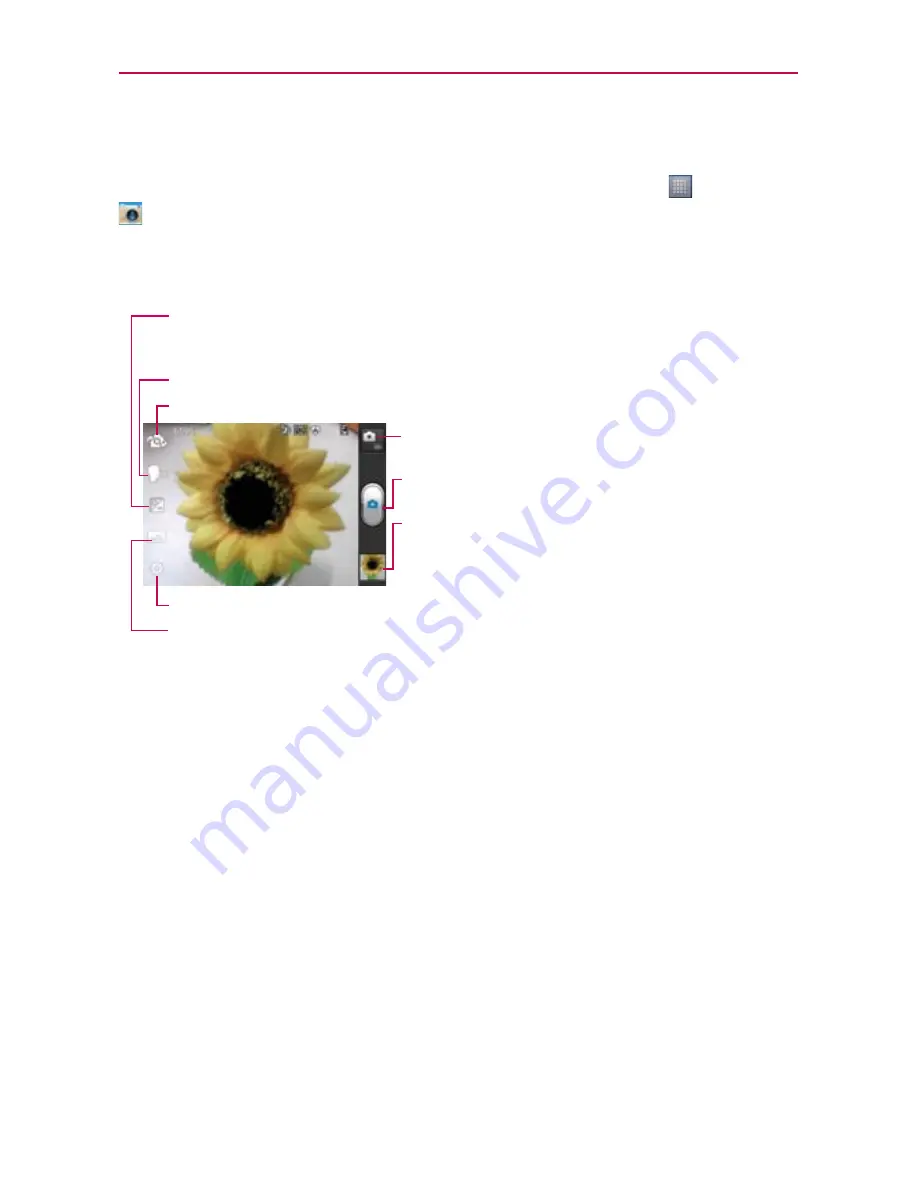
Getting to know the viewfinder
You can select from the below.
NOTE
Default resolution is
5M(2560x1920)
.
Time machine shot
– Defines and controls of the amount of sunlight entering the lens. Slide
the brightness indicator along the bar, toward “-” for a lower brightness image, or toward “+”
for a higher brightness image.
Mode Switch
– Touch this icon to down to switch to
video mode.
Capture
– Takes a photo.
Gallery
– Accesses your saved photos from within
camera mode. Simply touch this icon and your Gallery
will appear on the screen.
Voice photo
– Zoom in or zoom out. The
Volume Keys
will also adjust the zoom.
Settings
– Opens the settings menu.
Shot Mode
– Allows you to set the Shot mode.
- Normal: Set as normal shot mode.
- HDR: HDR combines photos taken at different exposures to one optimal photo while compensating
for backlight by enhancing multiple exposure control.
- Panorama: Continuous photos are assembled into one single panoramic image. Press shutter to
start and slowly turn the camera across from one end to the other.
- Continuous shot: When shot mode is set to continuous shot, camera takes several images
continuously in one time.
Swap Camera
– Allows you to swap between the back camera and the front camera.


