45
206-4325
Cloning Procedures (Cont.)
(Continued from previous page)
Note:
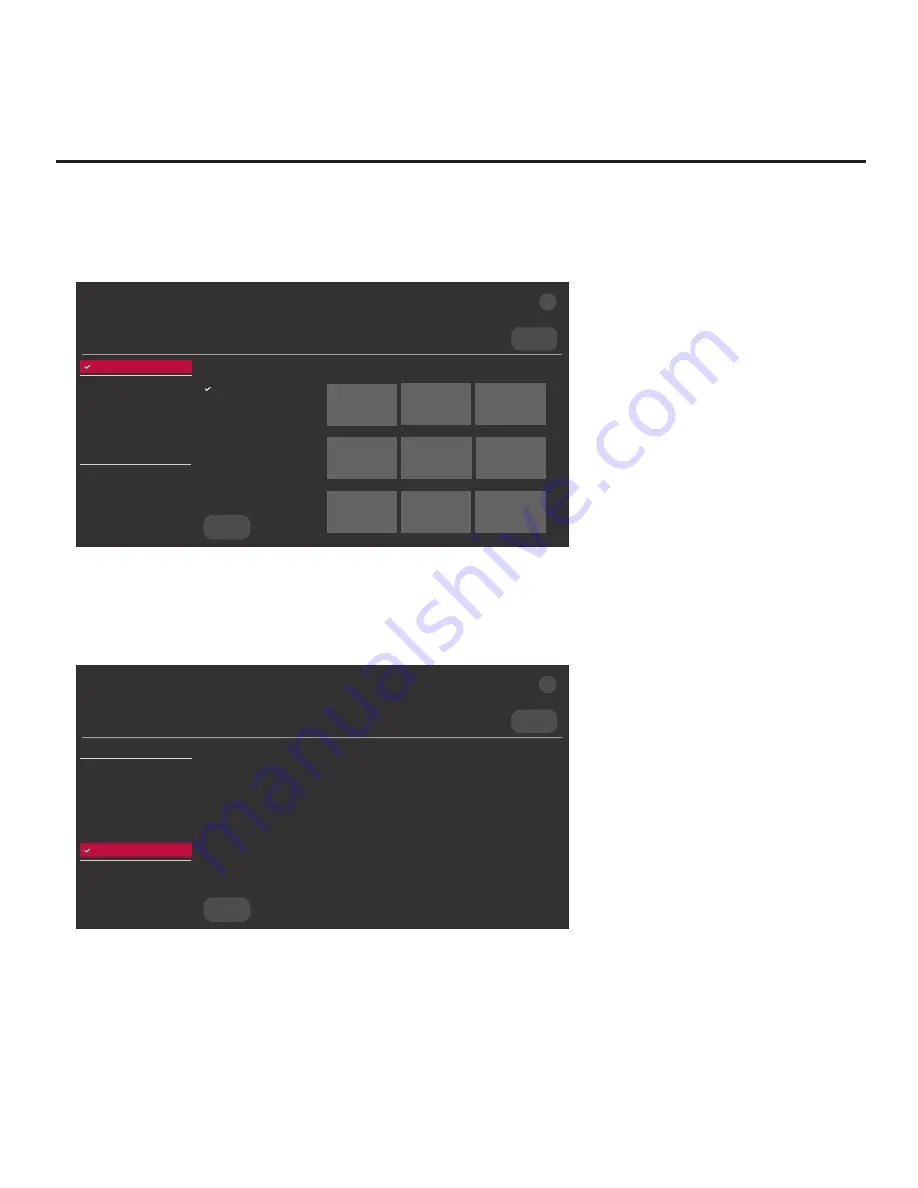
Ez Download is always selected by default when you initially access the TV Manager.
Also, note that Diagnostics is for service use only.
Select the file(s) to download, and then select UPDATE below.
Logo Image Download
Splash Image ProC.jpg
Insert Background Image(s)
None
Update TV Software
UV570H_CPU_SW.epk
Update PTC Software
UV570H_PTC_SW.txt
Import Clone File
UV570H_IM.tlx
<
>
USB DEVICE
TV MANAGER
Ez Download
USB 1:
Device Name
Ez Download
Logo Image Download
Insert Background Image(s)
Update TV Software
Update PTC Software
Import Clone File
Diagnostics
UPDATE
Image1.jpg Image2.jpg
Image3.jpg
Image4.jpg Image5.jpg
Image6.jpg
Image7.jpg Image8.jpg
Image9.jpg
X
6. To gain access to the “Export Clone File” option in the TV Manager, key in the following number
sequence on the Installer Remote:
9
-
8
-
7
-
6
.
7. Use the Up/Down arrow keys to select
Export Clone File
, and then press
OK
.
Clone filename parameters will be displayed on the screen.
USB DEVICE
TV MANAGER
Export Clone File
USB 1:
Device Name
Ez Download
Logo Image Download
Insert Background Image(s)
Update TV Software
Update PTC Software
Import Clone File
Export Clone File
Diagnostics
EXPORT
Select the filename, and then select EXPORT below.
xxUV570H-UA_1.TLX
<
>
X
8.
Modify the filename, as required. While the TV model element of the filename may not be
changed, you can
differentiate this Clone file from other UV570H/UV572H Clone files
by
changing the numeric assignment appended to the end of the filename
. Select/highlight the
filename, and then use the
Up/Down arrow keys on the Installer Remote to scroll through
numeric assignments until the desired number is shown.
(Continued on next page)


