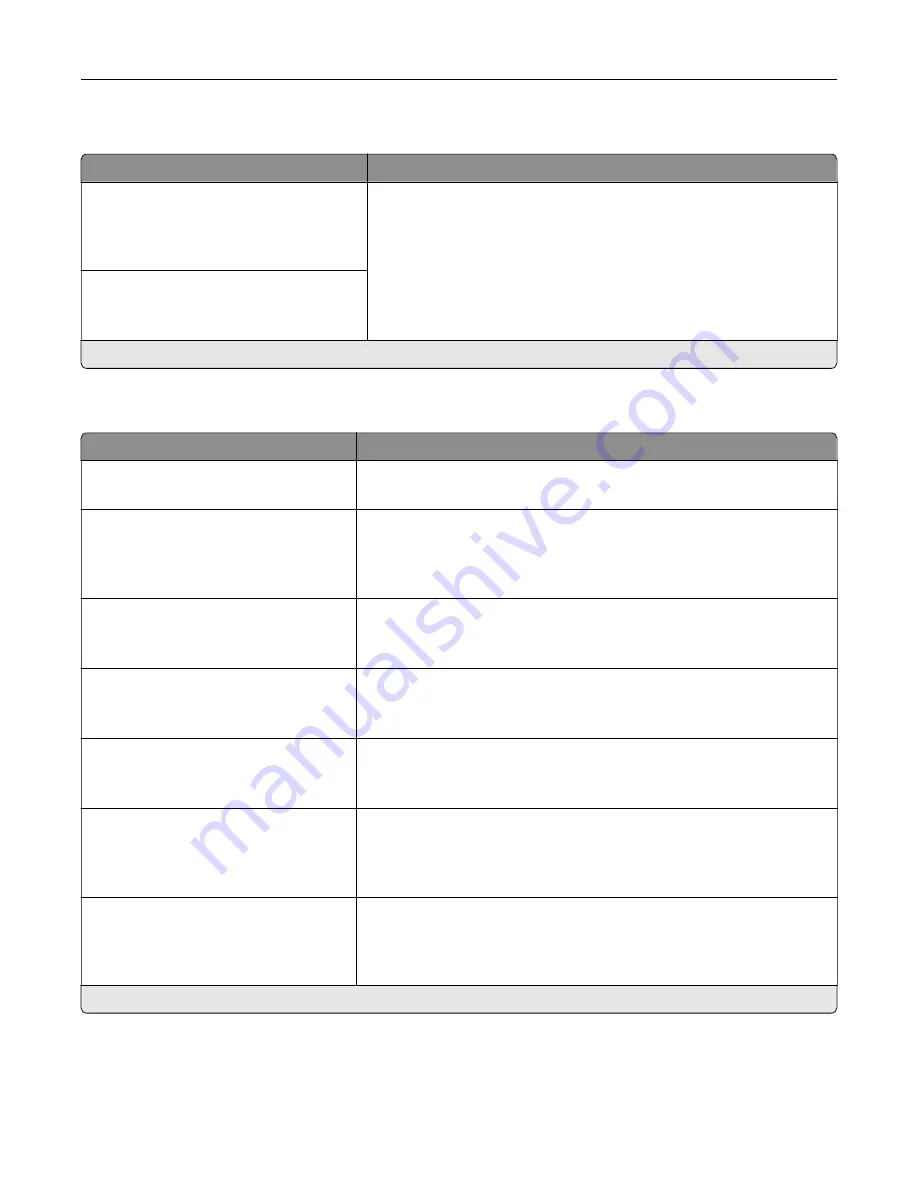
Anonymous Data Collection
Menu item
Description
Anonymous Data Collection
Device Usage and Performance
Information
None*
Send printer usage and performance information to Lexmark.
Note:
Anonymous Data Send Time appears only when you set
Anonymous Data Collection to Device Usage and Performance.
Anonymous Data Send Time
Start Time
Stop Time
Note:
An asterisk (*) next to a value indicates the factory default setting.
Accessibility
Menu item
Description
Duplicate Key Strike Interval
0–5 (0*)
Set the interval in seconds during which the printer ignores duplicate key
presses on an attached keyboard.
Key Repeat Initial Delay
0.25–5 (1*)
Set the initial length of delay in seconds before a repeating key starts
repeating.
Note:
This menu item appears only when a keyboard is attached to the
printer.
Key Repeat Rate
0.5–30 (30*)
Set the number of presses per second for a repeating key.
Note:
This menu item appears only when a keyboard is attached to the
printer.
Prolong Screen Timeout
Off*
On
Let the user remain in the same location and reset the Screen Timeout
timer when it expires instead of returning to the home screen.
Headphone Volume
1–10 (5*)
Adjust the headphone volume.
Note:
This menu item appears only when a headphone is attached to
the printer.
Enable Voice Guidance When
Headphone Is Attached
Off*
On
Enable Voice Guidance when a headphone is attached to the printer.
Speak Passwords/PINs
Off*
On
Set the printer to read out loud passwords or personal identification
numbers.
Note:
This menu item appears only when a headphone or a speaker is
attached to the printer.
Note:
An asterisk (*) next to a value indicates the factory default setting.
Use printer menus
184
Summary of Contents for XC9325
Page 86: ...Set up install and configure 86 ...
Page 87: ...6 Remove the standard tray Set up install and configure 87 ...
Page 90: ...11 Secure the rear part of the optional tray to the printer Set up install and configure 90 ...
Page 94: ...Set up install and configure 94 ...
Page 95: ...6 Remove the standard tray Set up install and configure 95 ...
Page 98: ...11 Secure the rear part of the optional tray to the printer Set up install and configure 98 ...
Page 102: ...Set up install and configure 102 ...
Page 103: ...6 Remove the standard tray Set up install and configure 103 ...
Page 106: ...11 Secure the rear part of the optional tray to the printer Set up install and configure 106 ...
Page 110: ...6 Install the optional tray Set up install and configure 110 ...
Page 111: ...7 Connect the tray connector to the printer Set up install and configure 111 ...
Page 125: ...Installing the working shelf 1 Turn off the printer Set up install and configure 125 ...
Page 134: ...Set up install and configure 134 ...
Page 142: ...12 Close the front door 13 Attach the finisher to the printer Set up install and configure 142 ...
Page 270: ...10 Insert the waste toner bottle until it clicks into place Maintain the printer 270 ...
Page 274: ...7 Insert the new waste toner bottle until it clicks into place Maintain the printer 274 ...
Page 278: ...Maintain the printer 278 ...
Page 282: ...11 Insert the waste toner bottle until it clicks into place Maintain the printer 282 ...
Page 283: ...12 Lock the waste toner bottle 13 Close the door Maintain the printer 283 ...
Page 285: ...3 Insert the new tray insert Maintain the printer 285 ...
Page 287: ...3 Unlock the used fuser Maintain the printer 287 ...
Page 289: ...7 Lock the new fuser 8 Close the door 9 Turn on the printer Maintain the printer 289 ...
Page 291: ...3 Remove the used transfer roller 4 Unpack the new transfer roller Maintain the printer 291 ...
Page 293: ...Replacing the transfer module 1 Turn off the printer Maintain the printer 293 ...
Page 296: ...5 Unlock and then pull out the used transfer module Maintain the printer 296 ...
Page 299: ...10 Insert the waste toner bottle until it clicks into place Maintain the printer 299 ...
Page 300: ...11 Lock the waste toner bottle 12 Turn on the printer Maintain the printer 300 ...
Page 301: ...Replacing the tray roller kit 1 Turn off the printer Maintain the printer 301 ...
Page 303: ...4 Unpack the new tray roller kit Maintain the printer 303 ...
Page 306: ...s 3 Remove the separator roller cover Maintain the printer 306 ...
Page 311: ...4 Insert the new printhead wiper 5 Close the door Maintain the printer 311 ...
Page 312: ...Replacing the 2000 sheet tray roller kit 1 Turn off the printer Maintain the printer 312 ...
Page 314: ...4 Locate and remove the used roller kit 5 Unpack the new roller kit Maintain the printer 314 ...
Page 328: ... ADF glass Scanner glass 3 Close the scanner cover Maintain the printer 328 ...
Page 329: ...Cleaning the tray roller kit 1 Turn off the printer Maintain the printer 329 ...
Page 333: ...Cleaning the ADF roller kit 1 Turn off the printer Maintain the printer 333 ...
Page 334: ...2 Open the ADF top cover 3 Remove the separator roller cover Maintain the printer 334 ...
Page 338: ...Cleaning the 2000 sheet tray roller kit 1 Turn off the printer Maintain the printer 338 ...
Page 379: ...Troubleshoot a problem 379 ...


