Printer port
Function
5
Power cord socket Connect the printer to a properly grounded electrical outlet.
Setting up the printer to fax
Setting up the fax function
Notes:
•
Some connection methods are applicable only in some countries or regions.
•
If the fax function is enabled and not fully set up, then the indicator light may blink red.
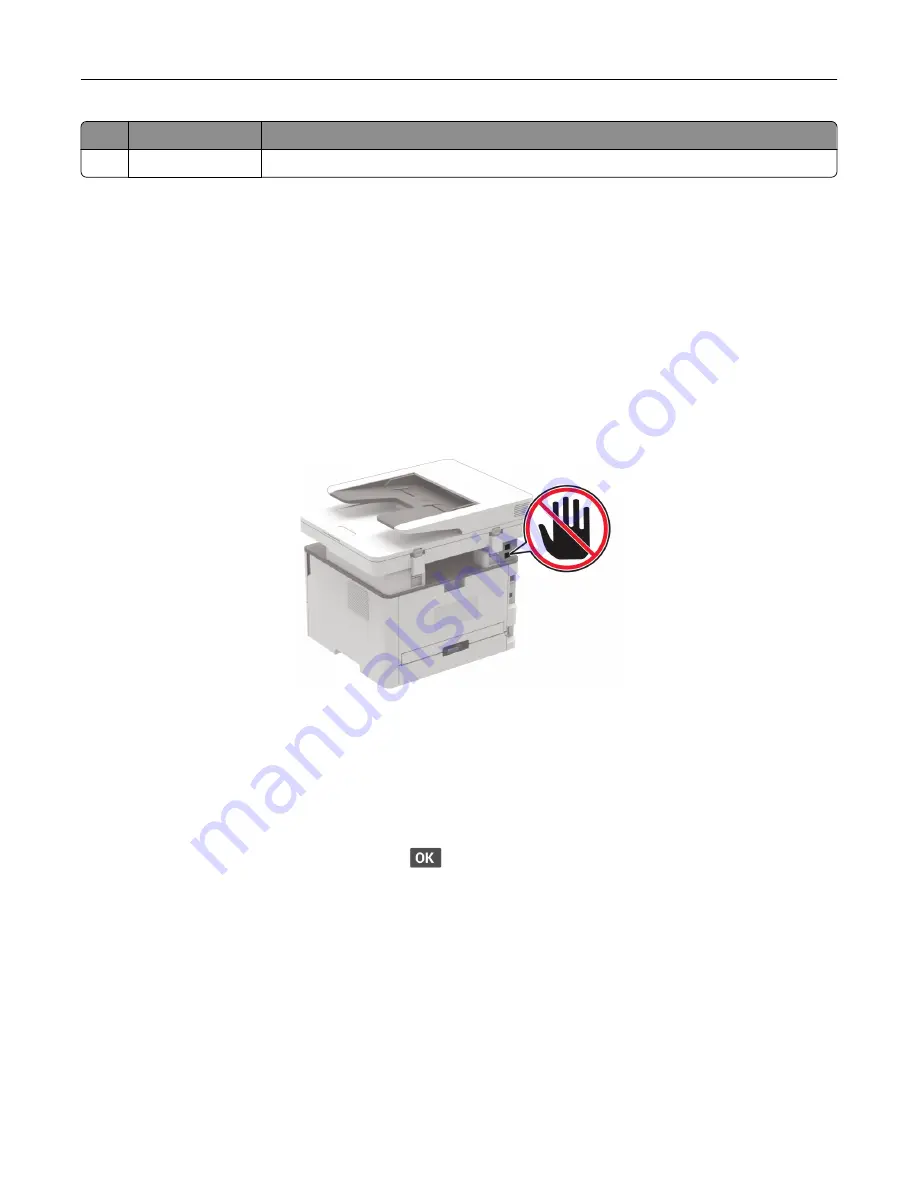
Warning—Potential Damage:
To avoid loss of data or printer malfunction, do not touch cables or the printer
in the area shown while actively sending or receiving a fax.
Note:
If you do not have a TCP/IP environment, then you must use the printer control panel to enter your fax
setup information.
Using the printer control panel
1
From the control panel, navigate to:
Settings
>
Device
>
Preferences
>
Run Initial Setup
For non-touch-screen printer models, press
to navigate through the settings.
2
Turn off the printer, wait for about 10 seconds, and then turn on the printer.
3
When
Set up Fax?
appears, type the name to be printed on all outgoing faxes, and then enter the fax
number.
4
Finish the setup.
Using the Embedded Web Server
1
Open a web browser, and then type the printer IP address in the address field.
Set up, install, and configure
15


