


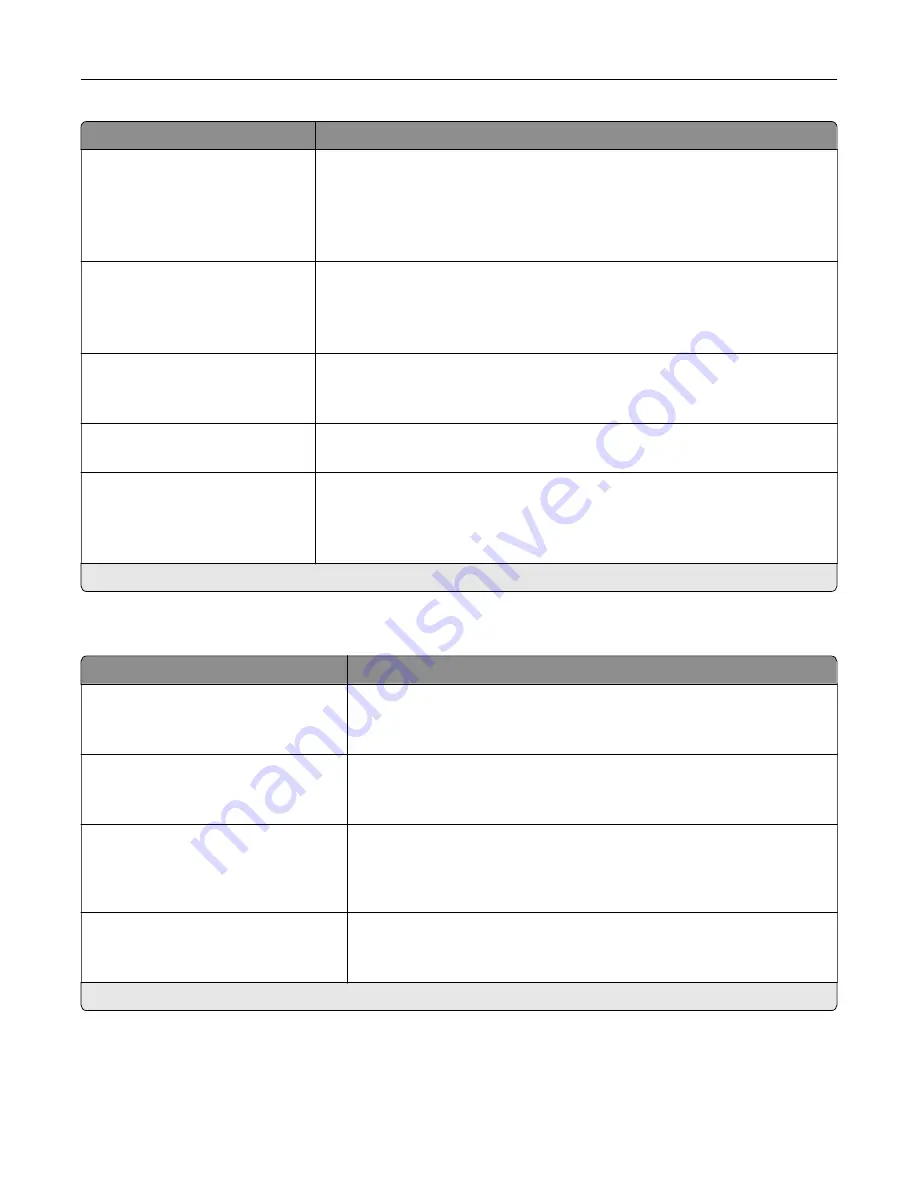
Menu item
Description
Pages per Side Ordering
Horizontal*
Reverse Horizontal
Vertical
Reverse Vertical
Specify the positioning of multiple page images when using Pages per Side.
Note:
The positioning depends on the number of page images and their
page orientation.
Pages per Side Orientation
Auto*
Landscape
Portrait
Specify the orientation of a multiple
‑
page document when using Pages per
Side.
Pages per Side Border
None*
Solid
Print a border around each page image when using Pages per Side.
Copies
1–9999 (1*)
Specify the number of copies for each print job.
Print Area
Normal*
Fit to page
Whole Page
Set the printable area on a sheet of paper.
Note:
An asterisk (*) next to a value indicates the factory default setting.
Setup
Menu item
Description
Printer Language
PCL Emulation
PS Emulation*
Set the printer language.
Note:
Setting a printer language default does not prevent a software
program from sending print jobs that use another printer language.
Job Waiting
Off*
On
Preserve print jobs requiring supplies so that jobs not requiring the missing
supplies can print.
Note:
This menu item appears only when a printer hard disk is installed.
Job Hold Timeout
0–255 (30*)
Set the time in seconds that the printer waits for user intervention before
it holds jobs that require unavailable resources and continues to print other
jobs in the print queue.
Note:
This menu item appears only when a printer hard disk is installed.
Download Target
RAM*
Disk
Specify where to save all permanent resources, such as fonts and macros,
that have been downloaded to the printer.
Note:
This menu item appears only when a printer hard disk is installed.
Note:
An asterisk (*) next to a value indicates the factory default setting.
Understanding the printer menus
64
Summary of Contents for M5255
Page 107: ...2 Remove the toner cartridge 3 Remove the used imaging unit Maintaining the printer 107 ...
Page 118: ...2 Remove the used pick roller 3 Unpack the new pick roller Maintaining the printer 118 ...
Page 119: ...4 Install the new pick roller 5 Close the multipurpose feeder Maintaining the printer 119 ...
Page 141: ...2 Remove the staple cartridge holder 3 Remove the loose staples Clearing jams 141 ...


