


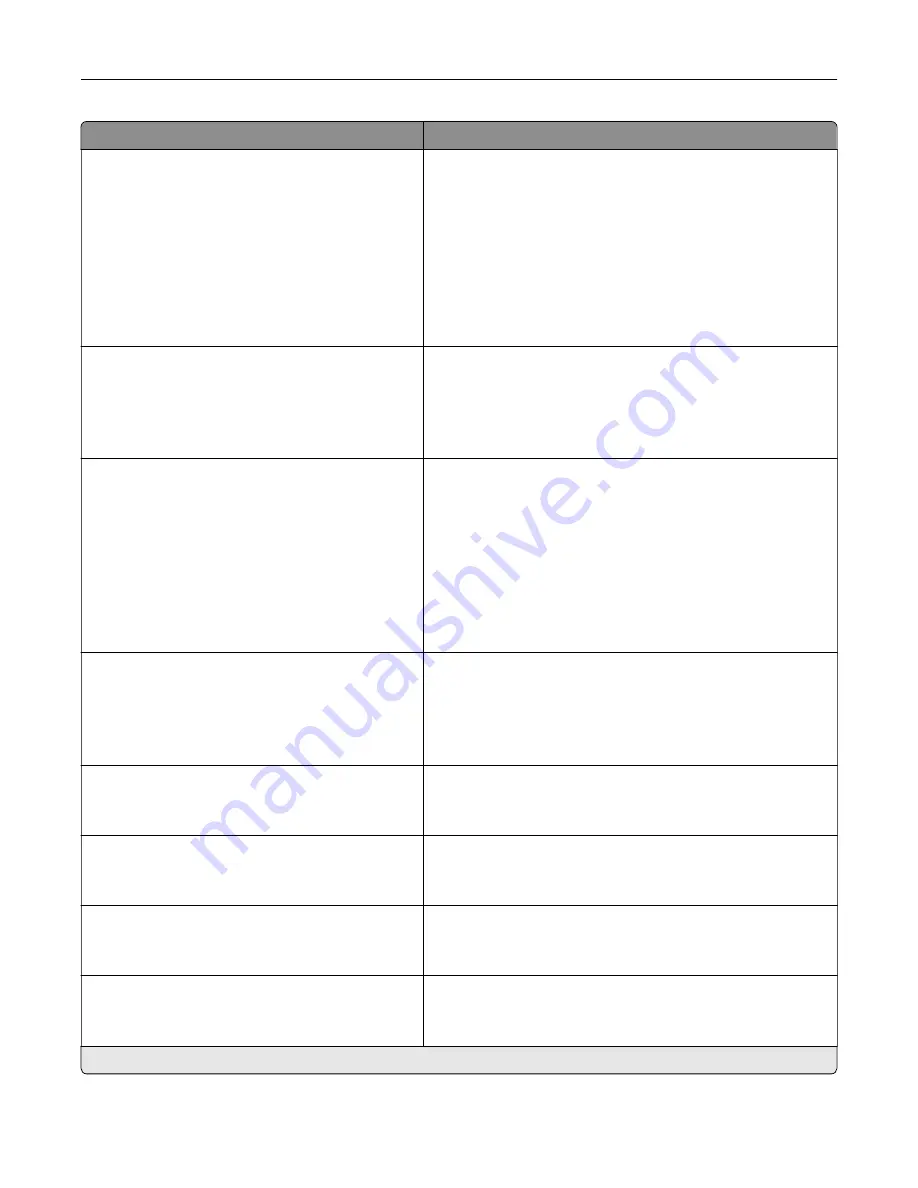
Menu item
Description
E
‑
mail Alerts Setup
E
‑
mail Setup
SMTP Server Authentication
No authentication required*
Login / Plain
NTLM
CRAM
‑
MD5
Digest
‑
MD5
Kerberos 5
Set the authentication type for the SMTP server.
Note:
This menu item appears only in some printer models.
E
‑
mail Alerts Setup
E
‑
mail Setup
Device
‑
Initiated E
‑
None*
Use Device SMTP Credentials
Set whether credentials are required for device
‑
initiated
e
‑
mails.
Note:
This menu item appears only in some printer models.
E
‑
mail Alerts Setup
E
‑
mail Setup
User
‑
Initiated E
‑
None
Use Device SMTP Credentials
Use Session User ID and Password
Use Session E
‑
mail address and
Password*
Prompt user
Set whether credentials are required for user
‑
initiated e
‑
mails.
Note:
This menu item appears only in some printer models.
E
‑
mail Alerts Setup
E
‑
mail Setup
Use Active Directory Device Credentials
Off
On*
Enable user credentials and group designations to connect to
the SMTP server.
Note:
This menu item appears only in some printer models.
E
‑
mail Alerts Setup
E
‑
mail Setup
Device Userid
Specify the user ID to connect to the SMTP server.
Note:
This menu item appears only in some printer models.
E
‑
mail Alerts Setup
E
‑
mail Setup
Device Password
Specify the password to connect to the SMTP server.
Note:
This menu item appears only in some printer models.
E
‑
mail Alerts Setup
E
‑
mail Setup
Kerberos 5 REALM
Specify the realm for the Kerberos 5 authentication protocol.
Note:
This menu item appears only in some printer models.
E
‑
mail Alerts Setup
E
‑
mail Setup
NTLM Domain
Specify the domain name for the NTLM security protocol.
Note:
This menu item appears only in some printer models.
Note:
An asterisk (*) next to a value indicates the factory default setting.
Understanding the printer menus
55
Summary of Contents for M5255
Page 107: ...2 Remove the toner cartridge 3 Remove the used imaging unit Maintaining the printer 107 ...
Page 118: ...2 Remove the used pick roller 3 Unpack the new pick roller Maintaining the printer 118 ...
Page 119: ...4 Install the new pick roller 5 Close the multipurpose feeder Maintaining the printer 119 ...
Page 141: ...2 Remove the staple cartridge holder 3 Remove the loose staples Clearing jams 141 ...


