


Saving a scanned image on the computer
1
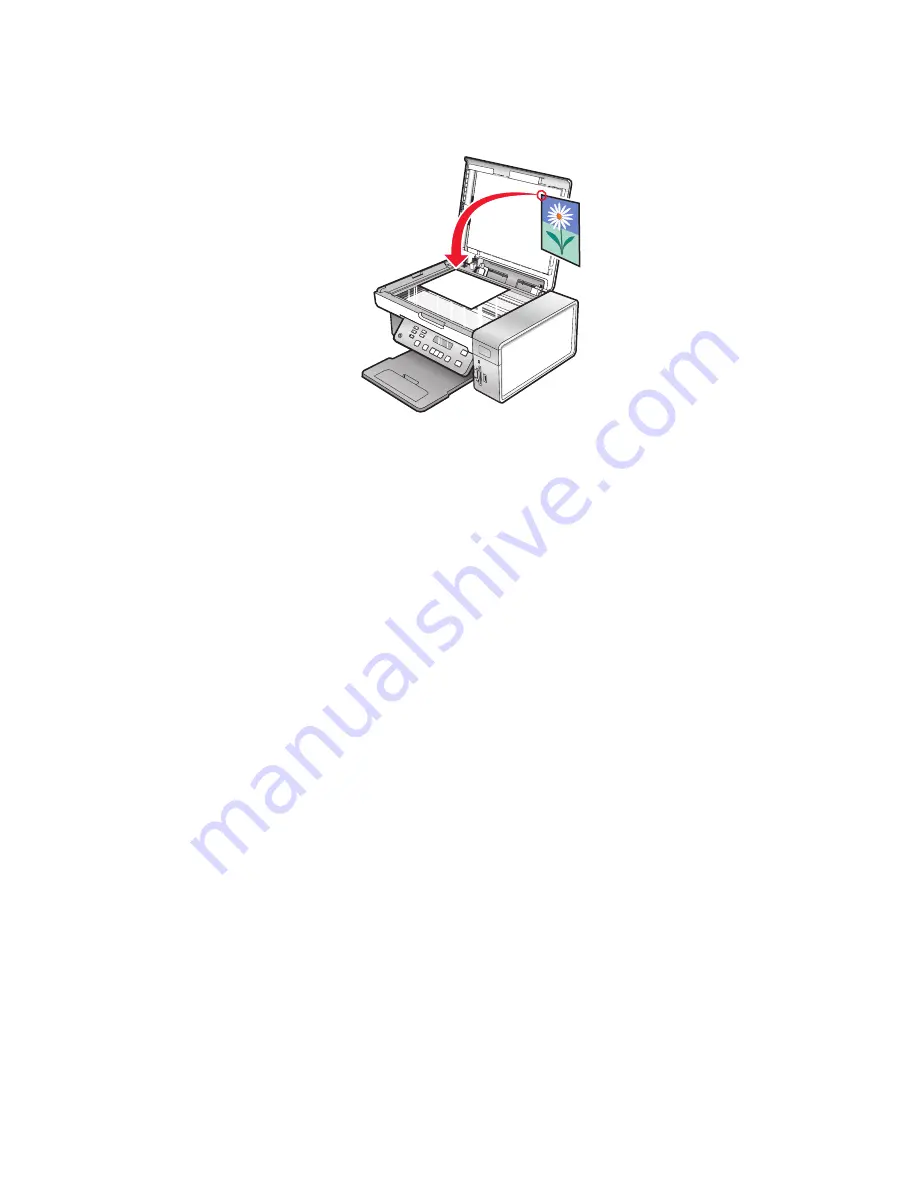
Load an original document facedown on the scanner glass.
2
Close the top cover.
3
From the desktop, double-click the
Productivity Studio
icon.
4
Click
Scan
.
5
Select the Photo, Several Photos, or Document option.
6
Click
Start
.
7
From the Save or Edit screen menu bar, click
Save
.
8
To save to another folder, click
Browse
, and select a folder. Click
OK
.
9
To rename the file, enter the name in the File Name area. To assign the name as a prefix to all of your photos,
select the “Start all photos with File Name” check box.
10
To save the photo as another file type, select the file type from the File Type drop-down list.
11
To select a date for the photo, click the drop-down list, and select a date from the calendar.
12
Click
Save
.
Changing the Productivity Studio scan settings
1
From the desktop, double-click the
Productivity Studio
icon.
2
From the Tools menu, click
Preferences
.
3
Click
Scan Settings
.
•
Select
Always use simple scan settings
to use the default scan settings.
•
Select
Always start scanning with the settings below
to customize the remaining scan settings.
•
From the Color Depth: area, select the color depth from the drop-down list.
•
From the Scan Resolution (Dots per inch): area, select the resolution value from the drop-down list.
•
Click
Auto-crop the scanned item
to use the slider to select your cropped value.
Scanning
99
Summary of Contents for 5470 - X Color Inkjet
Page 1: ...X5400 Series User s Guide 2007 www lexmark com ...
Page 2: ......
Page 12: ...12 ...


