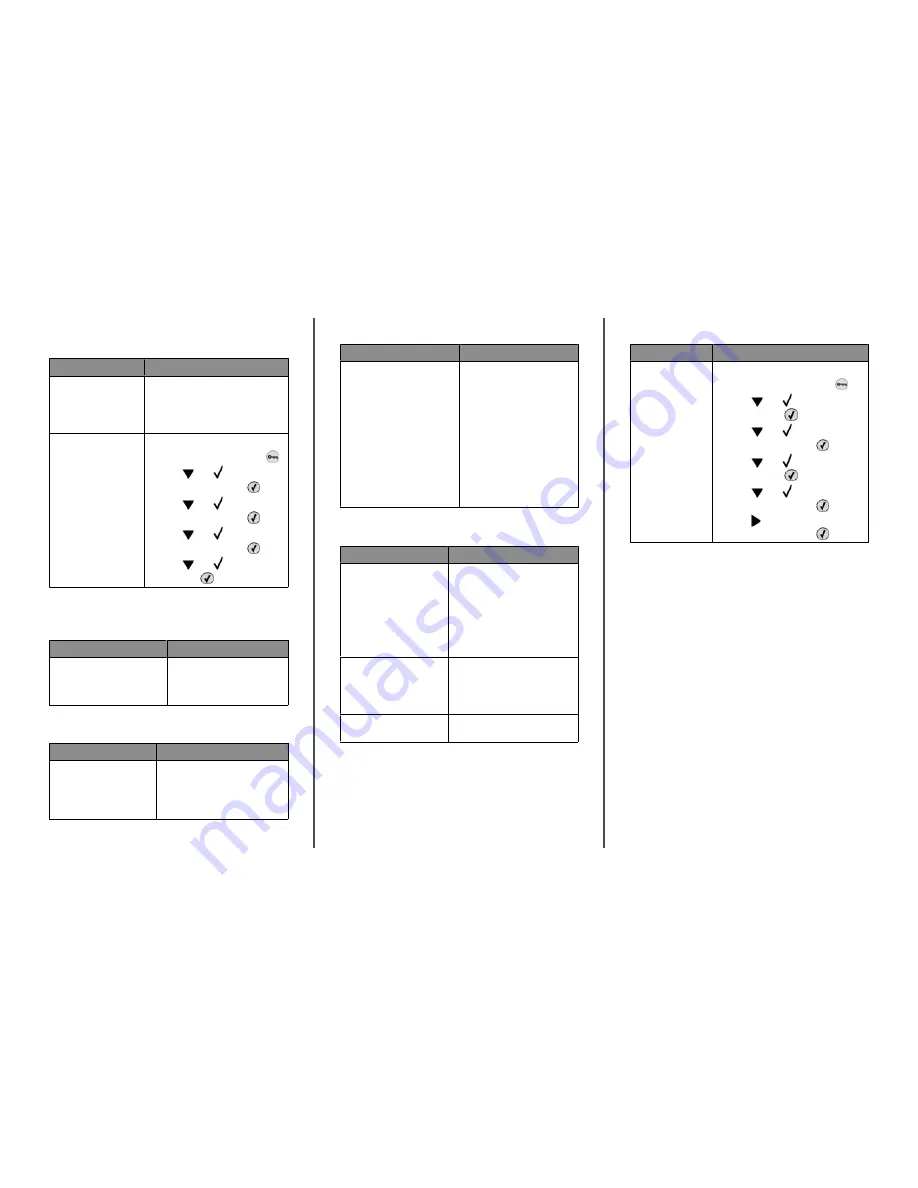
Job takes longer than expected to
Cause
Solution
Job is too complex.
Reduce the complexity of your print job
by eliminating the number and size of
fonts, the number and complexity of
images, and the number of pages in the
job.
Page Protect is set to On. Set Page Protect to Off:
1
From the control panel, press
.
2
Press
until
Settings
appears, and then press
.
3
Press
until
Setup Menu
appears, and then press
.
4
Press
until
Page Protect
appears, and then press
.
5
Press
until
Off
appears, and
then press
.
Job prints from the wrong tray or on
the wrong paper
Cause
Solution
Control panel menu settings do
not match the media loaded in
the tray.
Make sure the Paper Size and
Paper Type specified in the
printer software match the paper
size and type in the tray.
Incorrect characters print
Cause
Solution
Printer is in Hex Trace mode. If
Ready Hex
appears on the
display, you must exit Hex Trace
mode before you can print your job.
Turn the printer off and back on to
exit Hex Trace mode.
Tray linking does not work
Cause
Solution
Tray linking is not configured
properly.
•
Make sure the media size
and type are the same in
both trays.
•
Make sure the paper guides
in the trays are set for the
correct media size.
•
Make sure the Paper Size and
Paper Type are set correctly
in the Paper menu.
•
For more information, see
the
Menus and Messages
Guide
on the
Software and
Documentation
CD.
Large jobs do not collate
Cause
Solution
Collate is not set to On.
From the Finishing menu or the
printer software, set Collate to On.
Note: Setting Collate to Off in the
software overrides the setting in the
Finishing menu.
For more information, see the
Menus and Messages Guide
on the
Software and Documentation
CD.
Job is too complex.
Reduce the complexity of the print
job by eliminating the number and
size of fonts, the number and
complexity of images, and the
number of pages in the job.
Printer does not have enough
memory.
Add printer memory or an optional
hard disk.
Unexpected page breaks occur
Cause
Solution
Job has timed out.
Set the Print Timeout to a higher value:
1
From the control panel, press
.
2
Press
until
Settings
appears,
and then press
.
3
Press
until
Setup Menu
appears, and then press
.
4
Press
until
Timeouts
appears,
and then press
.
5
Press
until
Print Timeout
appears, and then press
.
6
Press until the desired value
appears, and then press
.
Lexmark Status Messenger Utility
This program is not available with Windows NT or Windows 2000.
The Lexmark Status Messenger informs you when there are errors
requiring printer intervention. When a printer error occurs, a
message appears on the computer screen telling you what the
error is, and points you to the appropriate recovery information in
the
User's Guide
.
If you installed the Lexmark Status Messenger with the printer
software, the utility automatically launches when the software
installation is completed.
2


