24
6.
(Optional)
In
Bindery Settings
, Select NetWare file server(s) that print server can do
Bindery mode.
7.
(Optional)
In
NDS Settings
, Select NetWare file server(s), NetWare 4.x or later that print
server can do NDS mode.
8. Click
OK
. From your NetWare client computer, such as Windows 95/98/Me, create a
printer that is connected (redirected) to one of the NetWare print queues serviced by the
print server.
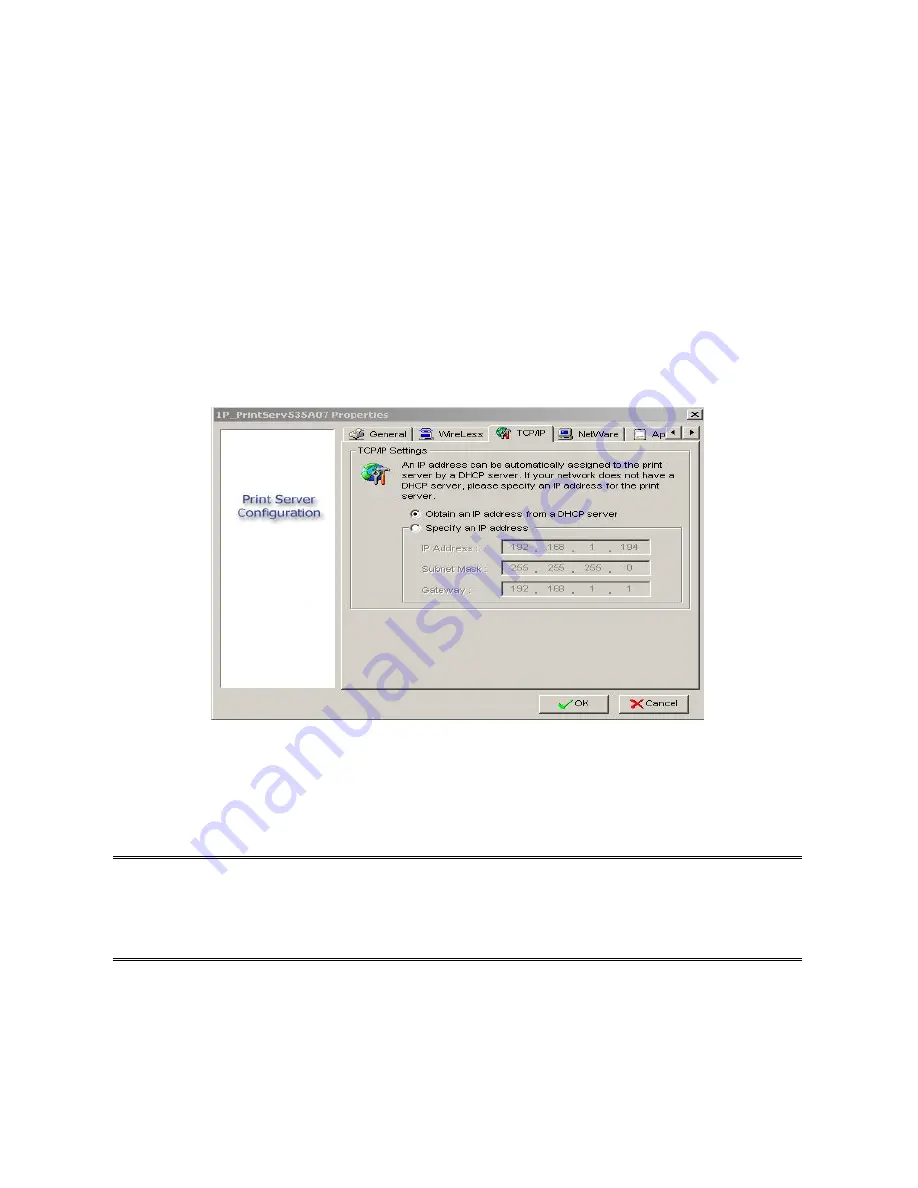
Properties –TCP/IP Options
The TCP/IP options allow you to modify the print server’s TCP/IP settings. Each option is
detailed as follows.
Obtain an IP address from a DHCP server:
This option enables or disables the DHCP feature of the print server. When this option is
enabled, the print server will obtain an IP address automatically from the DHCP server on
your LAN.
The default value is
“
Disable
”.
Note
: 1.Once this option is enabled, the following IP address, Subnet Mask, Gateway will be
grayed out and are not available for editing.
2.While the print server supports DHCP, we strongly recommend you manually
specify a
fixed
IP address to the print server.
Specify an IP address:
IP Address:
This option shows the print server’s current IP address maybe obtained from
your DHCP server or manually specified. This option also allows you to
manually specify an IP address to the print server, if DHCP option is disabled.
Summary of Contents for FPS-1032
Page 1: ...1 LevelOne User Manual FPS 1032 USB Print Server Ver 1 1...
Page 13: ...13...
Page 19: ...19 16 Right click select Properties Ports and verify that the print server s port appears...
Page 62: ...62 7 Click Forward button...
Page 64: ...64 14 Choose the model of printer and click Forward 15 Done...
Page 67: ...67 4 Click Browse and select the firmware file 5 Click Upgrade 6 Done...
Page 75: ...75 3 Double click it again 4 Now you have to install the printer s driver...
Page 76: ...76 5 Choose it from the Add Printer Wizard 6 Install printer successfully...
Page 77: ...77 7 Now you can find your printer s icon and you can use the SMB printing mode...


