


25
2-1-4-2. Configuring the Management Agent of FGP-1072 through the Ethernet
Port
There are three ways to configure and monitor the switch through the
switch’s Ethernet port. They are CLI, Web browser and SNMP manager. The user
interface for the last one is NMS dependent and does not cover here. We just
introduce the first two types of management interface.
•
•
•
•
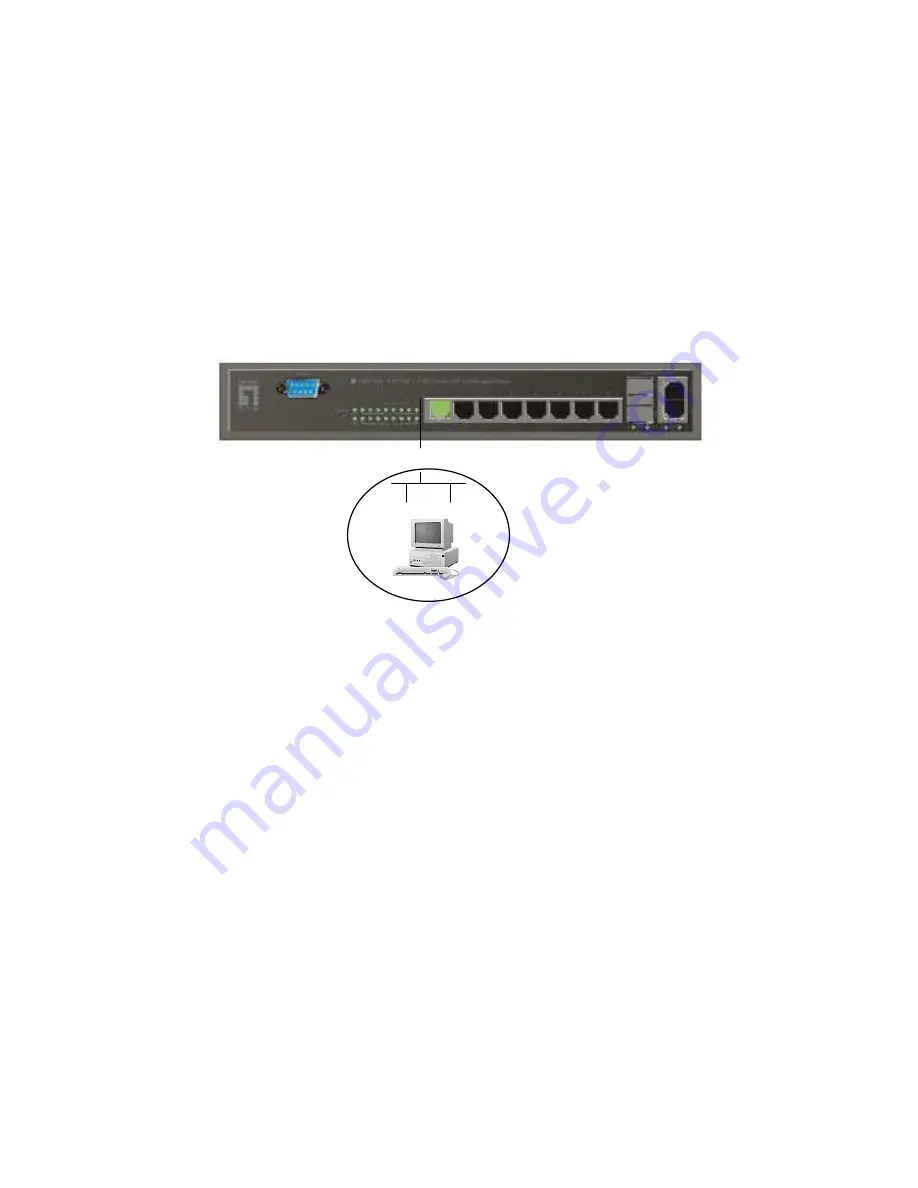
Managing FGP-1072 through Ethernet Port
Before you communicate with the switch, you have to finish first the
configuration of the IP address or to know the IP address of the switch. Then,
follow the procedures listed below.
1. Set up a physical path between the configured the switch and a PC by a
qualified UTP Cat. 5 cable with RJ-45 connector.
Note: If PC directly connects to the switch, you have to setup the same
subnet mask between them. But, subnet mask may be different for the PC
in the remote site. Please refer to Fig. 2-9 about the switch’s default IP
address information.
2. Run CLI or web browser and follow the menu. Please refer to Chapter 3
and Chapter 4.
FGP-1072
Default IP Setting:
IP = 192.168.1.1
Subnet Mask = 255.255.255.0
Default Gateway = 192.168.1.254
Assign a reasonable IP address,
For example:
IP = 192.168.1.100
Subnet Mask = 255.255.255.0
Default Gateway = 192.168.1.254
Fig. 2-9
Ethernet LAN
Summary of Contents for FGP-1072
Page 1: ...i FGP 1072 8FE PoE 2GE Combo SFP L2 Managed Switch User Manual Ver 1 00 1206...
Page 32: ...32 Fig 2 15 Office Network Connection Fig 2 14 Peer to peer Network Connection...
Page 45: ...45 Fig 3 5...
Page 133: ...133 Same as mentioned in Port Config Restricted Tcn Same as mentioned in Port Config...
Page 173: ...173 Fig 3 85 Fig 3 86 Fig 3 87...
Page 193: ...193 Managed Switch FGP 1072 Login admin Password FGP 1072 Fig 4 1...


