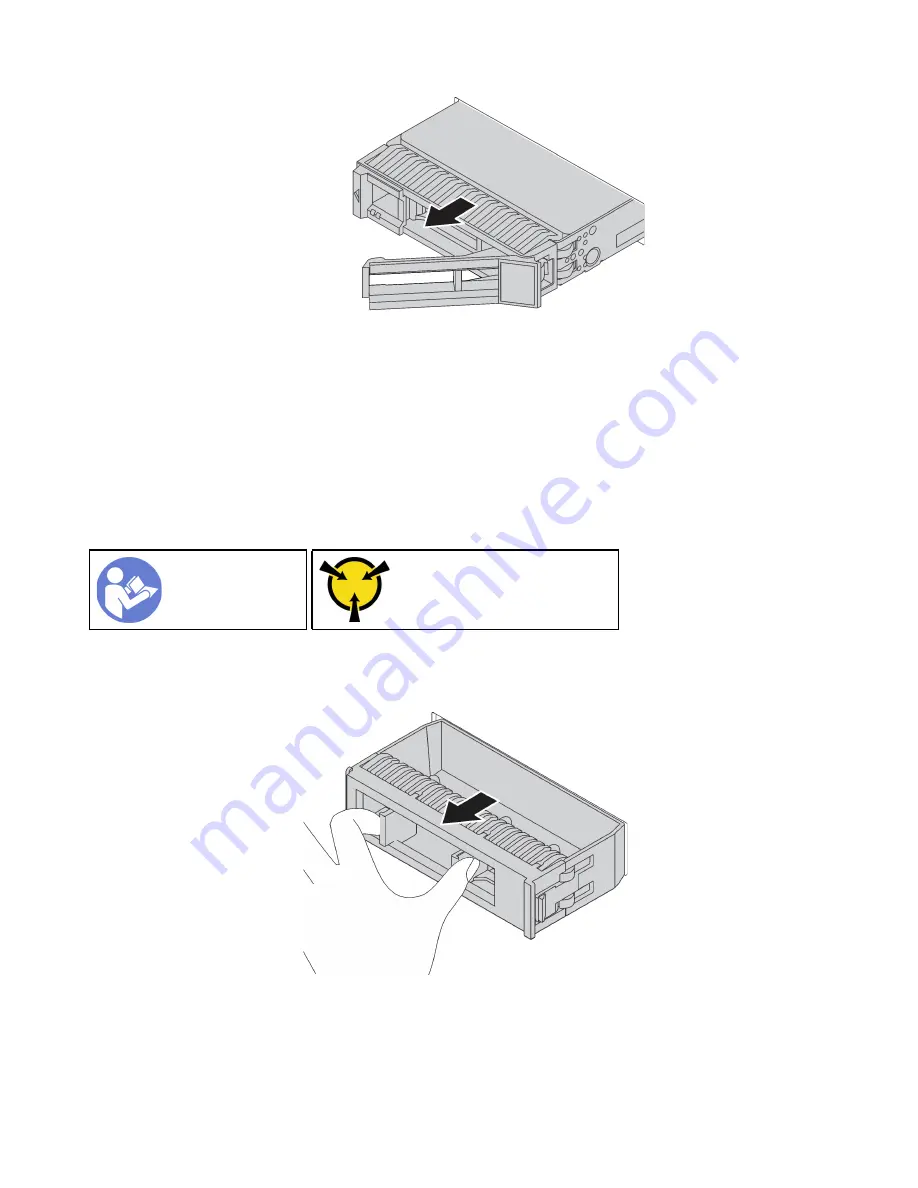
Figure 86. Hot-swap drive removal
After removing a hot-swap drive:
1. Install the drive filler or a new drive to cover the drive bay. See “Install a hot-swap drive” on page 112.
2. If you are instructed to return the old hot-swap drive, follow all packaging instructions and use any
packaging materials that are provided.
Install a hot-swap drive
Use this information to install a hot-swap drive.
Ground package before opening”
Before installing a hot-swap drive:
1. Remove the drive filler from the drive bay. Keep the drive filler in a safe place.
Figure 87. Drive filler removal
2. Touch the static-protective package that contains the new drive to any unpainted surface on the outside
of the server. Then, take the new drive out of the package and place it on a static-protective surface.
3. See “Technical rules for drives” on page 87 before you install the hot-swap drive.
112
ThinkSystem SR635 Maintenance Manual
Summary of Contents for ThinkSystem SR635
Page 1: ...ThinkSystem SR635 Maintenance Manual Machine Types 7Y98 and 7Y99 ...
Page 5: ...Index 231 Copyright Lenovo 2019 2021 iii ...
Page 6: ...iv ThinkSystem SR635 Maintenance Manual ...
Page 10: ...viii ThinkSystem SR635 Maintenance Manual ...
Page 12: ...Figure 2 QR code 2 ThinkSystem SR635 Maintenance Manual ...
Page 22: ...12 ThinkSystem SR635 Maintenance Manual ...
Page 88: ...78 ThinkSystem SR635 Maintenance Manual ...
Page 133: ...Figure 102 Riser 1 assembly LP FHFL removal Chapter 3 Hardware replacement procedures 123 ...
Page 136: ...Figure 105 Riser 1 assembly LP FHFL installation 126 ThinkSystem SR635 Maintenance Manual ...
Page 214: ...204 ThinkSystem SR635 Maintenance Manual ...
Page 232: ...222 ThinkSystem SR635 Maintenance Manual ...
Page 240: ...230 ThinkSystem SR635 Maintenance Manual ...
Page 245: ......
Page 246: ......


