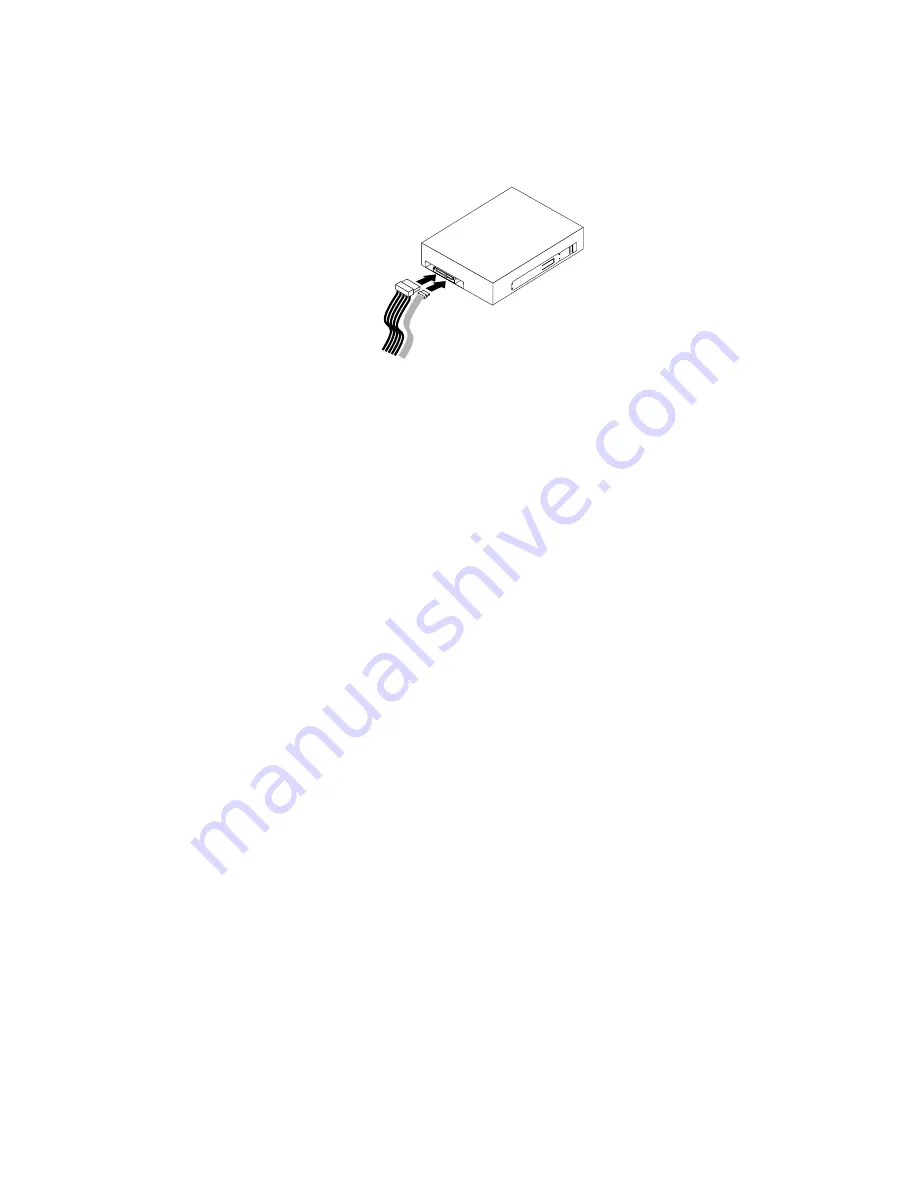
11. Connect one end of the signal cable to the rear of the new optical drive and the other end to an available
SATA connector on the system board. See “Locating parts on the system board” on page 13. Then,
locate an available five-wire power connector and connect it to the rear of the new optical drive.
Figure 29. Connecting the optical drive
12. Lower the drive bay assembly.
What to do next:
• To work with another piece of hardware, go to the appropriate section.
• To complete the installation or replacement, go to “Completing the parts replacement” on page 76.
Replacing the solid-state drive
Attention:
Do not open your computer or attempt any repair before reading and understanding the
“Important safety information” on page v.
This section provides instructions on how to replace the solid-state drive.
The solid-state drive is only available in some models. It might be installed in the hard disk drive bay or
on the bottom of the optical drive bay.
• To replace the solid-state drive in the hard disk drive bay, see “Replacing the solid-state drive in the hard
disk drive bay” on page 49.
• To replace the solid-state drive on the bottom of the optical drive bay, see “Replacing the solid-state drive
on the bottom of the optical drive bay” on page 51.
Replacing the solid-state drive in the hard disk drive bay
To replace the storage converter with the solid-state drive installed in it, you might follow the steps of
replacing the hard disk drive. See “Replacing the hard disk drive” on page 43.
To replace the solid-state drive in the storage converter, do the following:
Chapter 5
.
Installing or replacing hardware
49
Summary of Contents for 10AU
Page 1: ...ThinkCentre E73 User Guide Machine Types 10AU 10AW 10BF 10BG 10DU and 10DT ...
Page 6: ...iv ThinkCentre E73 User Guide ...
Page 12: ...x ThinkCentre E73 User Guide ...
Page 28: ...16 ThinkCentre E73 User Guide ...
Page 90: ...78 ThinkCentre E73 User Guide ...
Page 104: ...92 ThinkCentre E73 User Guide ...
Page 112: ...100 ThinkCentre E73 User Guide ...
Page 136: ...124 ThinkCentre E73 User Guide ...
Page 146: ...134 ThinkCentre E73 User Guide ...
Page 149: ...Appendix E China Energy Label Copyright Lenovo 2013 2014 137 ...
Page 150: ...138 ThinkCentre E73 User Guide ...
Page 152: ...140 ThinkCentre E73 User Guide ...
Page 156: ...144 ThinkCentre E73 User Guide ...
Page 157: ......
Page 158: ......


