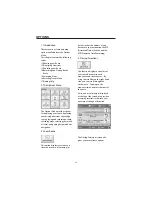
8. Navigate To A History Item
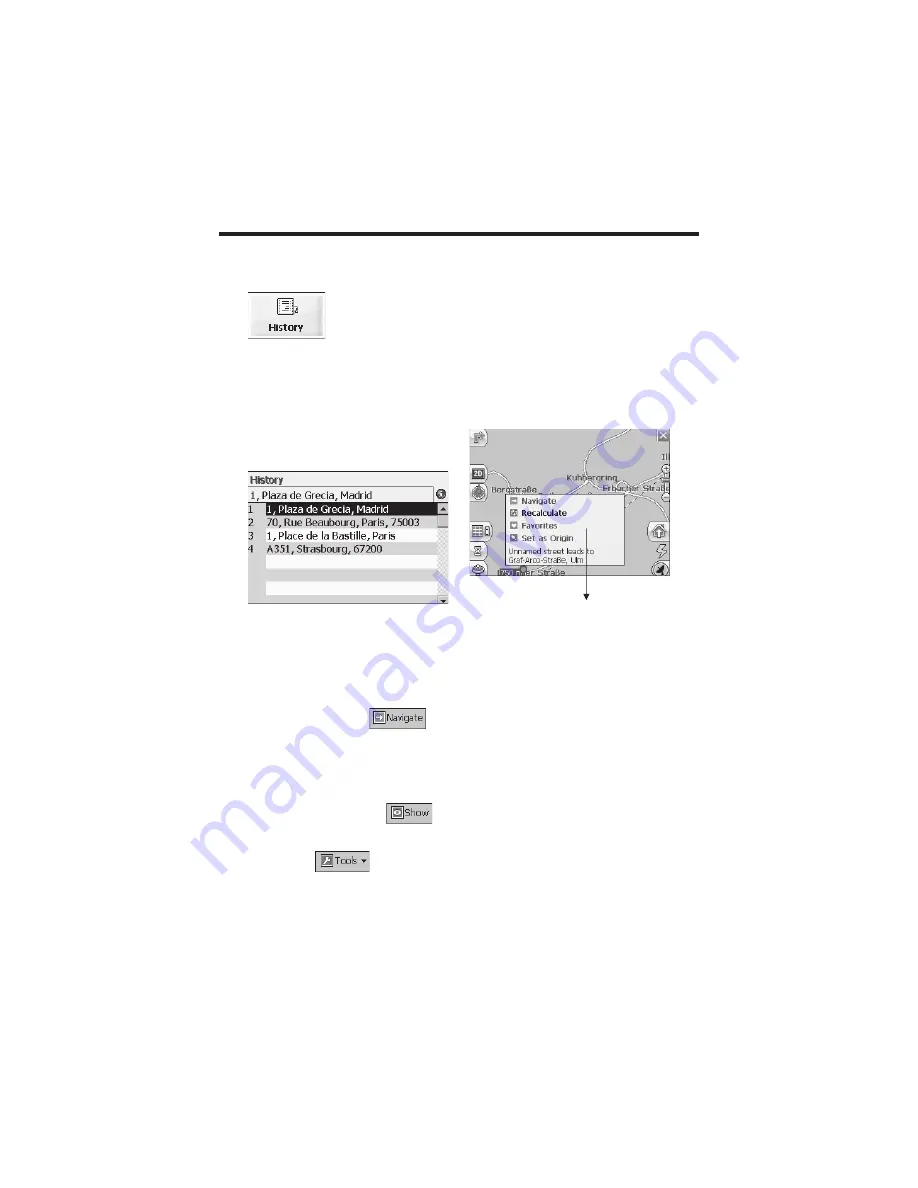
History
allows you to select an
existing destination from a list of
previously traveled routes. The
software automatically stores the last
few destinations in memory. As
each new route is added to the top of
the list, the older destinations at the
bottom are erased.
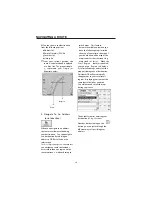
(1)From the Destination Menu,
press the
History
button to
display your list of previously
traveled routes.
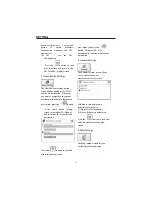
(2)Highlight your selected History
item and click
to
calculate your route. The route
is shown on the map as a blue
line from your current GPS
position.
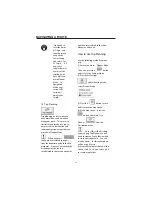
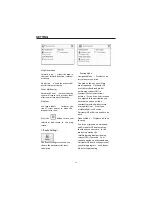
(3)You can also select
to
preview your destination on the map,
or press
to add the
destination to your Favorites or to
set it as your Origin.
9. Navigate To A Point on the
Map
You can navigate to any point on the
map by tapping its location directly
on the map screen. This feature is
especially handy when you want to
navigate to a specific point you see
on the map, but you don’t have its
street address.
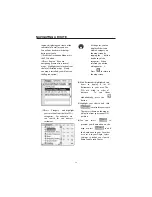
(1)Use the stylus to scroll or drag the
map to a specific point, and then
tap the desired location.
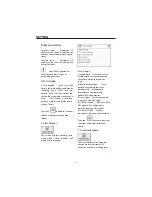
(2)A dialog box displays the address
of that point, and lets you select
whether you want to navigate to it,
recalculate your route, add the
point to your Favorites, or set it as
your Origin (if you are in Planner
Mode).
(3)To clear the cursor dialog, just tap
the screen again.
Dialog Box on the Map
Screen
NAVIGATING A ROUTE
25


