5.4006.8501.0
B
6-18
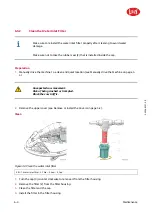
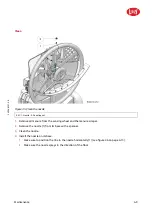
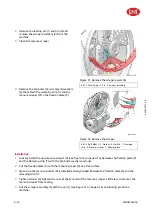
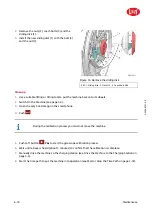
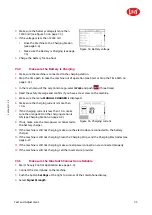
Figure 53. Remove the sliding disk
KEY: 1. Sliding disk - 2. Nut M10 - 3. Coach bolt M10
2.
Remove the nuts (2), coach bolts (3) and the
sliding disk (1).
3.
Install the new sliding disk (1) with the bolt (3)
and the nut (3).
Close-up
1.
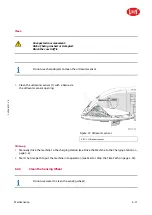
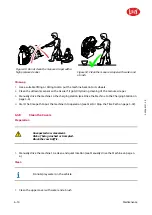
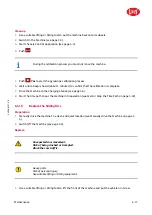
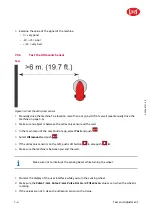
Use a suitable lifting or tilting tool to put the machine back onto its wheels.
2.
Switch On the Machine (see page 5-3).
3.
Open the Lely Control app on the smartphone.
4.
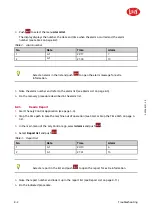
Push
.
During the calibration process you must not move the machine.
5.
Push soft button
Yes
to start the gyroscope calibration process.
6.
Wait until a beep is heard (about 5 minutes) to confirm that the calibration is complete.
7.
Manually drive the machine to the charging station (see Drive the Machine to the Charging Station on
page 5-6).
8.
Start the time path to put the machine into operation (see Start or Stop the Time Path on page 5-32).
in n o vato rs in ag ric u ltu re
Summary of Contents for Lely Discovery 90 SW
Page 2: ...INTENTIONALLY BLANK 5 4006 8501 0 B innovators in agriculture ...
Page 6: ...INTENTIONALLY BLANK 5 4006 8501 0 B 6 List of Included Amendments innovators in agriculture ...
Page 16: ...INTENTIONALLY BLANK 5 4006 8501 0 B 1 2 Lely Discovery innovators in agriculture ...
Page 62: ...INTENTIONALLY BLANK 5 4006 8501 0 B 4 36 Description and Operation innovators in agriculture ...
Page 98: ...INTENTIONALLY BLANK 5 4006 8501 0 B 5 36 Operating Instructions innovators in agriculture ...
Page 124: ...INTENTIONALLY BLANK 5 4006 8501 0 B 7 8 Test and Adjustment innovators in agriculture ...
Page 146: ...INTENTIONALLY BLANK 5 4006 8501 0 B 9 2 Disposal innovators in agriculture ...
Page 149: ......

